Getting Started with Ubuntu Core on Hyper-V using WSL
Ubuntu Core is a tiny, transactional version of Ubuntu Linux from Canonical. Use WSL to convert a KVM image of Ubuntu Core and boot in Hyper-V on Windows.
Ubuntu Core is a tiny, transactional version of Ubuntu Linux from Canonical. Core is designed for 'internet of things' (IoT) devices and large container deployments. Ubuntu Core uses snaps exclusively as a package manager. Unlike traditional Ubuntu, there is no apt package manager here. Learn more about Ubuntu Core.
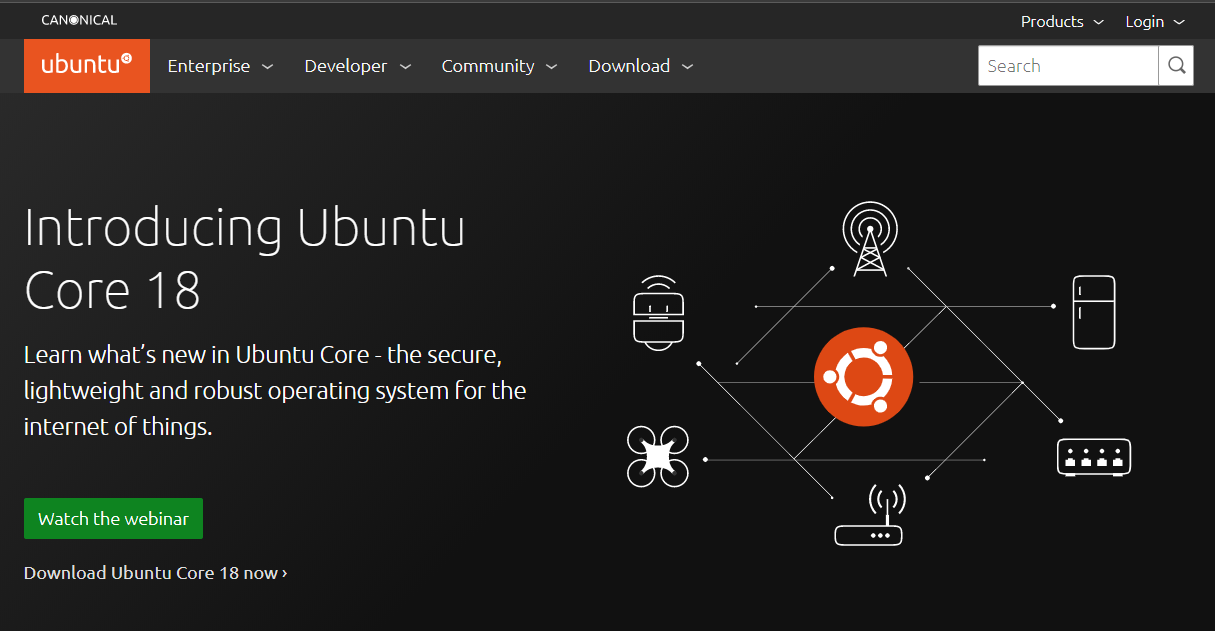
The current version of Ubuntu Core is Core 18 based on Ubuntu 18.04 LTS, the long-term support branch of Ubuntu maintained by Canonical. Canonical makes builds of Core 18 available for Raspberry Pi, Snapdragon ARM, Intel NUC, and a variety of other IoT platforms. Canonical also publishes a x86_64 KVM image.
If you are like me, you want to see what running Ubuntu Core is like. Because Ubuntu Core is based on snap, which relies on snapd, and that requires systemd, a WSL1 build is not currently feasible. The possibility of a WSL2-only build is something I plan to explore in the future.
In the mean time we can give Ubuntu Core a spin using Hyper-V, the virtualization hypervisor built into Windows Pro and Enterprise. But how do we get there with only a KVM image? With a little help from Windows Subsystem for Linux, or WSL.
This guide assumes you have a Debian or Ubuntu-based distro installed in WSL like Pengwin and Hyper-V enabled. If you have not set up WSL or Hyper-V, see the following guides:
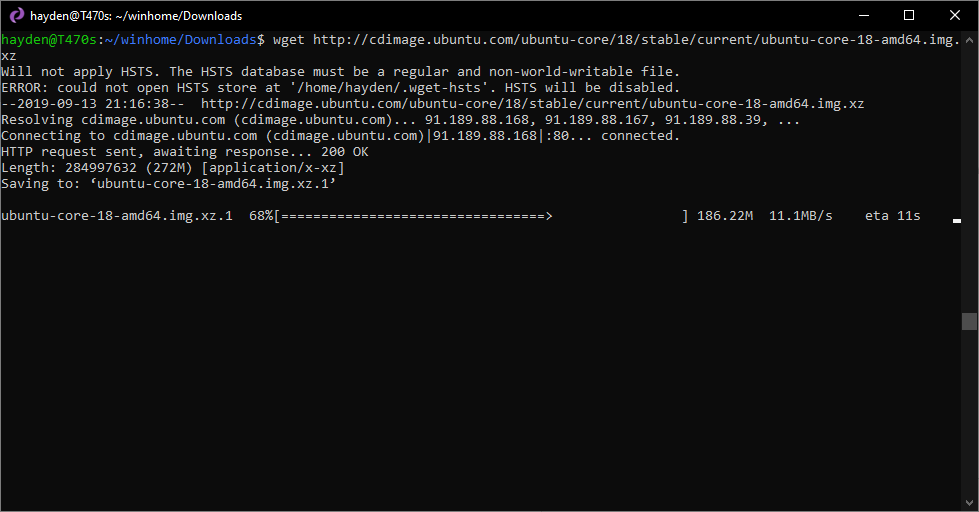
First we fire up our preferred WSL distro and download the Ubuntu Core KVM image:
$ wget http://cdimage.ubuntu.com/ubuntu-core/18/stable/current/ubuntu-core-18-amd64.img.xz
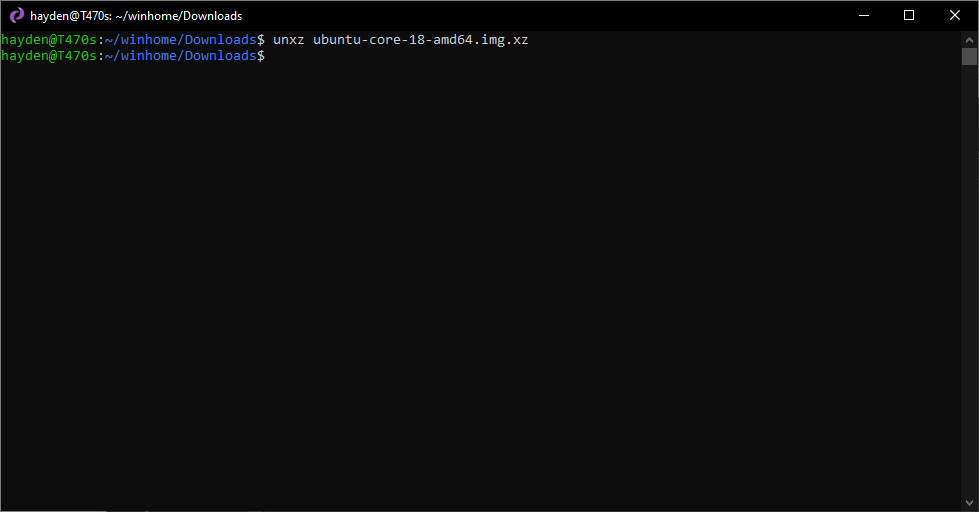
Then we unpack the xz archive:
$ unxz ubuntu-core-18-amd64.img.xz
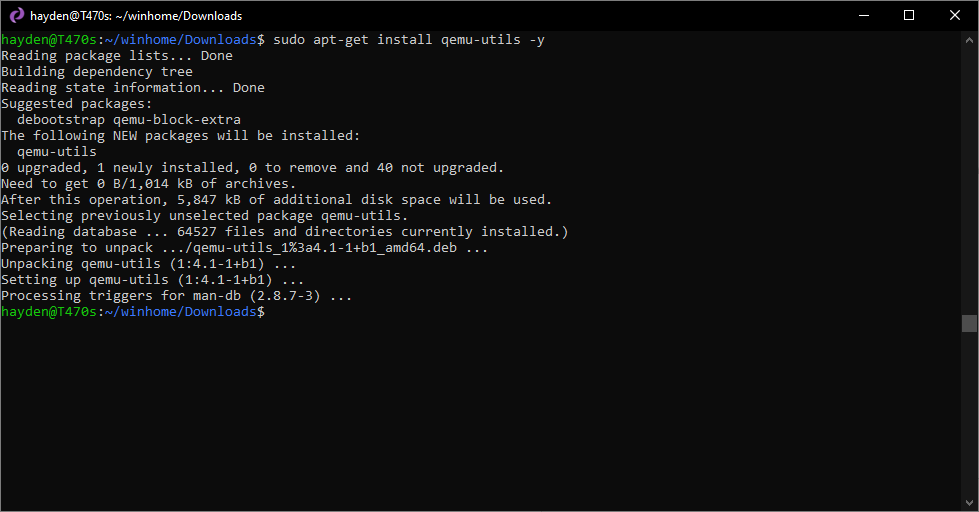
Then we install a set of utilities from QEMU.
$ sudo apt-get install qemu-utils -y
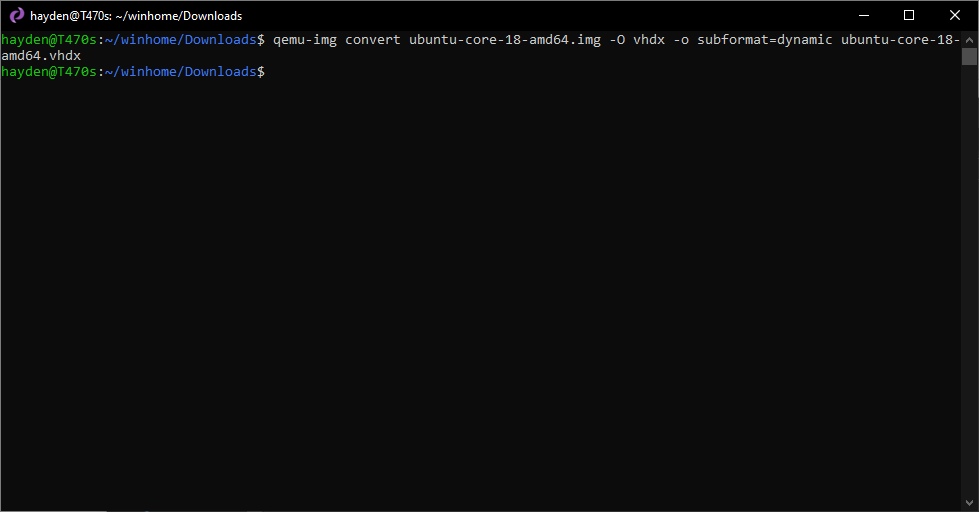
Then we use the qemu-img utility to convert the KVM image to a VHDX image:
$ qemu-img convert ubuntu-core-18-amd64.img -O vhdx -o subformat=dynamic ubuntu-core-18-amd64.vhdx
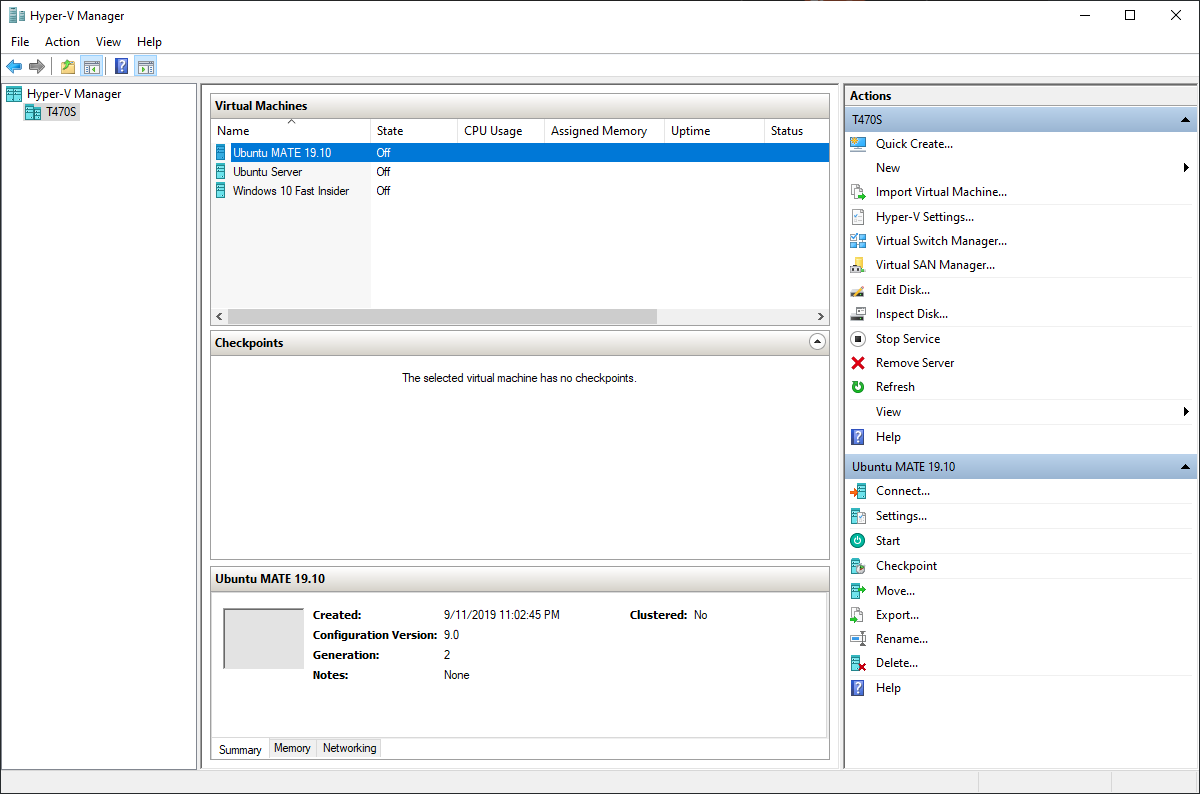
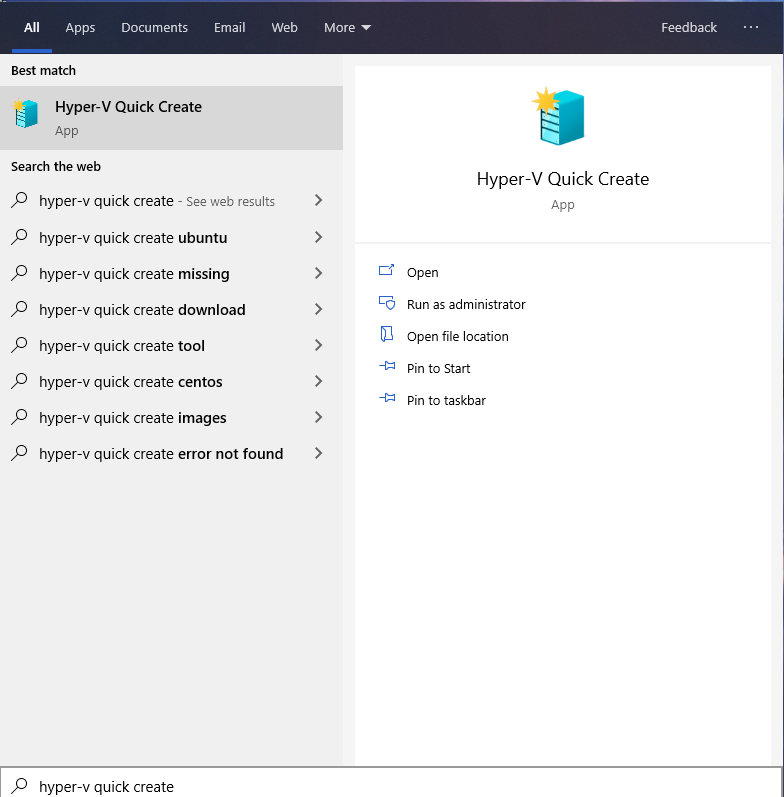
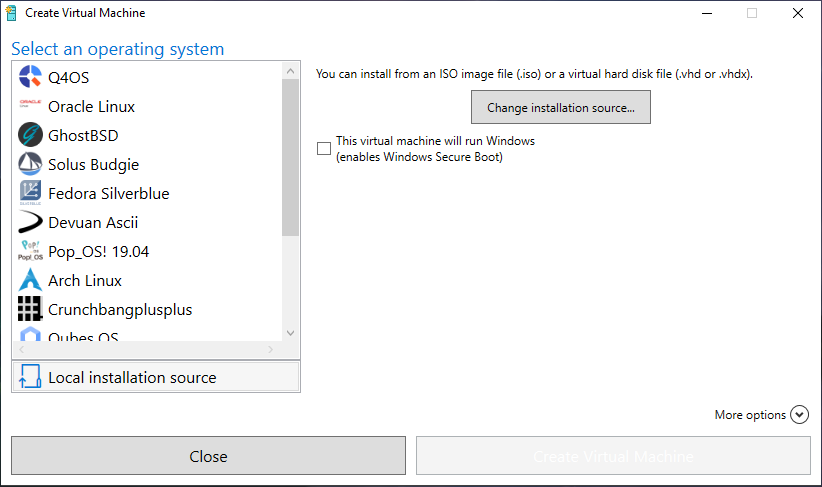
Then we launch the Hyper-V Quick Create utility by searching in Windows 10:
In the Hyper-V Quick Create wizard click "Change installation source..."
If you downloaded and converted the KVM image in your WSL distro's home folder then you may need to copy the vhdx to your Windows file system, with something like:
$ cp ubuntu-core-18-amd64.vhdx /mnt/c/Users/Hayden/Downloads/
If you want a custom Quick Create gallery like the one above, click here.
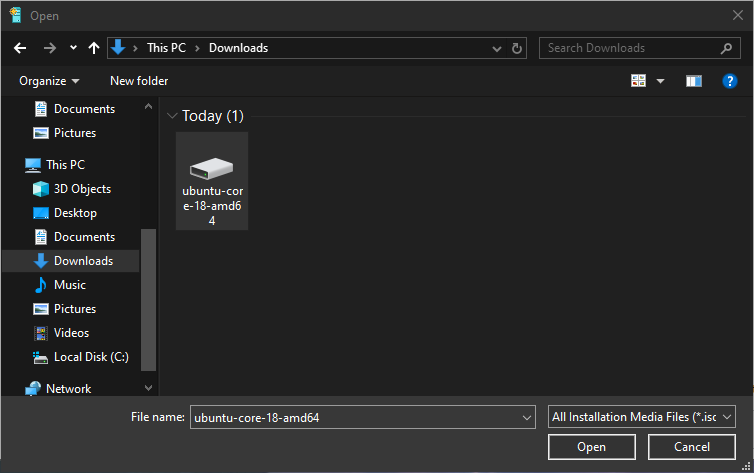
Then select the .vhdx we created with qemu-img and copied over to Windows:
Note: The Hyper-V Quick Create utility copies the VHDX we created to C:\Users\Public\Public Documents\Hyper-V\Virtual hard disks. You can delete the original VHDX we created unless you want a clean version you can revert.
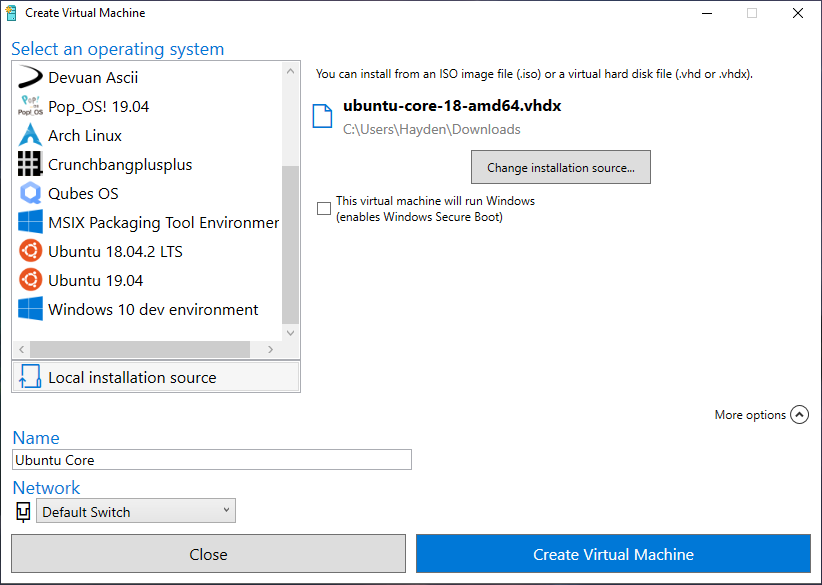
Make sure you uncheck the option to use Windows Secure Boot. I then like to click the "More options" button and give my new Hyper-V VM a custom name, in this case "Ubuntu Core":
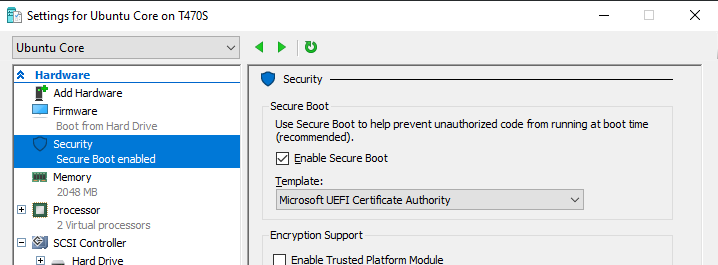
You can enable Secure Boot later in your Hyper-V VM settings later by selecting the "Microsoft UEFI Certificate Authority" option in Secure Boot settings.
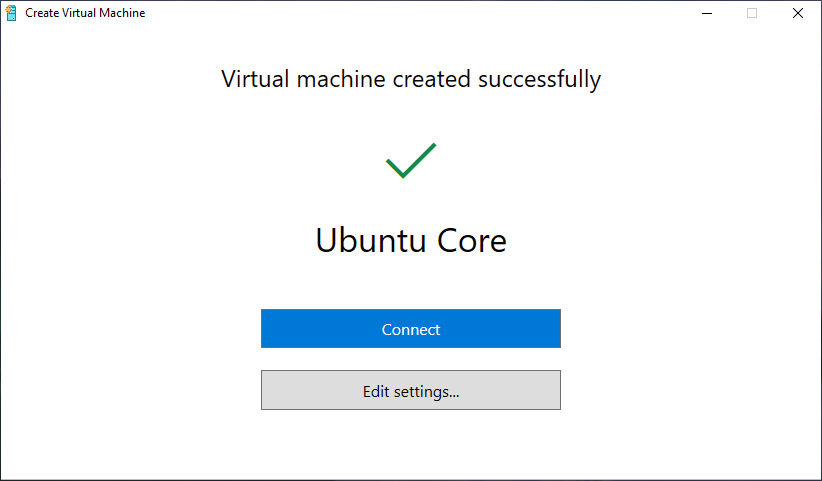
Then click "Create Virtual Machine" and let Hyper-V Quick Create create your VM and click "Connect" if you are ready to begin.
If you want to change processor count, RAM, checkpoint, or secure boot settings, click "Edit settings" and make those changes now:
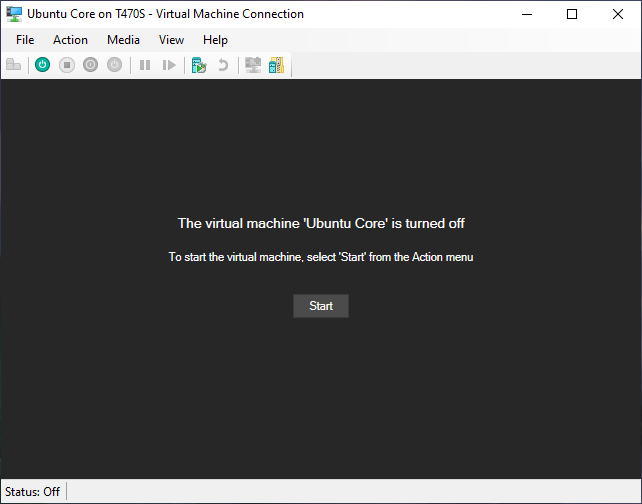
A connection to your new VM will open. Click "Start" to launch it:
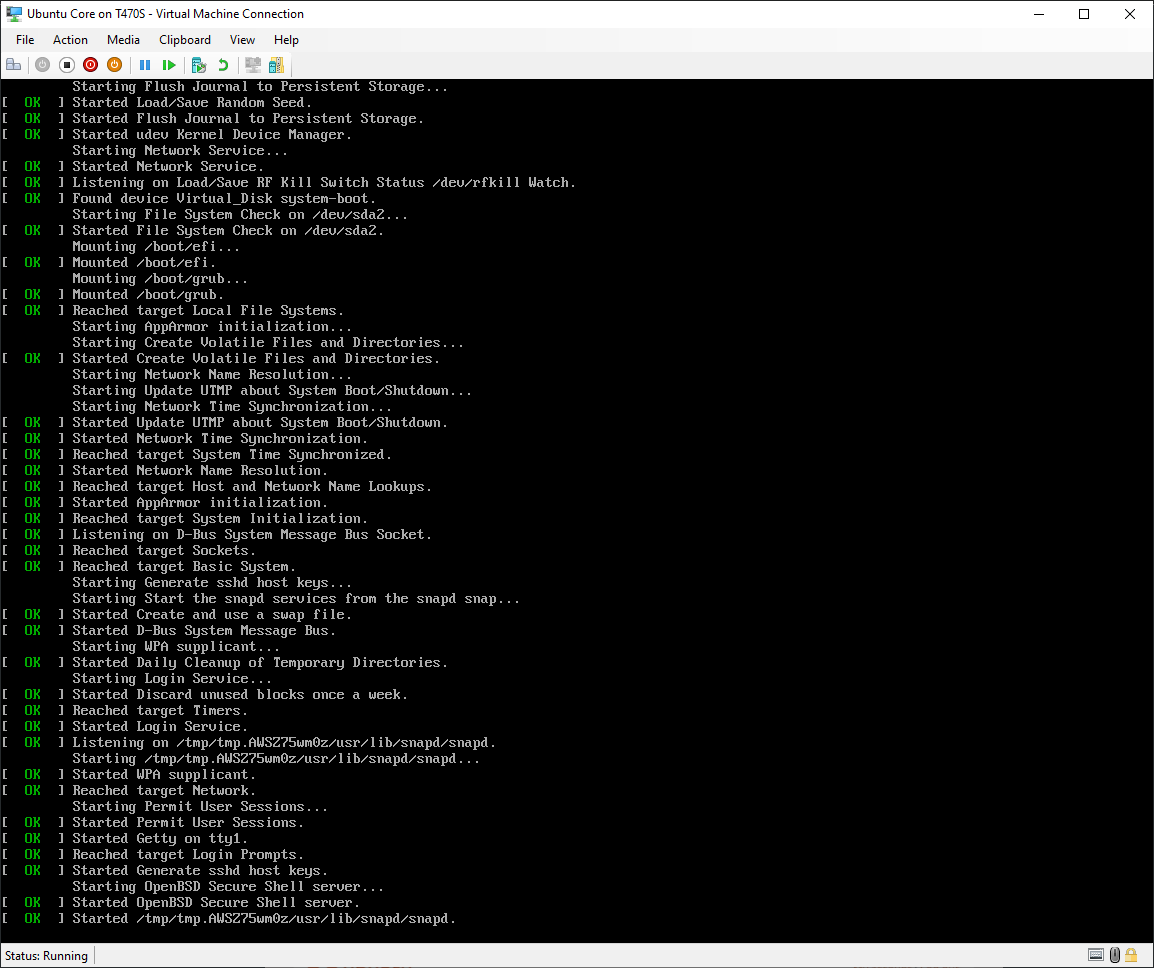
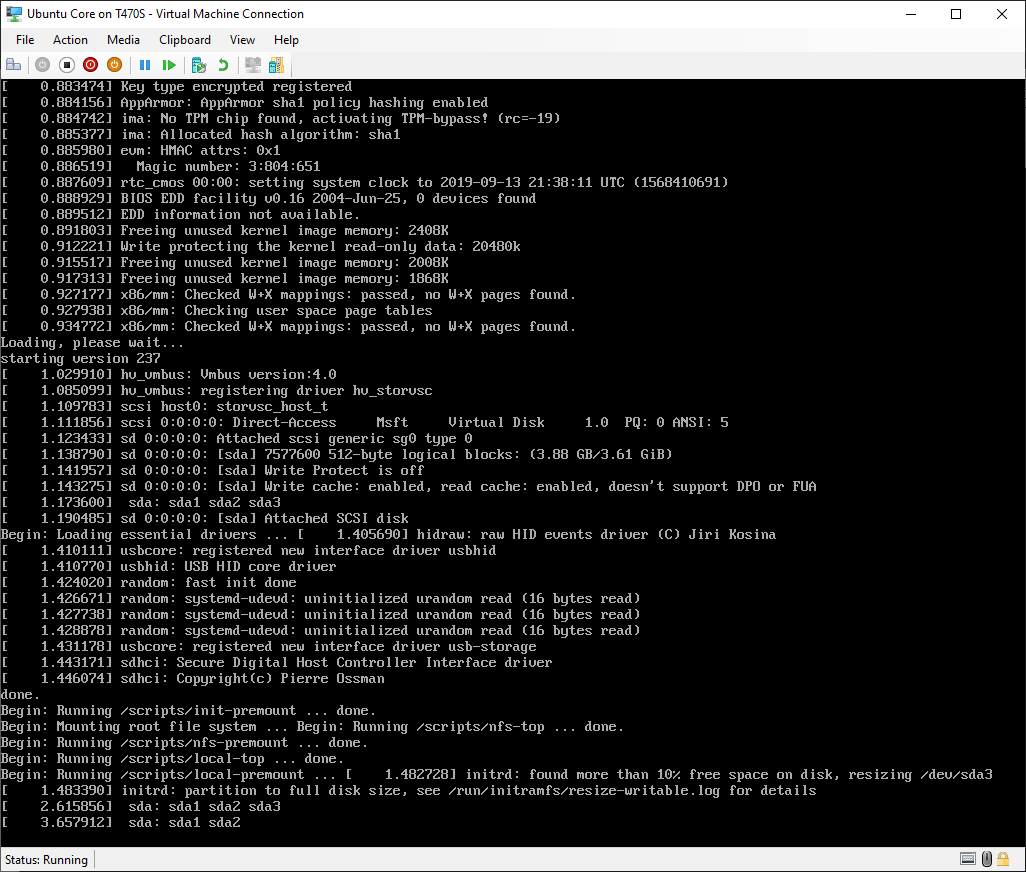
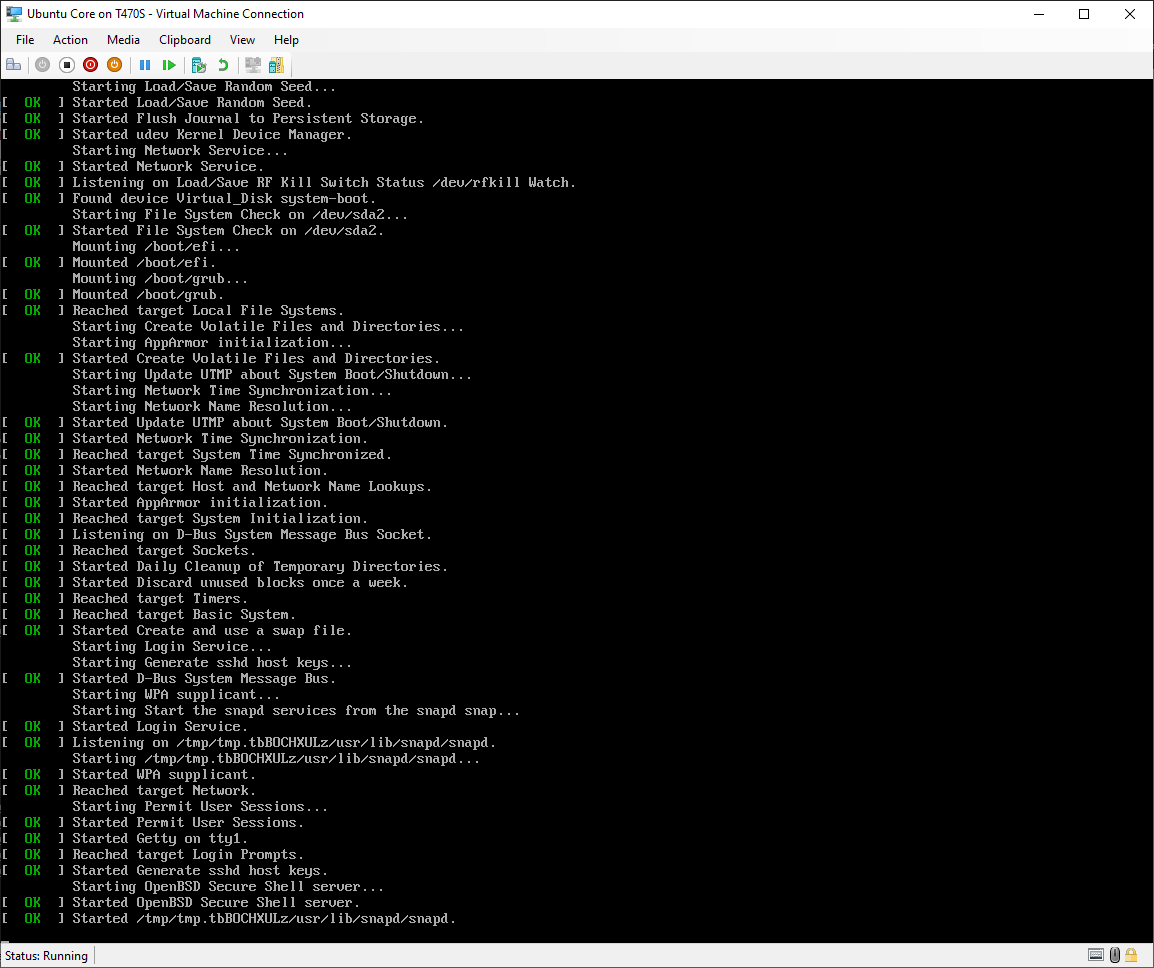
Ubuntu Core will boot like a normal Linux distribution:
GRUB!
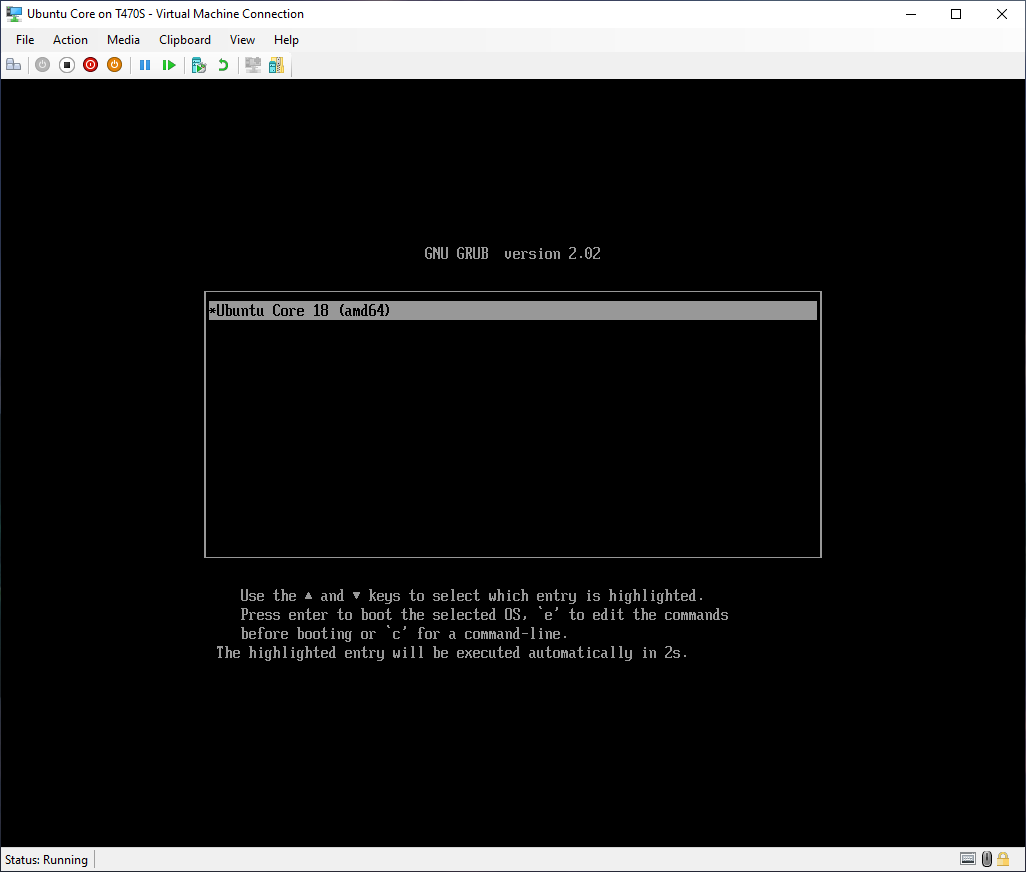
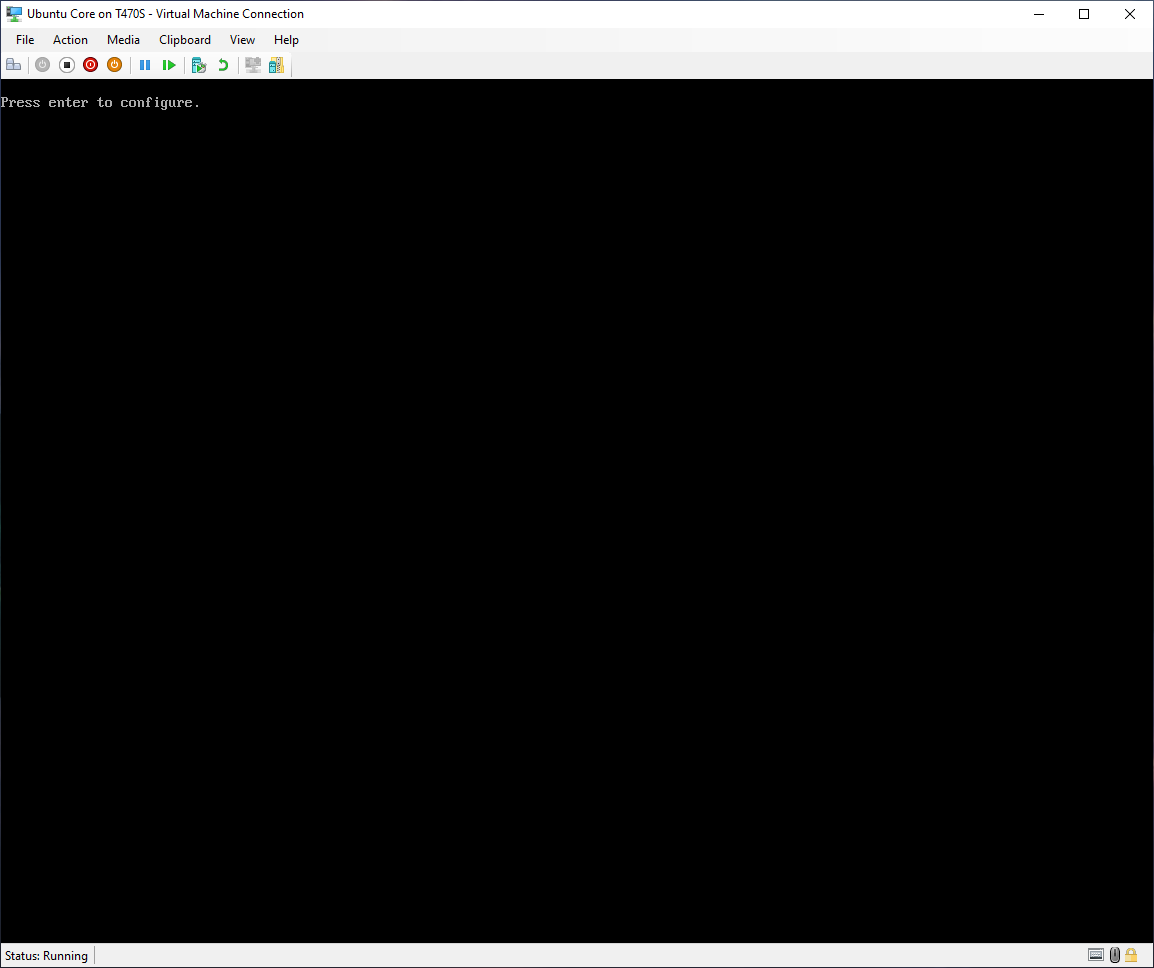
After Ubuntu Core boots, you will be prompted to press enter to set up Ubuntu Core:
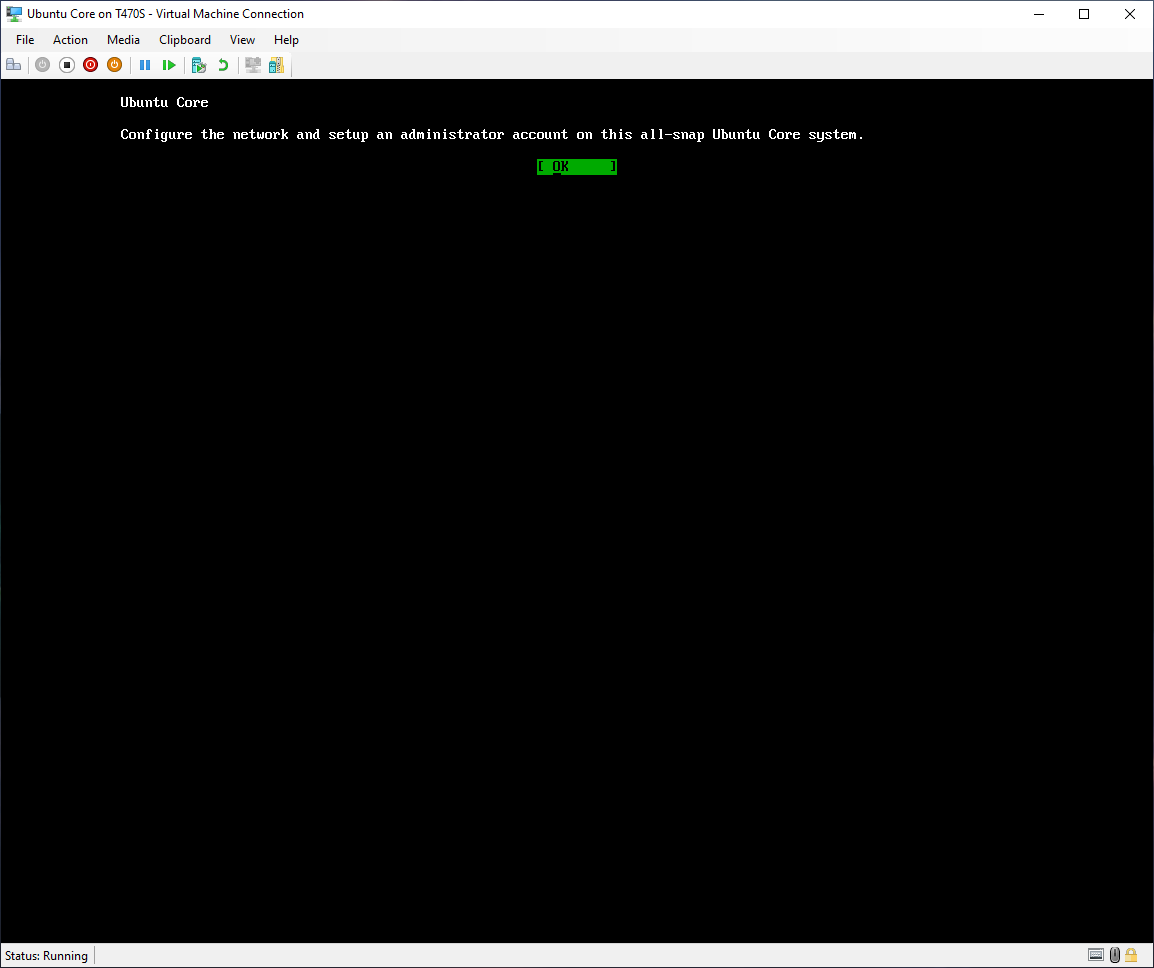
Use the keyboard to navigate the setup, pressing enter to select OK:
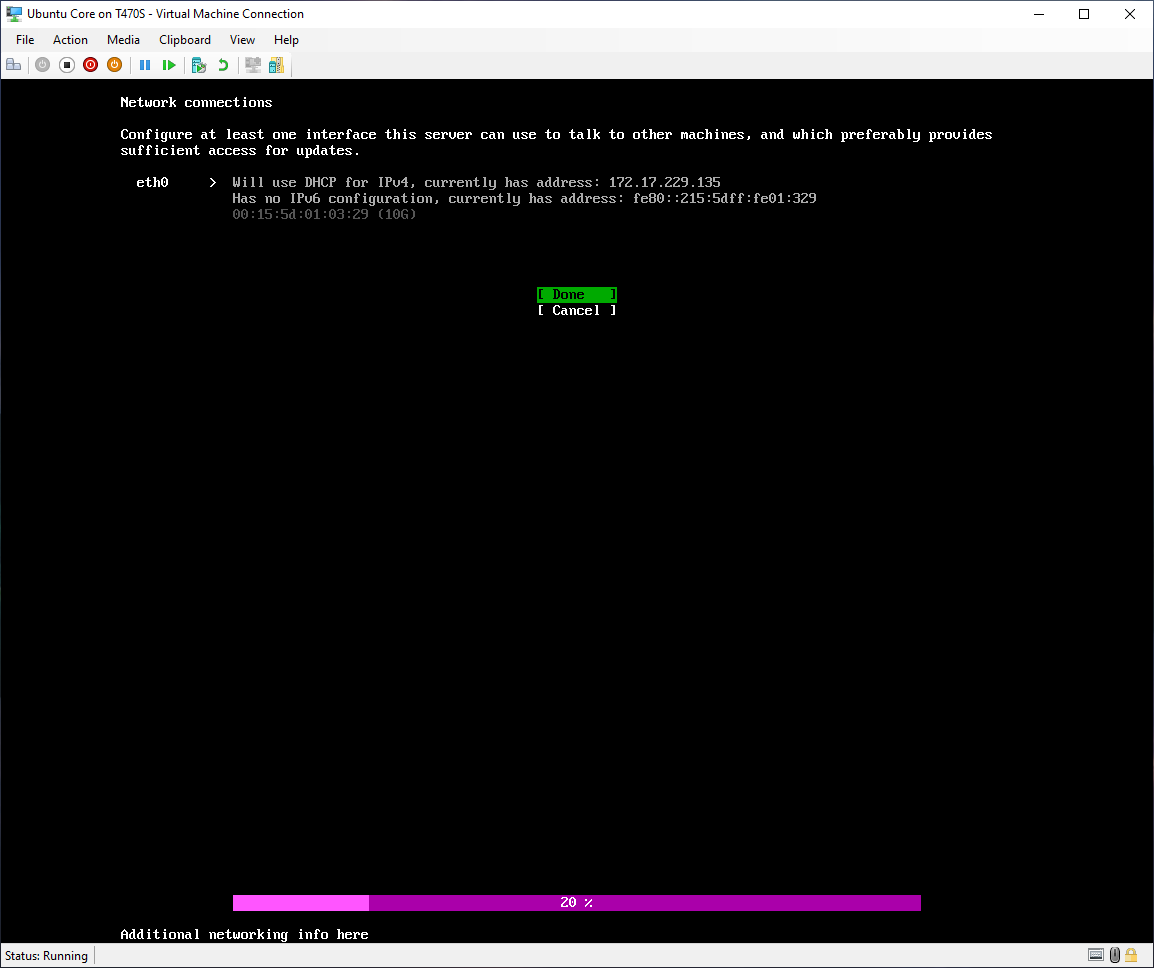
Next is the option to configure the networking. On a basic Hyper-V installation no customization should be required here. A network card is enabled with DHCP in the Quick Create VM. Press tab until Done is selected and press enter to select Done.
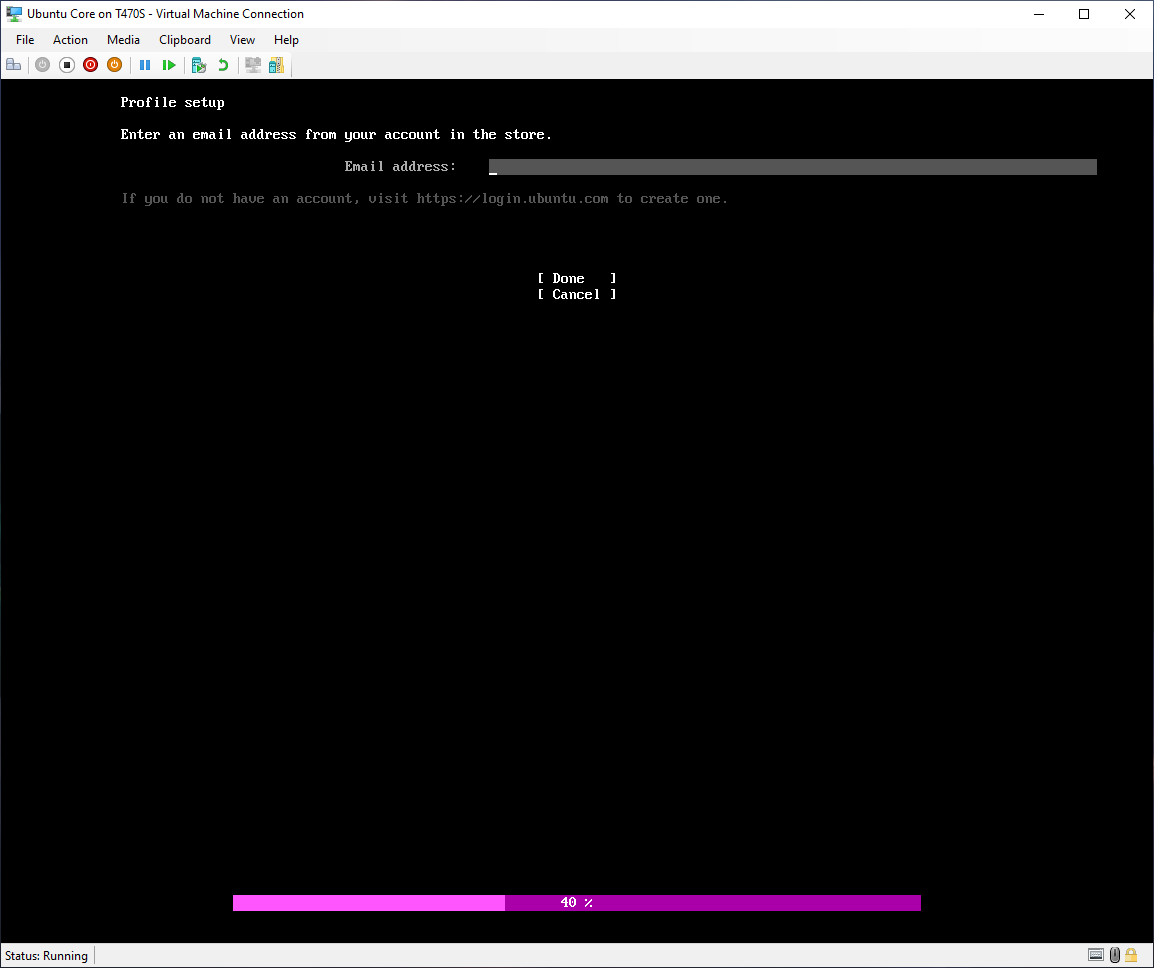
Now you will need to associate your Ubuntu Core install with your Ubuntu SSO (single sign-on) account. Enter the e-mail associated with your account. If you do not have one, create one.
You will use SSH credentials stored in your Ubuntu SSO account to access your Ubuntu Core VM from outside the VM.
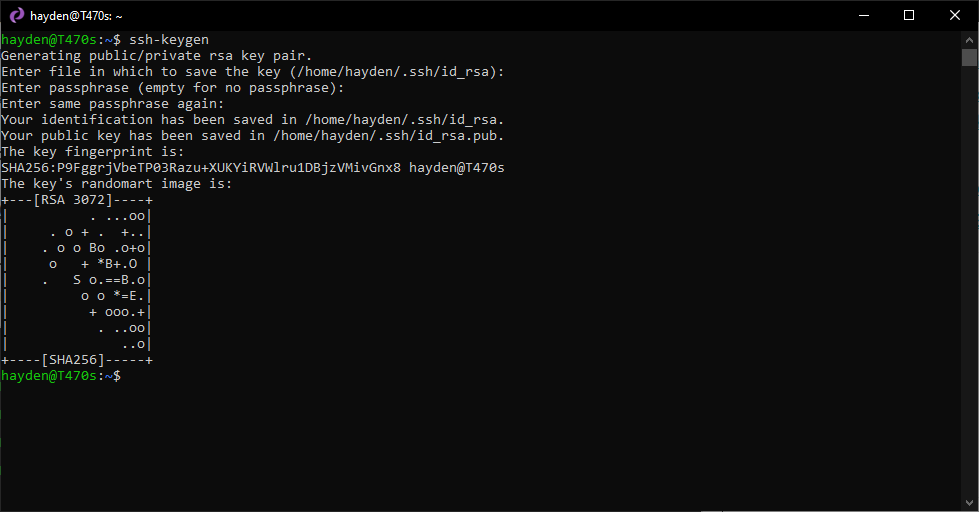
If you need to create SSH credentials, we can use ssh-keygen tool in WSL:
$ ssh-keygen
If your WSL distro does not have ssh-keygen installed, run:
$ sudo apt-get install openssh-client -y
or equivalent for your choice of distribution.
ssh-keygen will place our private and public keys in the ~/.ssh/ folder of our WSL environment.
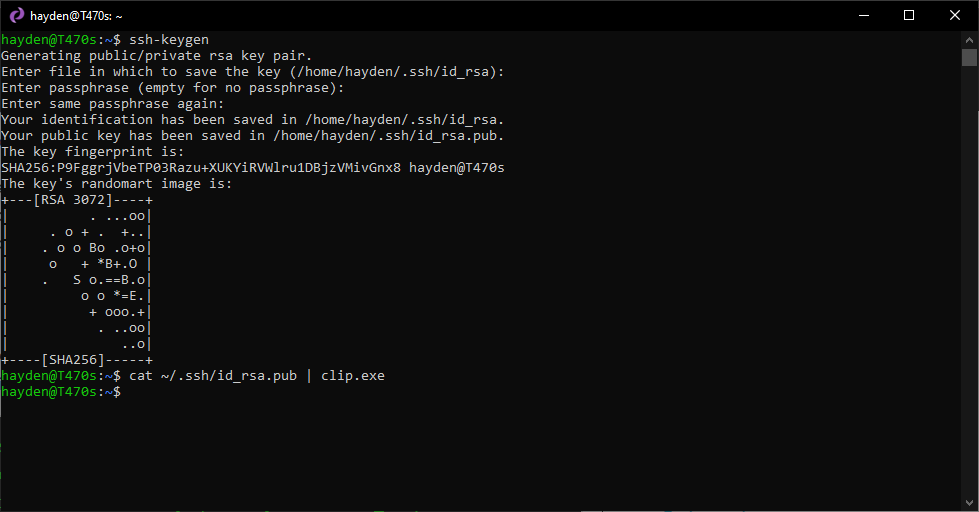
We can then cat our public key to the Windows clipboard by piping it to clip.exe.
$ cat ~/.ssh/id_rsa.pub | clip.exe
We can then paste our private key directly into our Ubuntu SSO account:
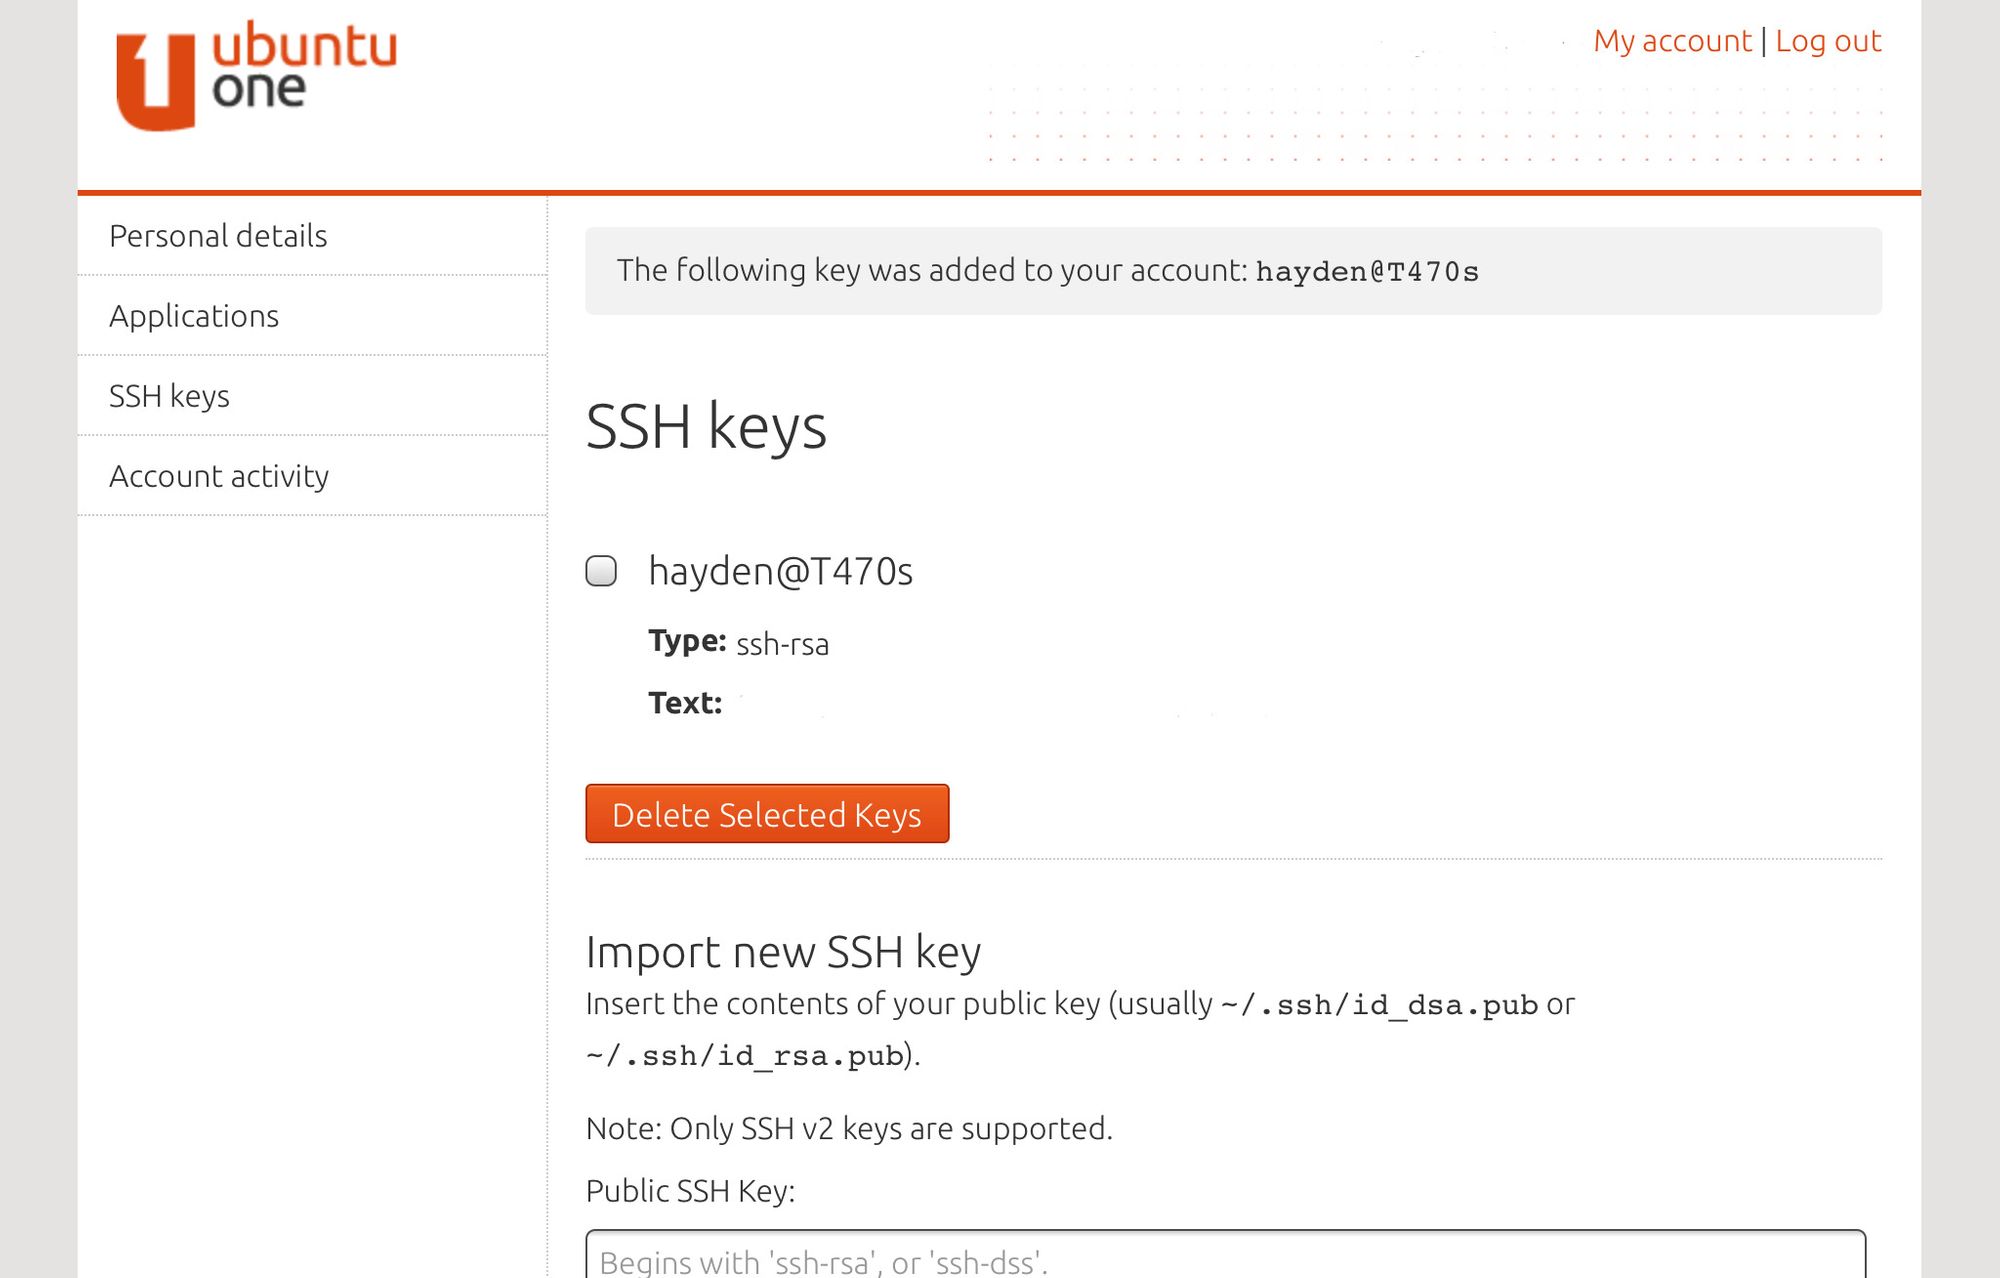
Enter your Ubuntu SSO e-mail, press return, let Ubuntu Core connect to your Ubuntu SSO account, and download SSH keys:
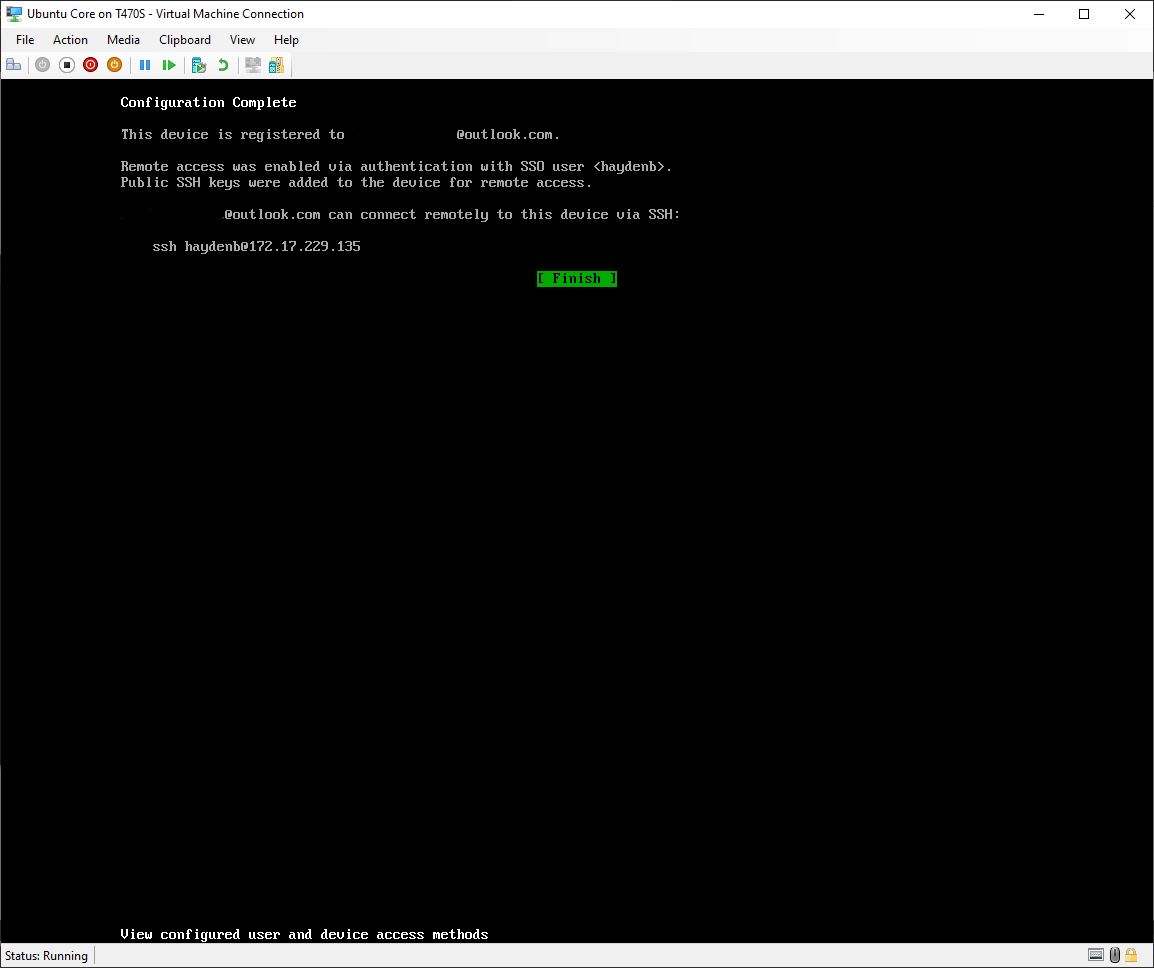
The next screen shows us our username and the bridge IP address of our Hyper-V VM. Press enter to select Finished.
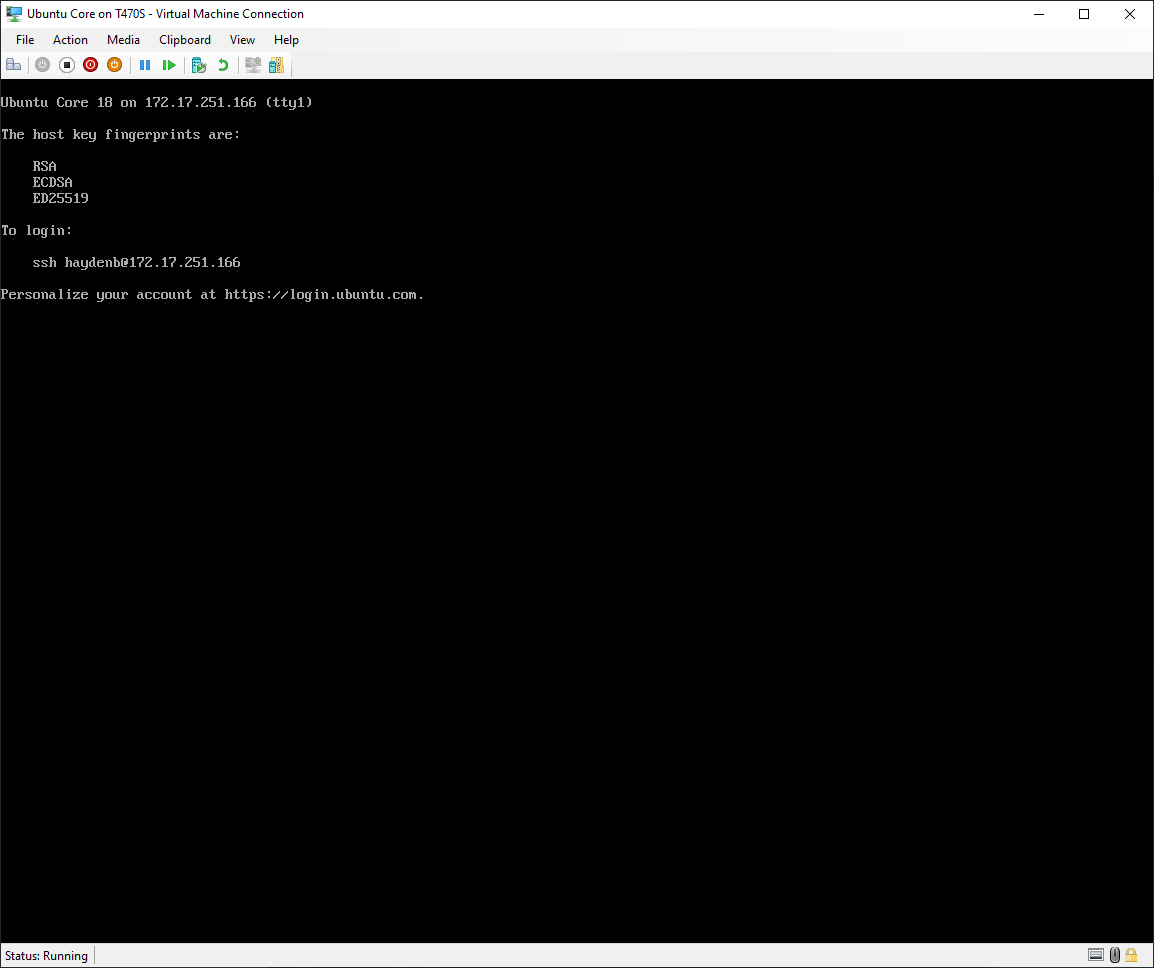
We are now dropped at the default boot screen for Ubuntu Core:
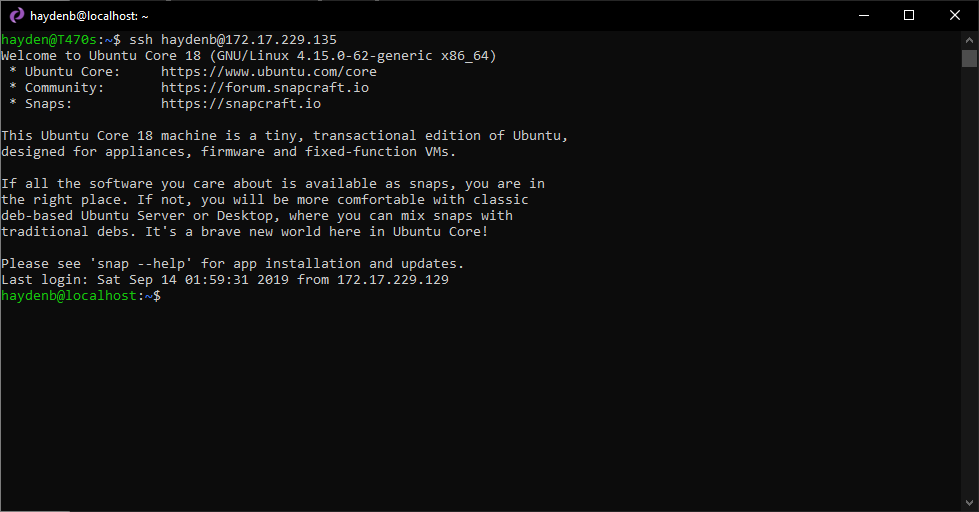
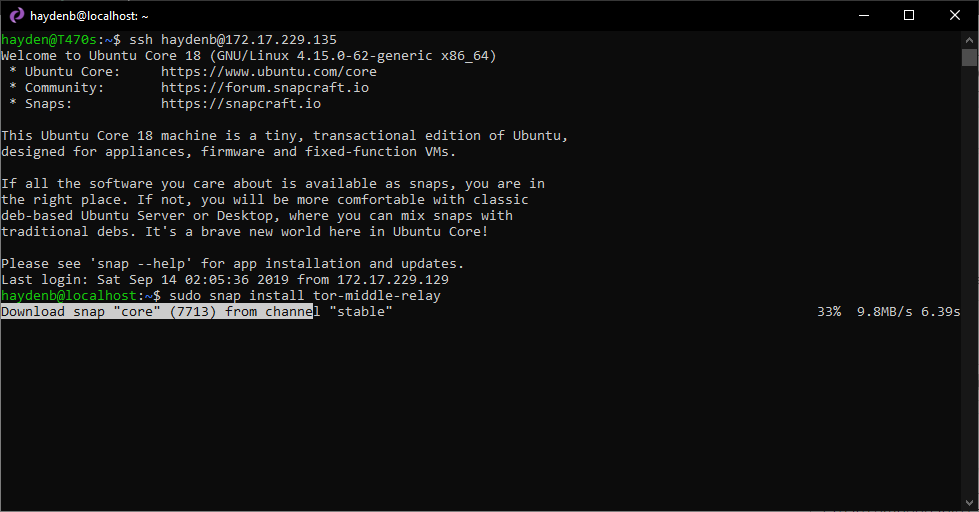
We can then return to our WSL distro where we created our keys and SSH into our Hyper-V VM:
$ ssh <username>@<IP address>
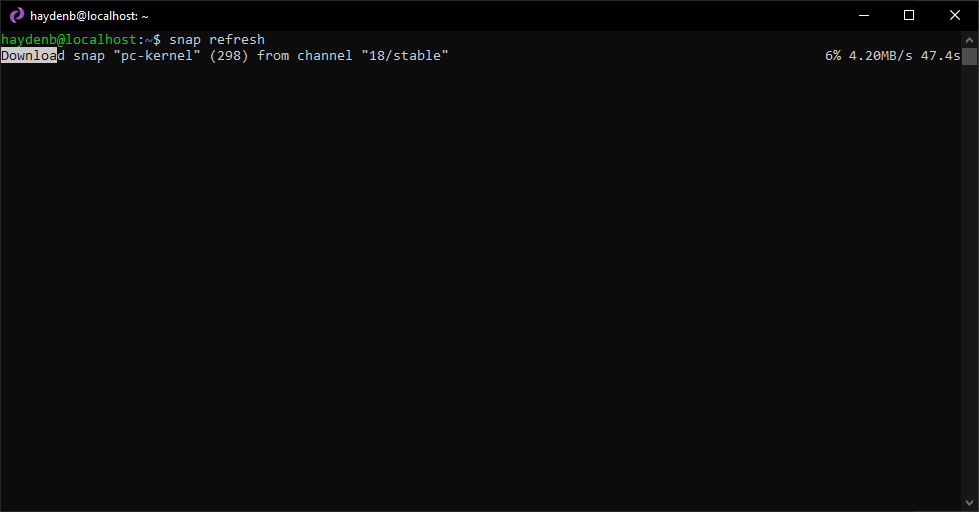
We can run updates with snap on our new Ubuntu Core install with:
$ snap refresh
We can configure and install snaps, such as tor-middle-relay:
$ snap install tor-middle-relay
You can learn more about using snap here.
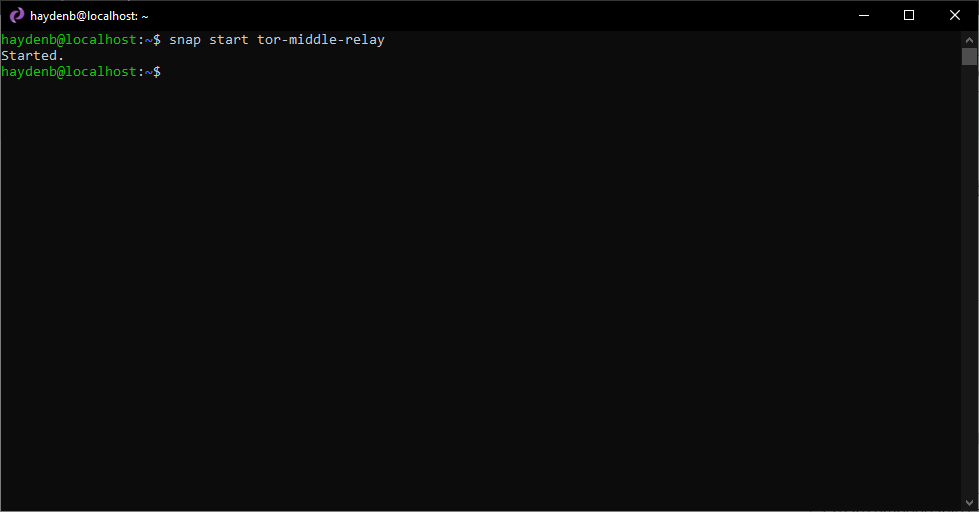
We can easily start snapped services such as tor-middle-relay as follows:
$ snap start tor-middle-relay
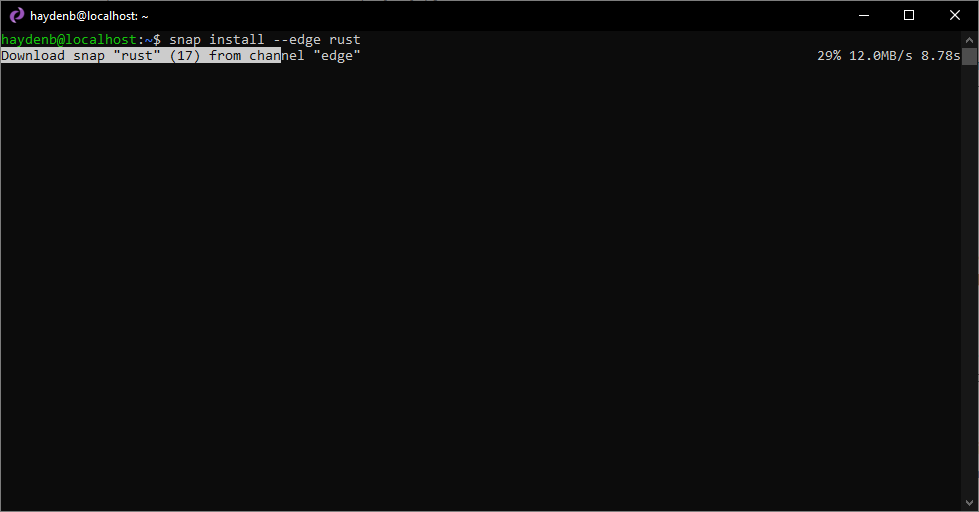
We can install other snaps like the rust compiler:
$ snap install --edge rust
The resources used by Ubuntu Core in Hyper-V are remarkably small:

In the future, I plan to explore creating an Ubuntu Core image that is bootable on WSL2. In the mean time, running Ubuntu Core in Hyper-V is a very low footprint way to experiment with this snap-only Linux distribution on Windows, with a little help from WSL.
WSL makes testing and building on Ubuntu Core on Windows feasible. +1 for WSL.


