Dual-Boot Windows and Windows Insiders Builds Without Re-Partitioning
Run Windows 10 Insider Fast Ring builds on bare metal without risking your daily driver. No partitioning required.
I recommend users carefully consider their personal risk tolerance when using pre-release, beta, and release candidate software. If you are using any of these, for evaluation or in production, you should always have a fallback option and always keep backups. You do keep backups, right?
You should ideally install pre-release, beta, or release candidate software on a secondary device, not your 'production machine' or your 'daily driver', the computer you use for important work. If you do not have access to a secondary device, you can install new applications in a container, sandbox, or on a separate partition. On Linux you can use LXD, systemd-nspawn, or just plain old chroot for command line utilities and applications in the Snapcraft store are automatically containerized. On Windows 10 you can use Windows Sandbox to test out new software.
But what if you want to evaluate an entire operating system? On Linux I like GNOME Boxes for it's user interface simplicity:
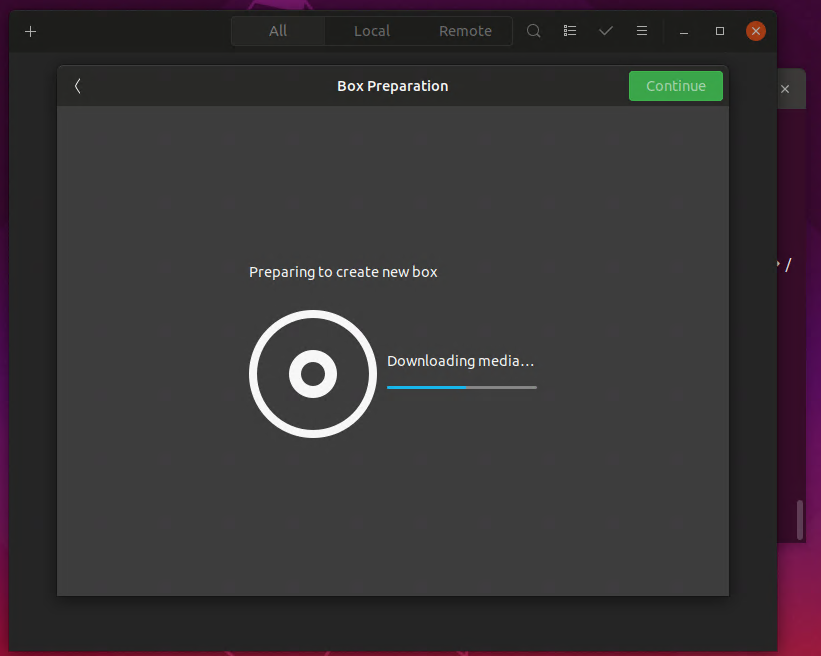
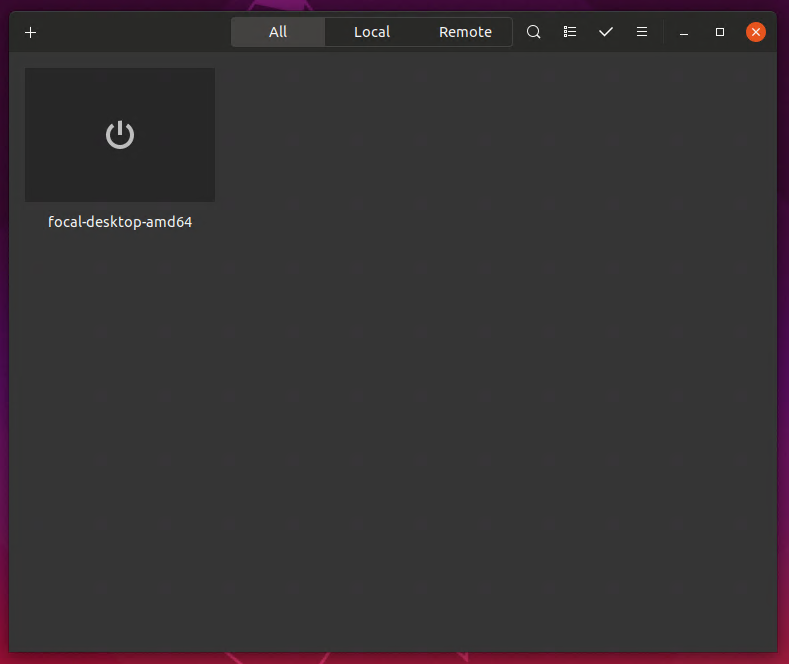
VirtualBox is also very popular. On Windows I use Hyper-V, the hypervisor built into Windows 10 Pro, Enterprise, and Education. It's the native option and in my opinion has the best performance. Hyper-V allows you, for example, to try an entire Ubuntu desktop on Windows or run an Ubuntu Core image.
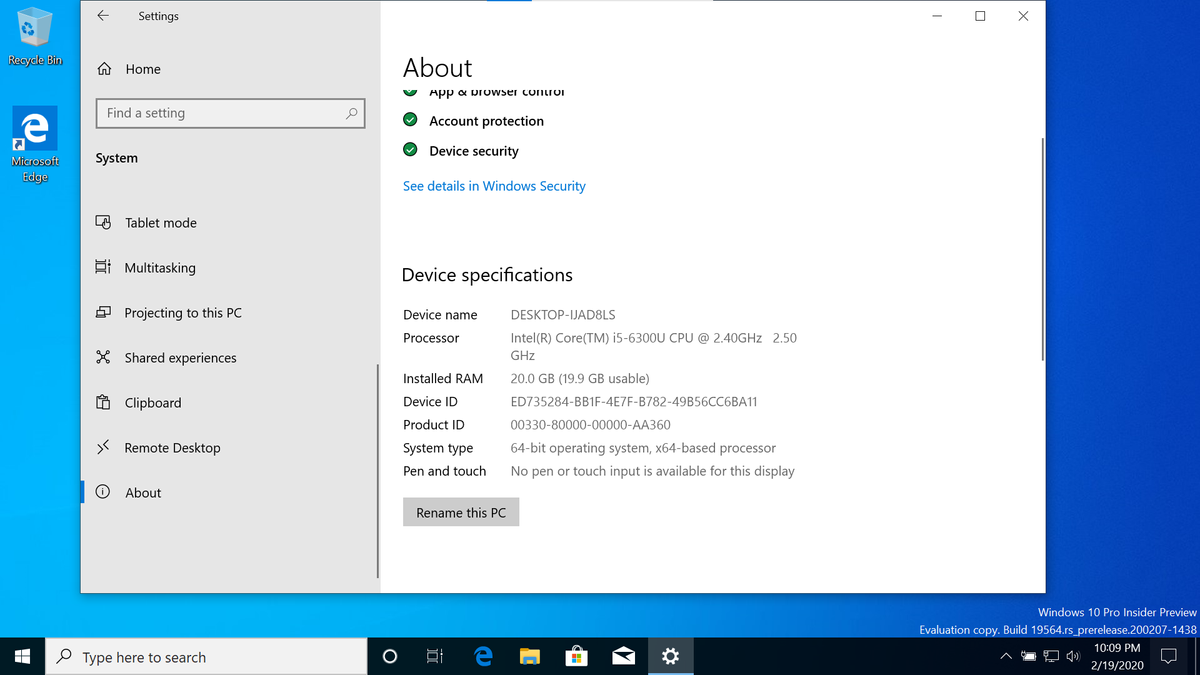
For users who want to try the Fast Ring build of the Windows 10 Insiders program, the bleeding edge of Windows builds released to the public, I wrote an entire guide on how to install it on Hyper-V. This was particularly useful for users who were running Fast Ring builds to try WSL2. Note, you don't need to do that anymore, WSL2 is on the Slow Ring now.
But...Fast Ring is now a requirement to try the new Microsoft Emulator and run the Windows 10X image. The Windows 10X image runs in it's own Hyper-V VM so if you're already running Fast Ring in Hyper-V as recommended you're running Hyper-V inside Hyper-V. It works, it's called nested virtualization, but it is slow. It ground to a halt on my Thinkpad T470s with an i5 and 20GB of RAM, unusable for development work.
The best way to run Microsoft Emulator is probably Fast Ring running on bare metal. How can we do that without risking our daily driver install of Windows 10, dealing with partitions, or third-party boot utilities?
We boot it on bare metal from inside a Hyper-V image, a VHDX.
Requirements:
- Windows 10 Pro, Enterprise, or Education edition
- Recommended minimum 20-30GB free disk space, ideally 50-75GB free disk space
- Recommended minimum 8GB RAM, ideally 16GB RAM
- Hyper-V enabled, see "Hyper-V Graphical Install" here for steps on how to enable
- Ubuntu on WSL installed. If you don't have WSL enabled you can enable it at the same time as Hyper-V
- A backup of the machine you will be doing this on, but you already have those, right?
Creating a Fast Ring VHDX
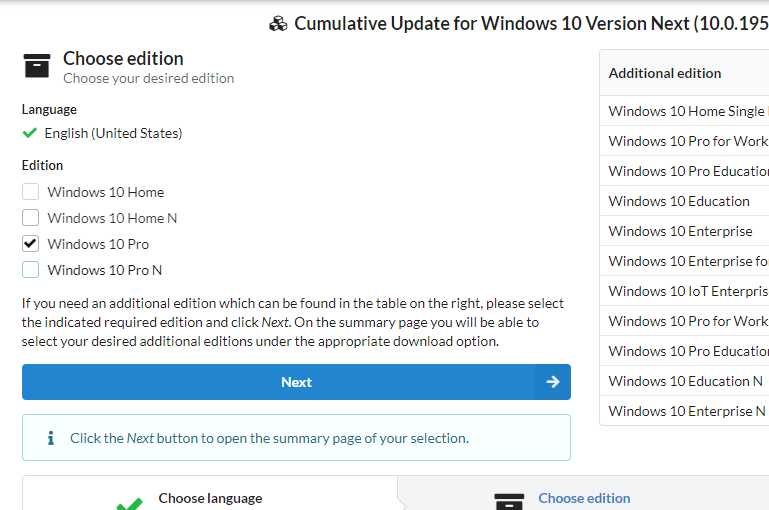
Download an ISO of the latest Fast Ring build for your platform from UUP dump:
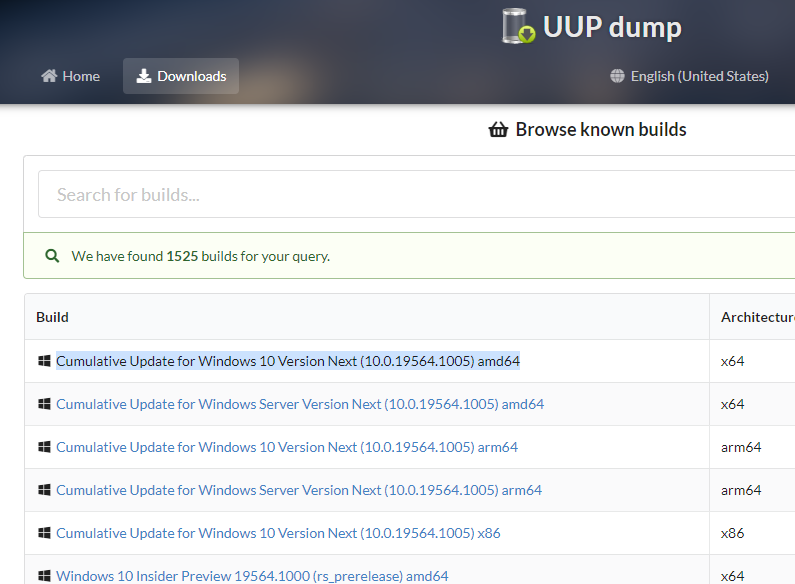
You can also download an official ISO from Microsoft but the official ISOs lag behind an ISO created from UUP dump. As of writing Microsoft has not posted an ISO of Fast Ring of build 19555 or higher, which we need for the Microsoft Emulator.
Select the Pro edition:
Download using aria2 and convert:
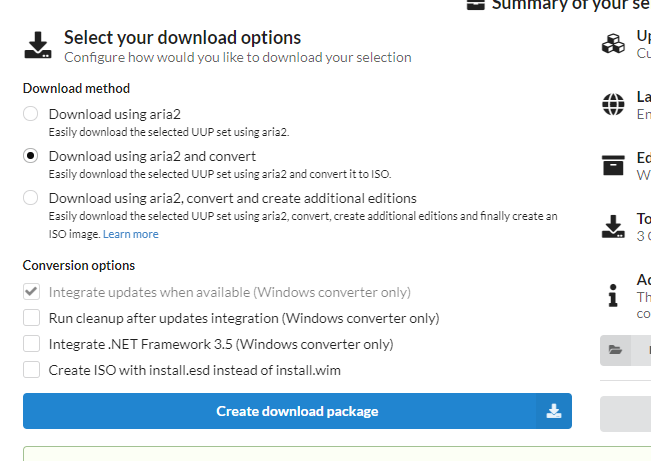
This will download a ZIP file with both a Linux and a Windows shell script to download and create the ISO. Extract it:
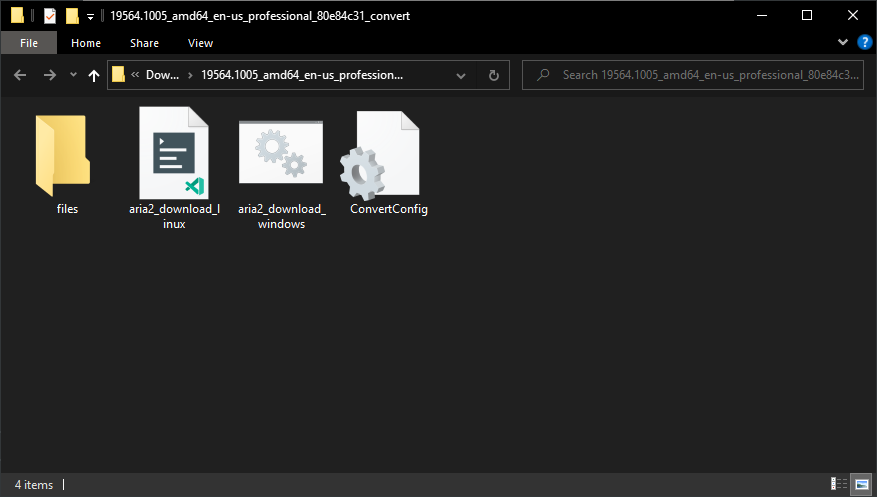
I prefer to run the Linux shell script in WSL.
- Open up Ubuntu on WSL.
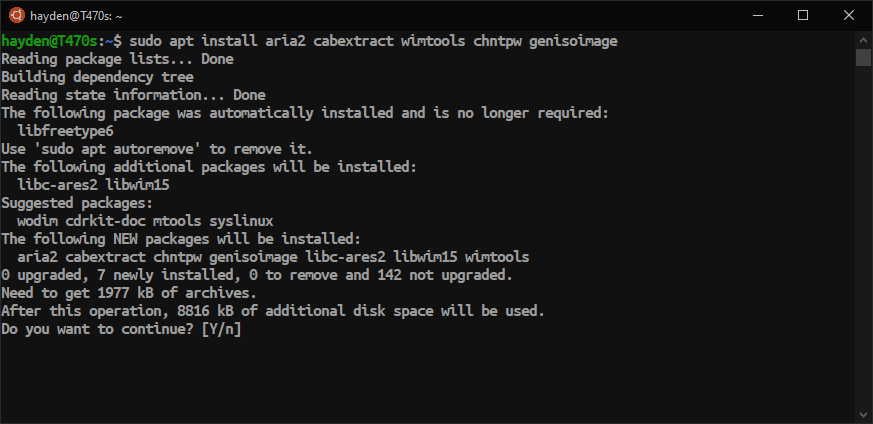
- Install needed dependencies:
$ sudo apt install aria2 cabextract wimtools chntpw genisoimage
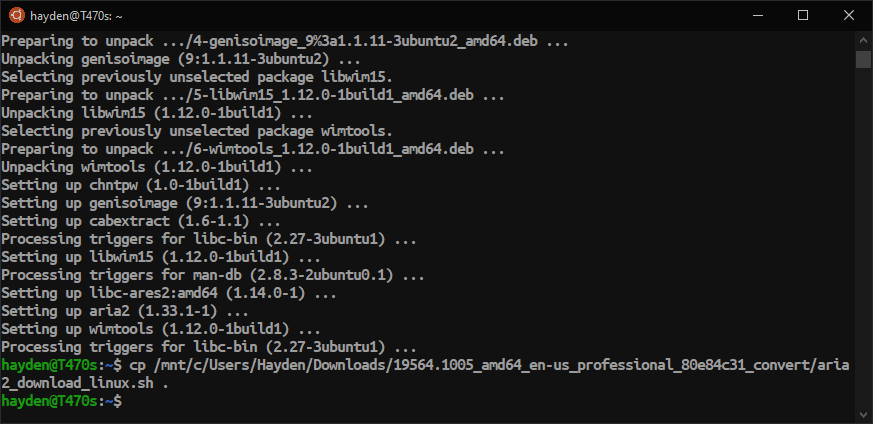
3. Copy the download package to your Linux home folder. This creates the ISO in your WSL container and reduces WSL<->Windows file system I/O calls, which can slow the download and compression. Once generated we copy the ISO back over to Windows. Your path may vary by your Windows username and build number:
$ cp -r /mnt/c/Users/Hayden/Downloads/19564.1005_amd64_en-us_professional_80e84c31_convert .
$ cd 19564.1005_amd64_en-us_professional_80e84c31_convert
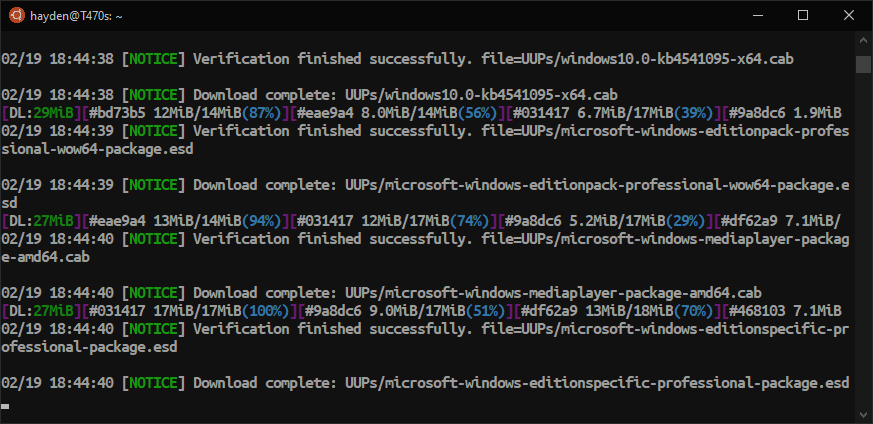
4. Run the shell script:
$ ./aria2_download_linux.sh
5. Move the completed ISO back to Windows:
$ mv 19564.1000_PROFESSIONAL_X64_EN-US.ISO /mnt/c/Users/Hayden/Downloads/

Now that we have our Fast Ring ISO we are going to install it on a new Hyper-V virtual machine with some adjusted settings.
Advanced users may want to extract the WIM from the ISO and use WIM2VHD (or this new C# re-write) to create their VHD. You could also use DISM. For us non-masochists, the Hyper-V approach is fine and allows you to customize your image before rebooting into it.
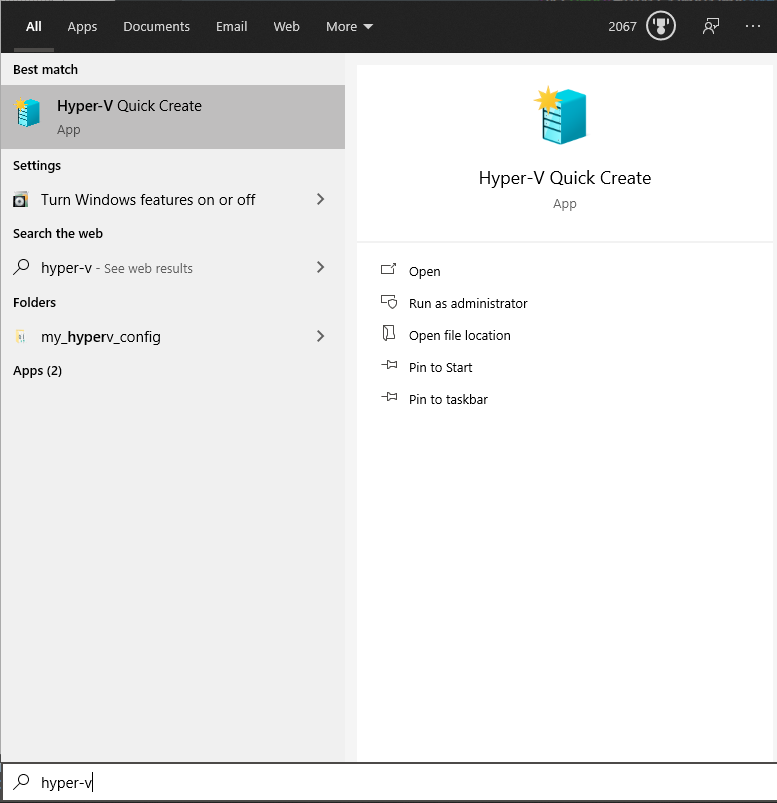
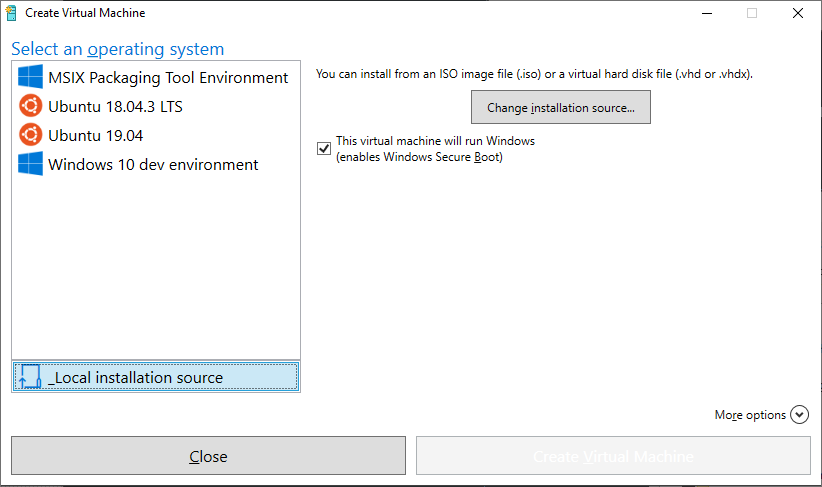
Open Hyper-V Quick Create by searching "Quick Create":
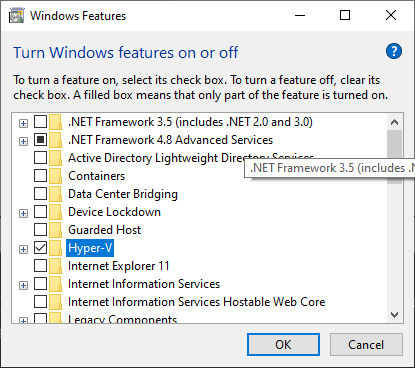
Note: If you can't find Hyper-V Quick Create, you will need to install it from Programs & Features, search for "Turn Windows features on and off", check Hyper-V, and restart:
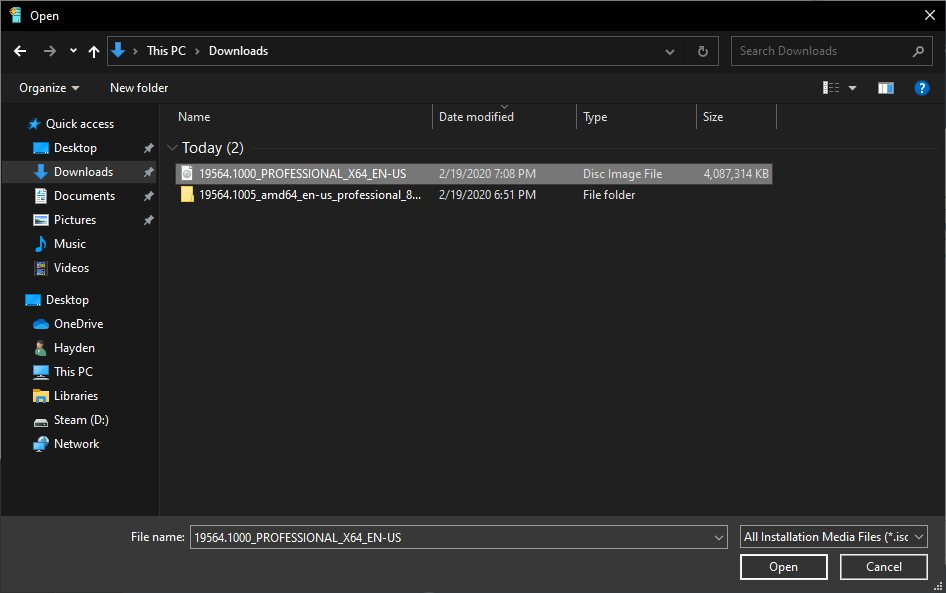
Click Local Installation Source, Change installation source, and then select our ISO:
Click the arrow button on the bottom right next to More options and name the VM something useful:
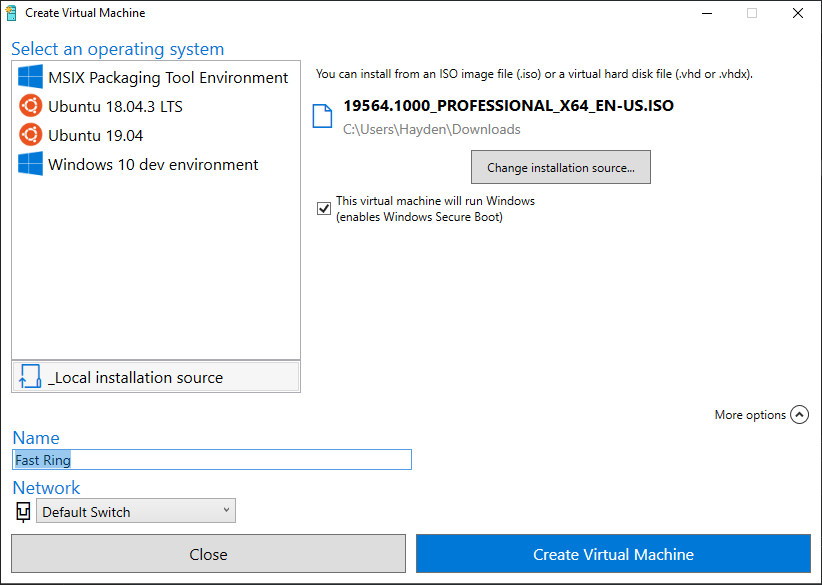
Then click Create Virtual Machine.
You will land here:
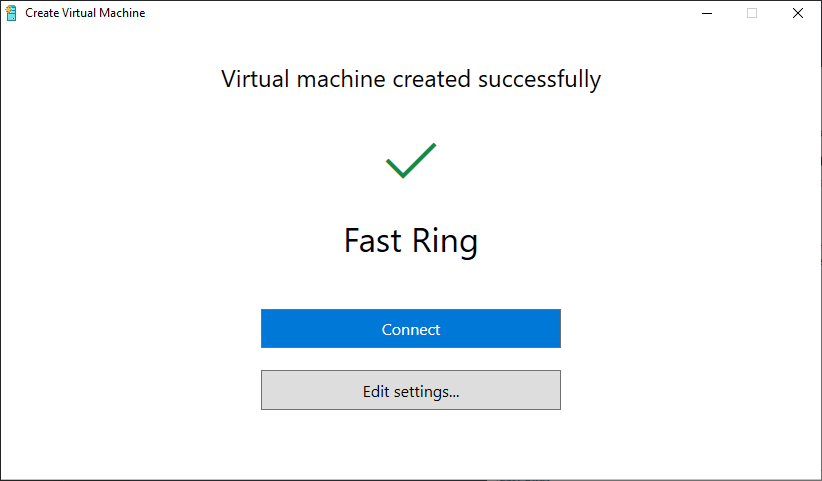
Before we click Connect we need to edit some settings:
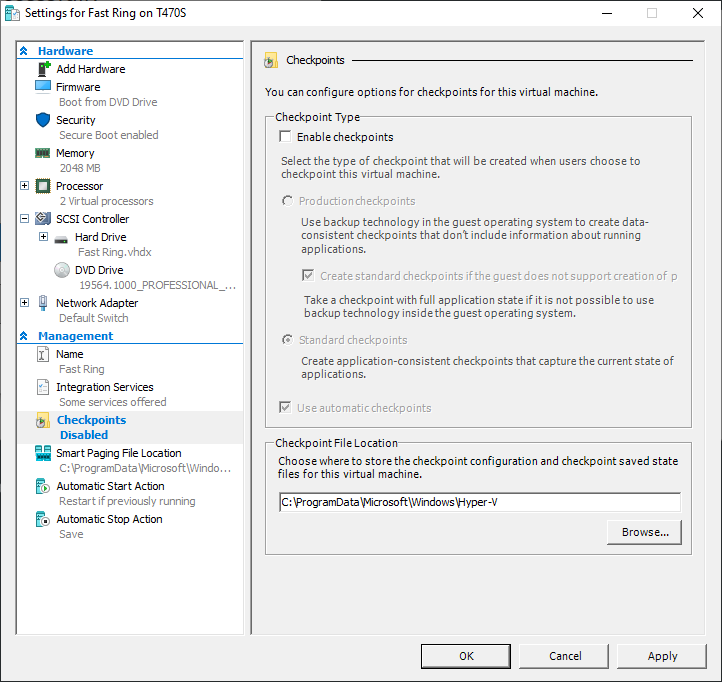
Click the Edit settings button, select the the Checkpoints section under Management, and then uncheck Enable checkpoints:
If you have additional RAM, on a machine with more than 8GB, you can increase your RAM for this VM to speed up installation. You can do this in the Memory section. There is no need to adjust the Dynamic Memory settings.
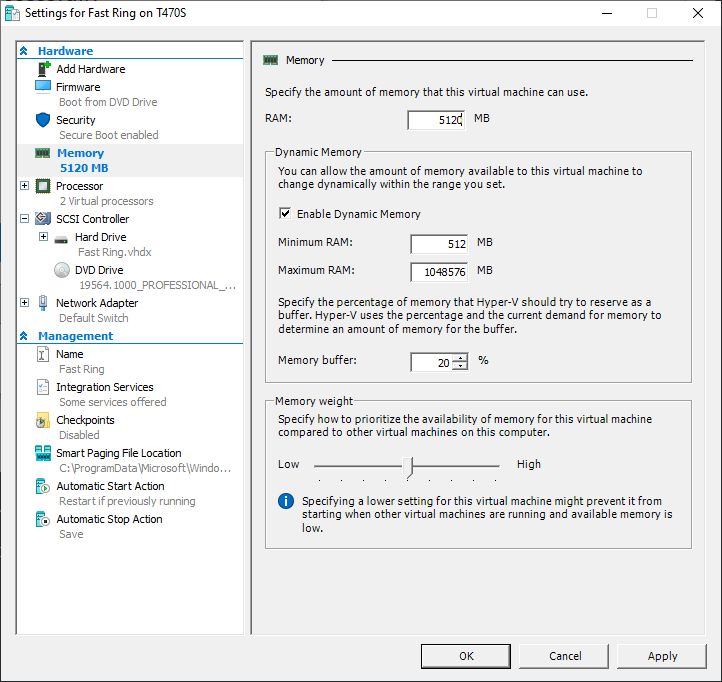
When done disabling Checkpoints and optimizing RAM settings for your machine, click Apply, and OK.
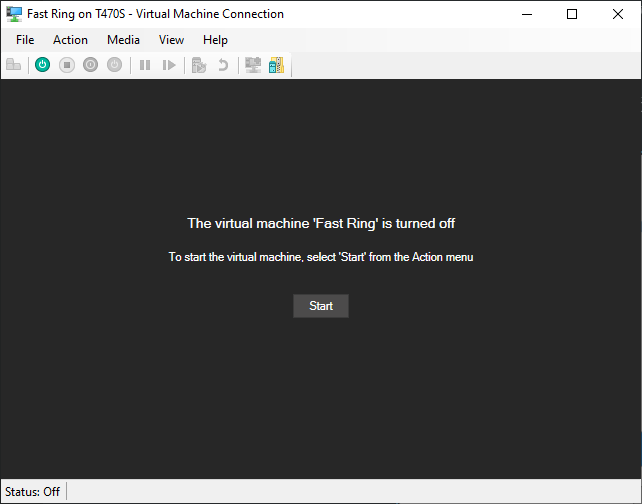
Return to the previous window and click Connect:

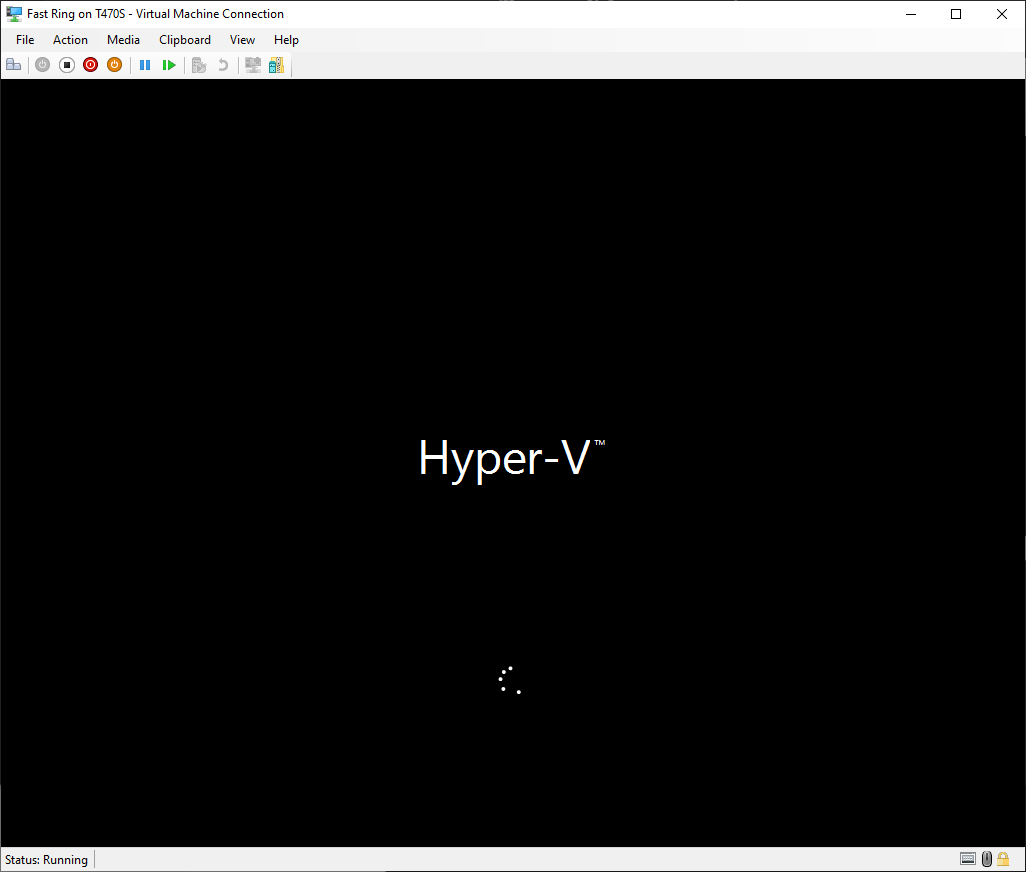
Your VM will open. Click Start to run it:
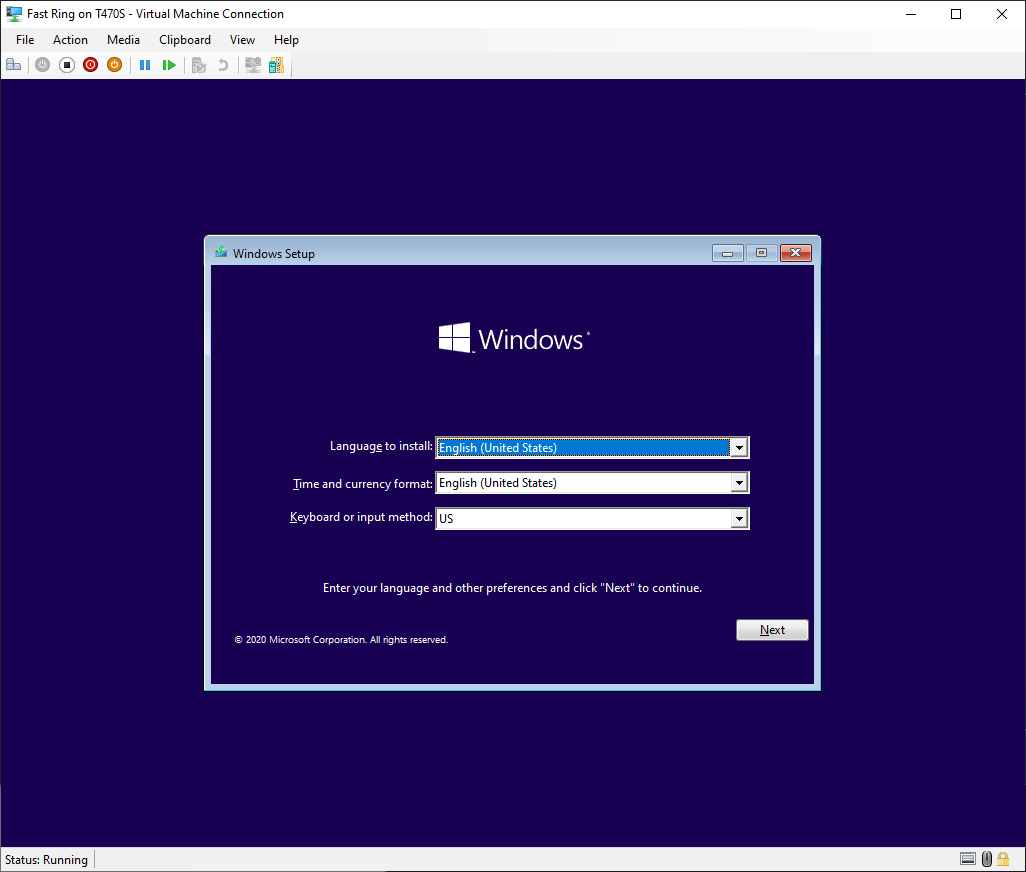
Make sure you press a button on the keyboard to boot from the ISO.
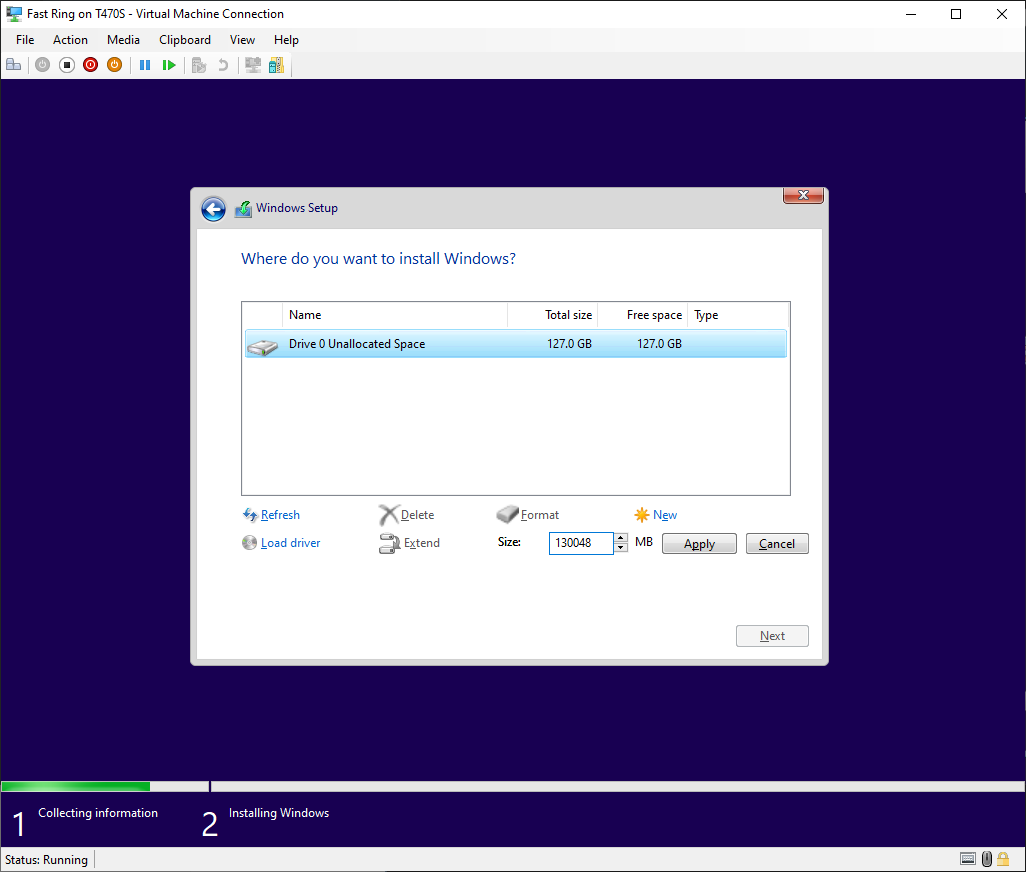
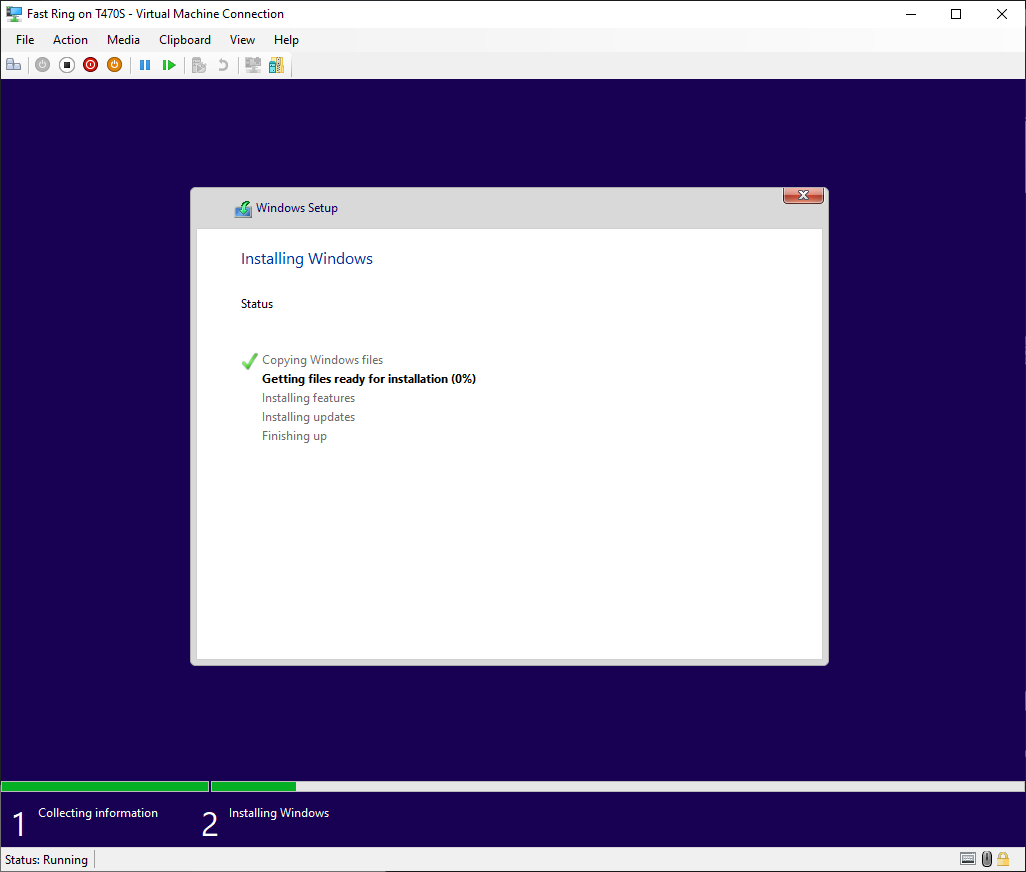
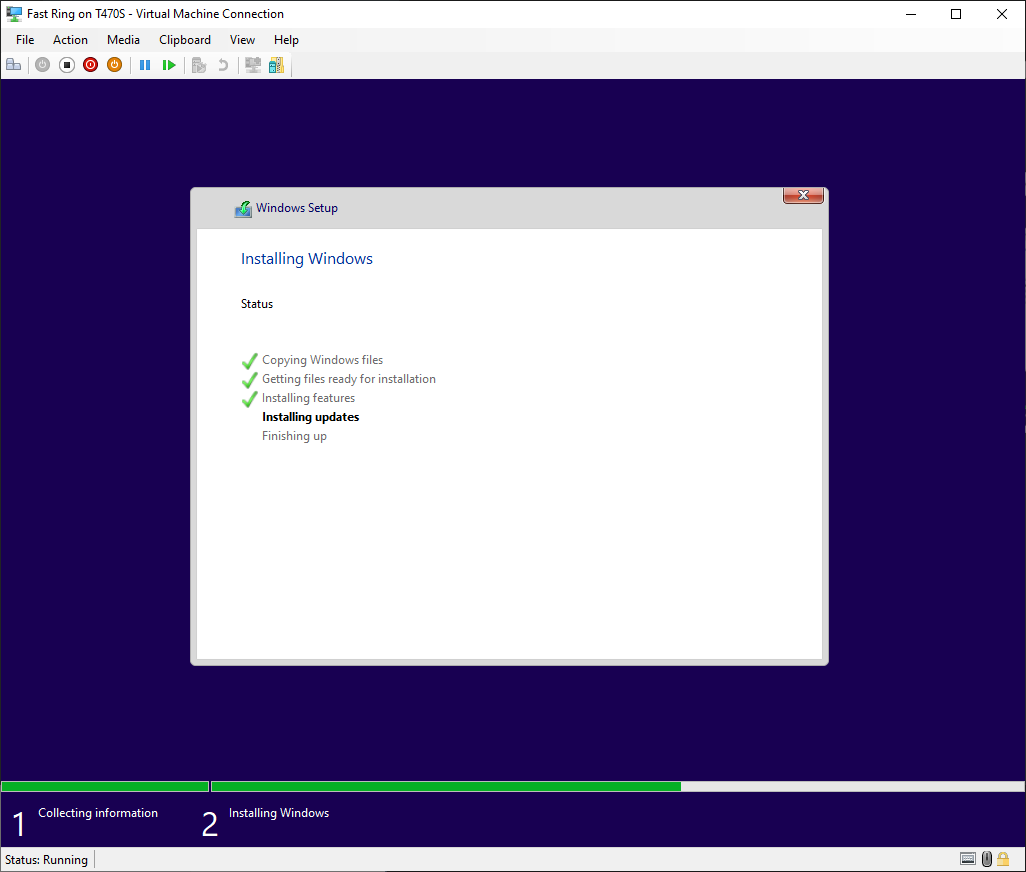
Install Windows 10. Follow the default options.
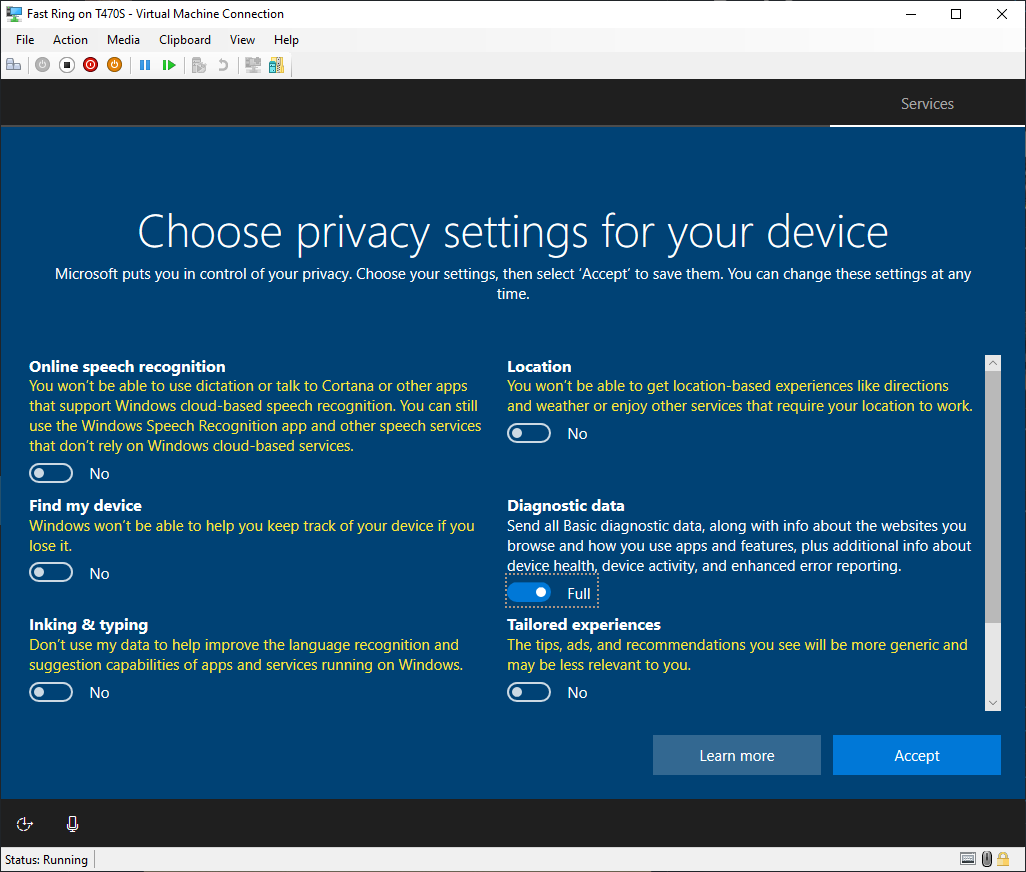
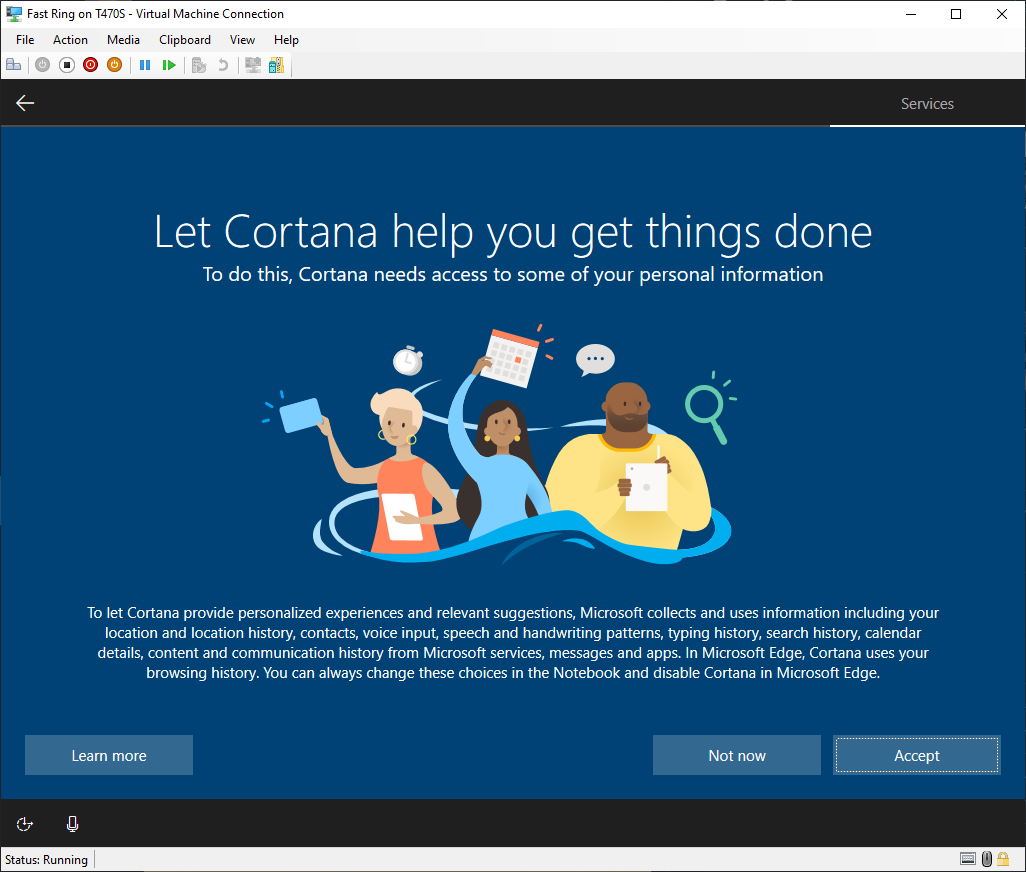
Set up Windows 10 based on your preferences:
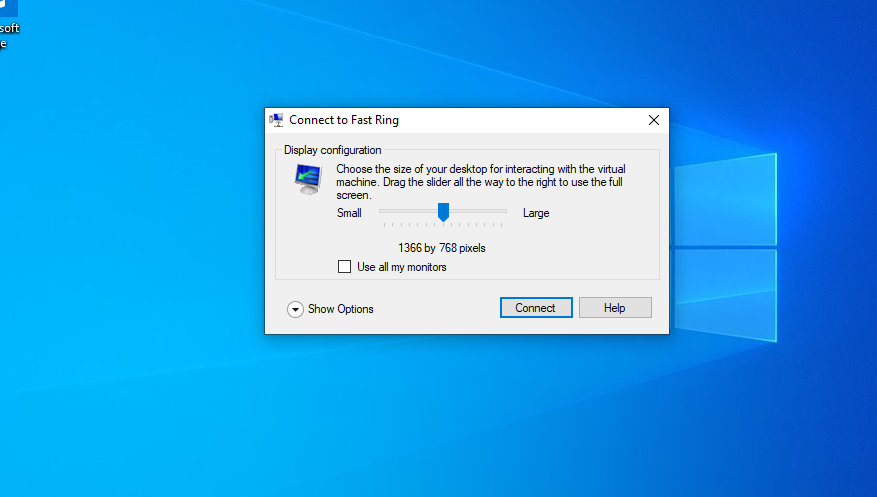
Select your preferred resolution:
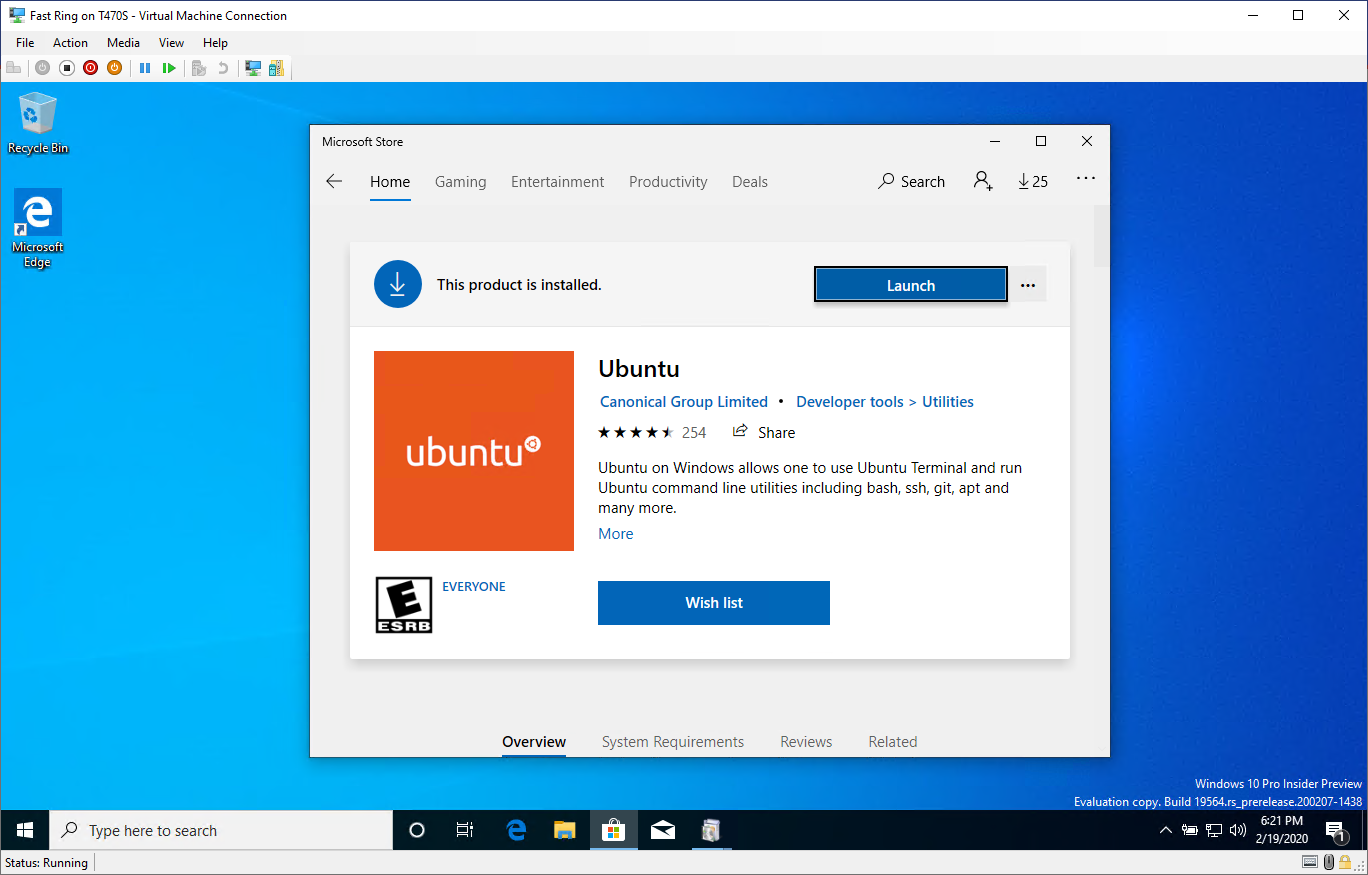
You can go ahead and set up your environment, such as Microsoft Emulator and Windows Terminal:
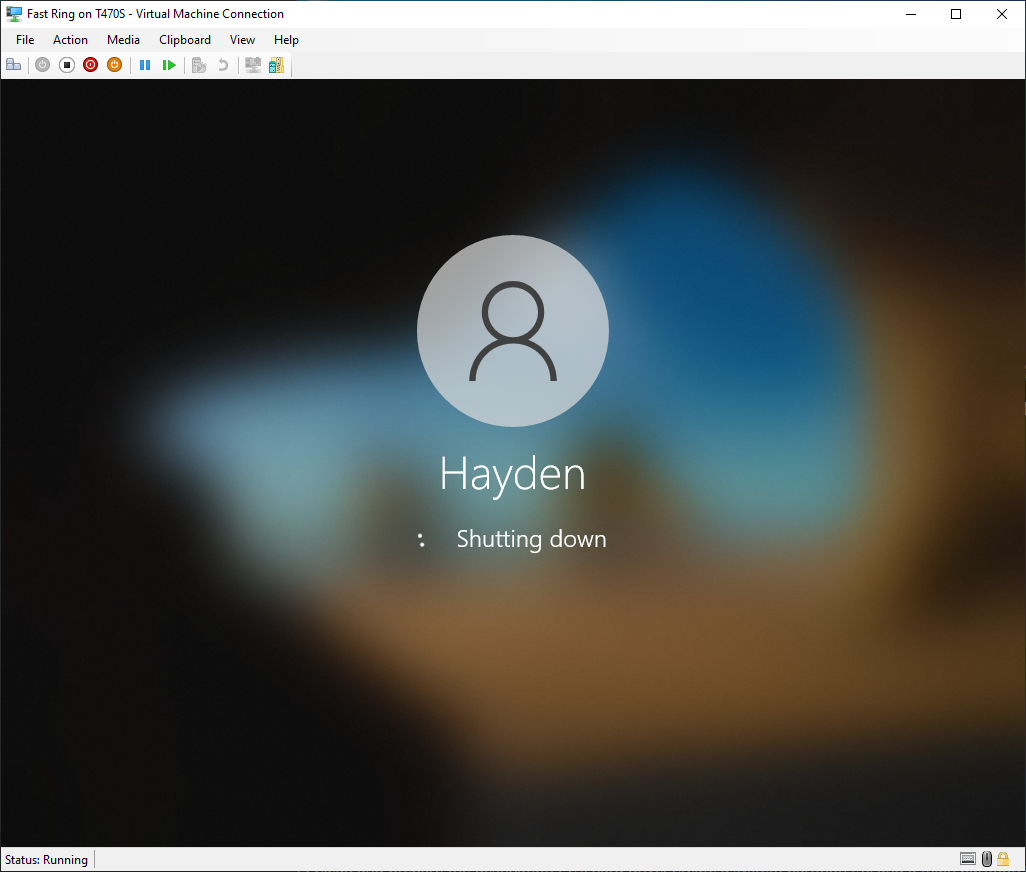
When done, shut down the VM:
Configuring Windows 10 to boot our VHDX
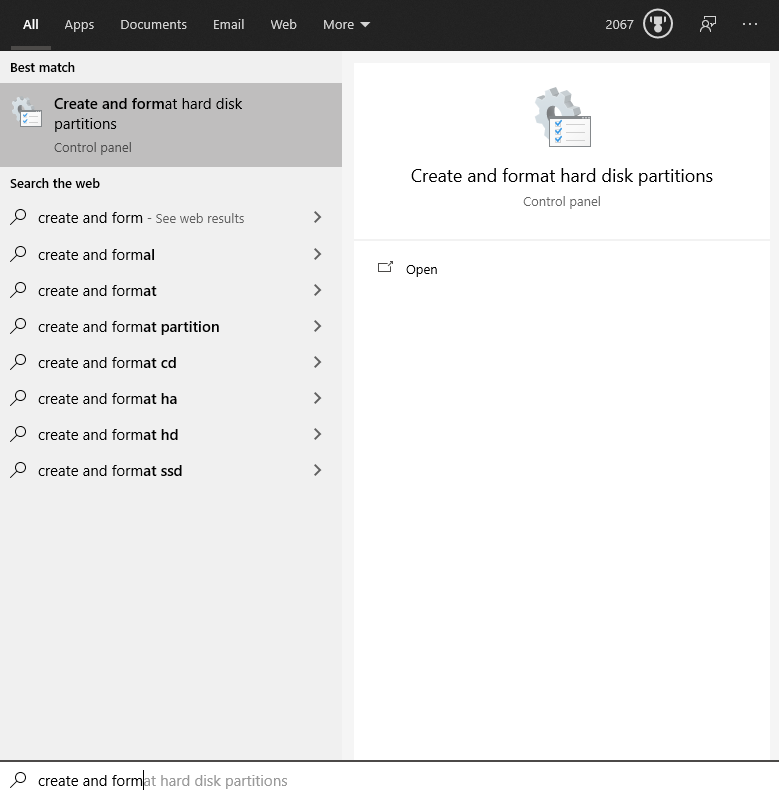
Open Disk Management by searching for "Create and format hard disk partitions":
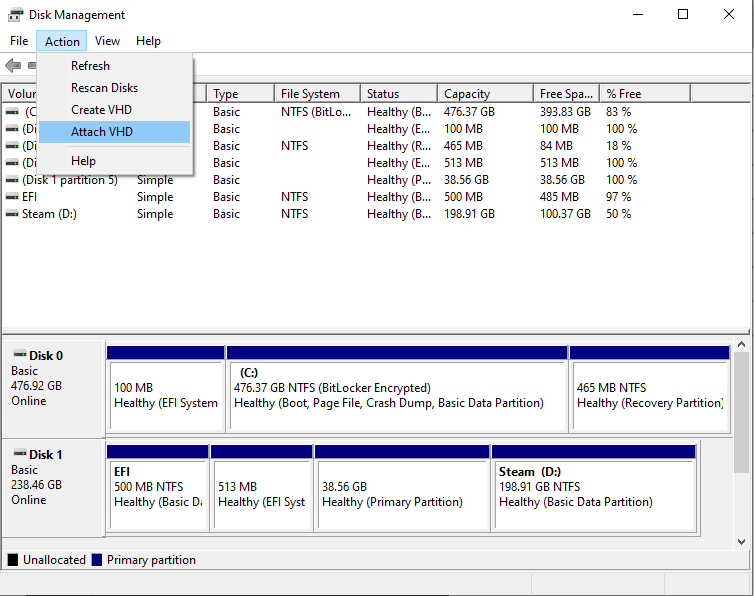
Click Action and Attach VHD:
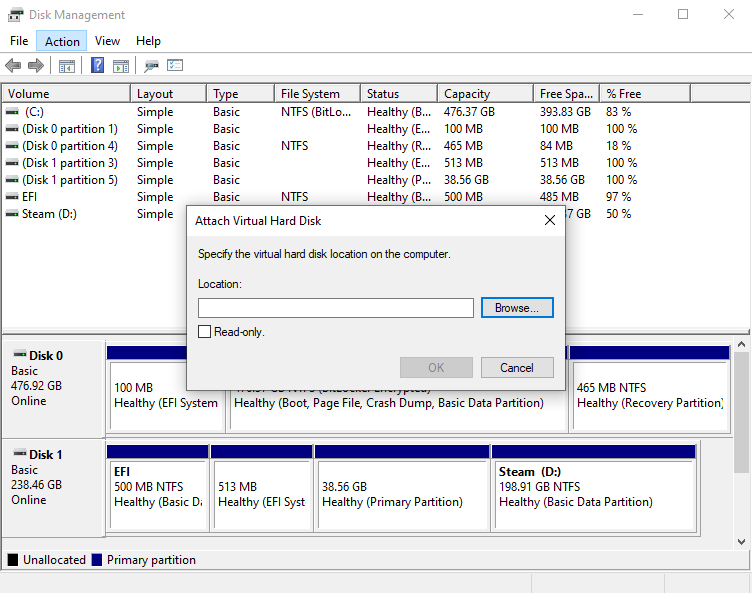
Browse to
C:\Users\Public\Documents\Hyper-V\Virtual hard disks
and select Fast Ring.vhdx:
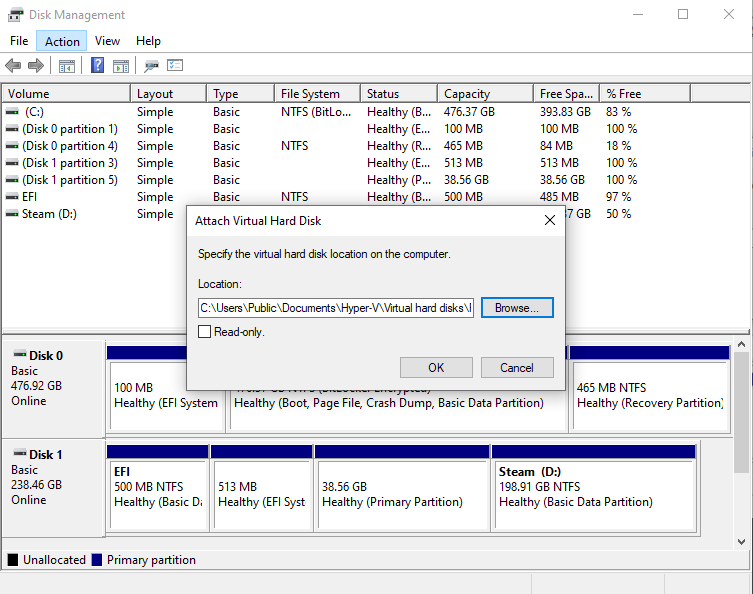
Click OK.
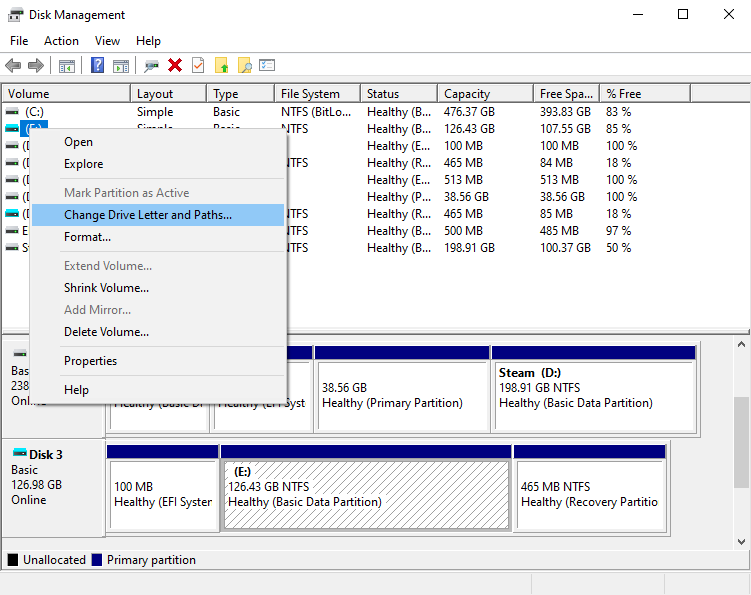
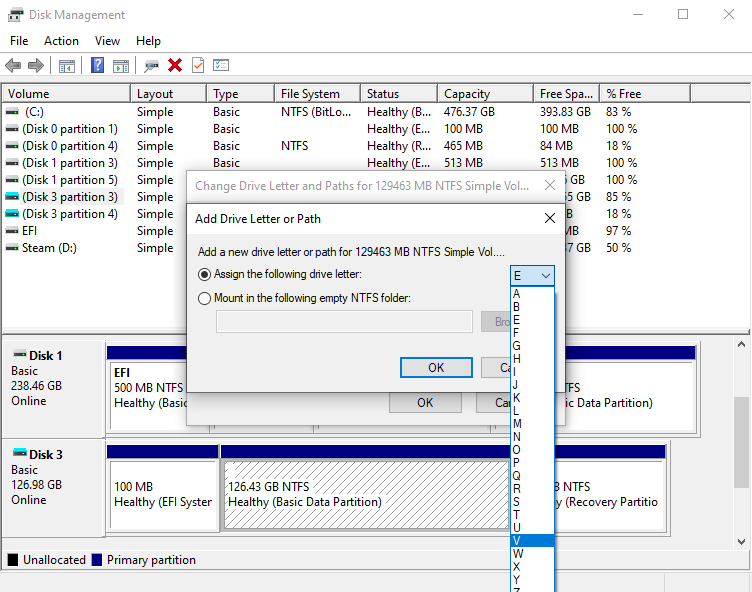
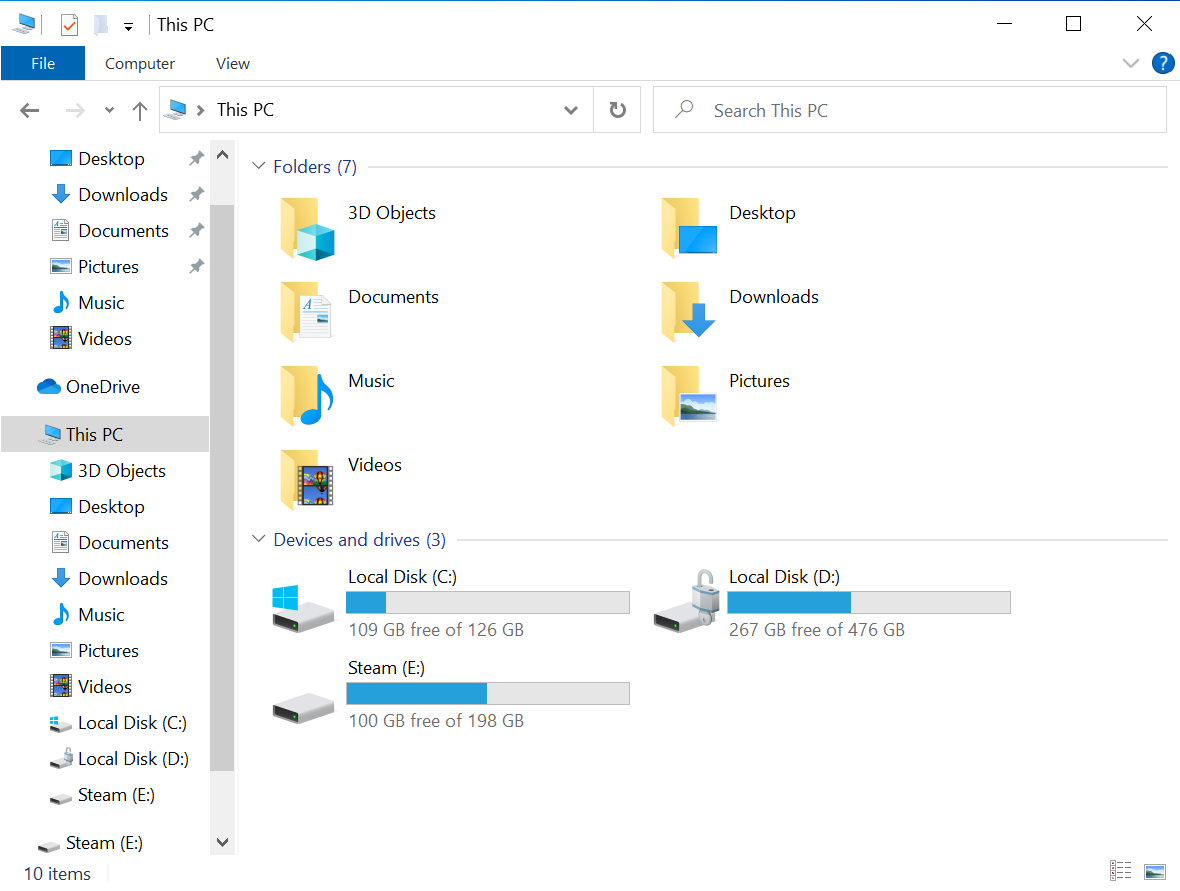
The drive will be mounted as D:\, E:\, or higher. To avoid confusion with other drives, I recommend renaming the drive to V:\.
You can do this by right-clicking on the new drive, in the example below it is E:\, and clicking Changing Drive Letters and Paths. Add V:\ and then remove E:\:
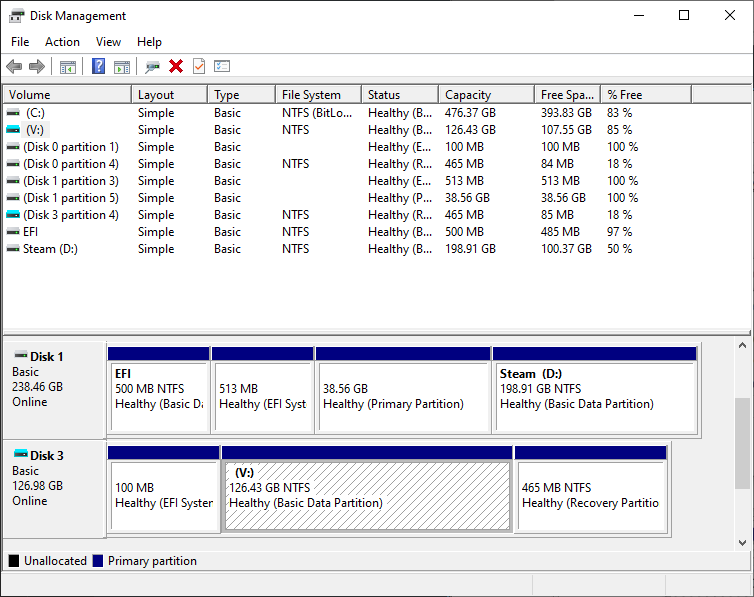
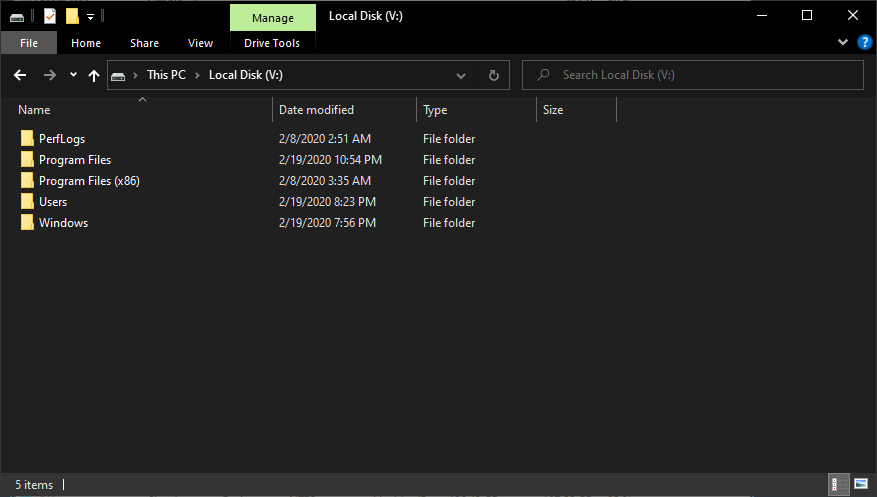
You can verify the image by browsing to V:\
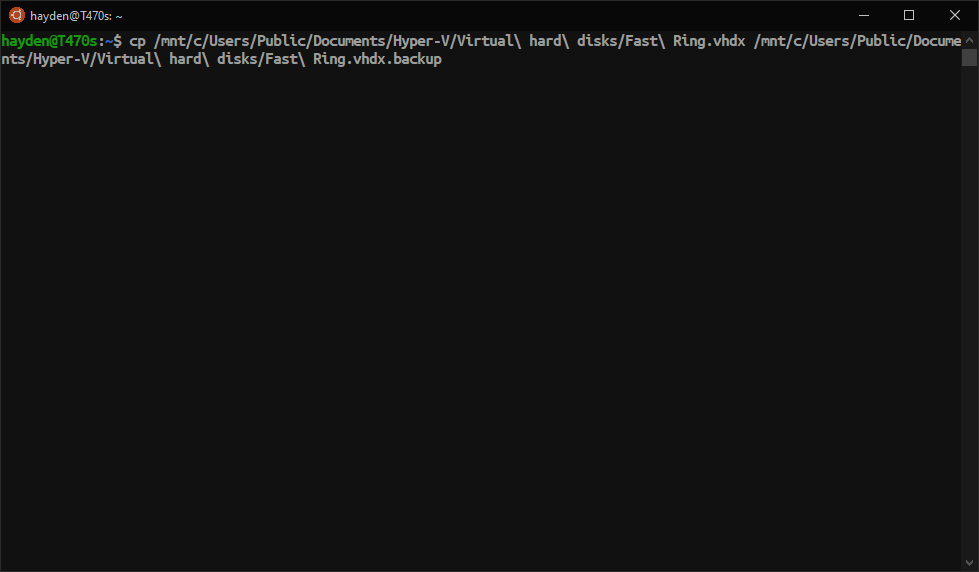
Backup your VHDX at this point:
$ cp /mnt/c/Users/Public/Documents/Hyper-V/Virtual\ hard\ disks/Fast\ Ring.vhdx /mnt/c/Users/Public/Documents/Hyper-V/Virtual\ hard\ disks/Fast\ Ring.vhdx.backup
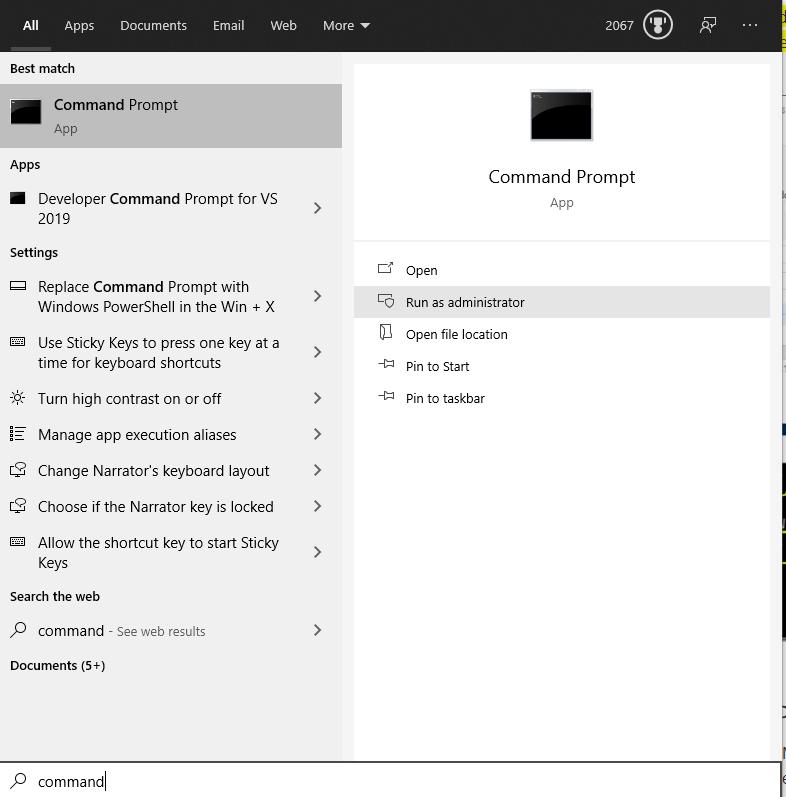
Open Command Prompt as an Administrator by searching for "Command Prompt" and select "Run as administrator":
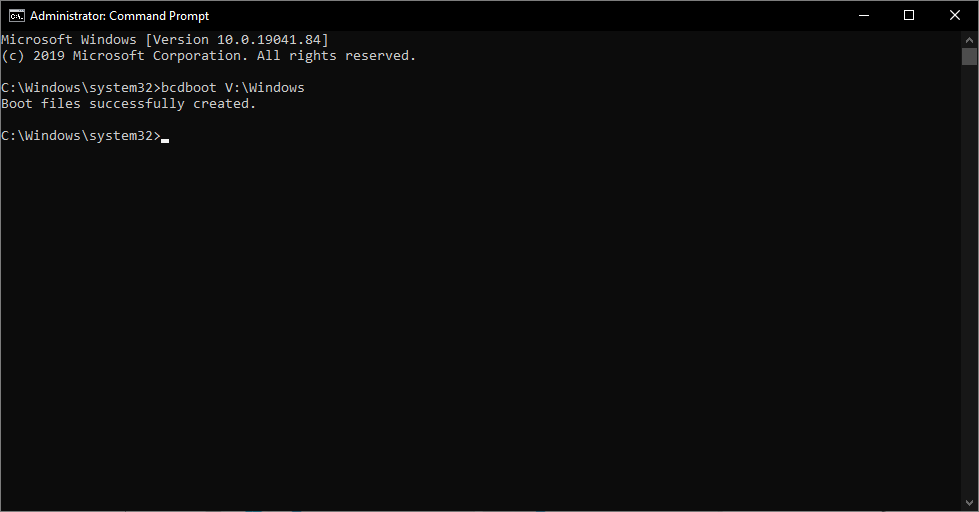
Type:
bcdboot V:\Windows
To generate boot the files.
We are mostly done.
Just a few things to make this a bit easier to use.
First let's verify everything is in place.
Type:
bcdedit /v
You should find the boot entry for our VHDX:
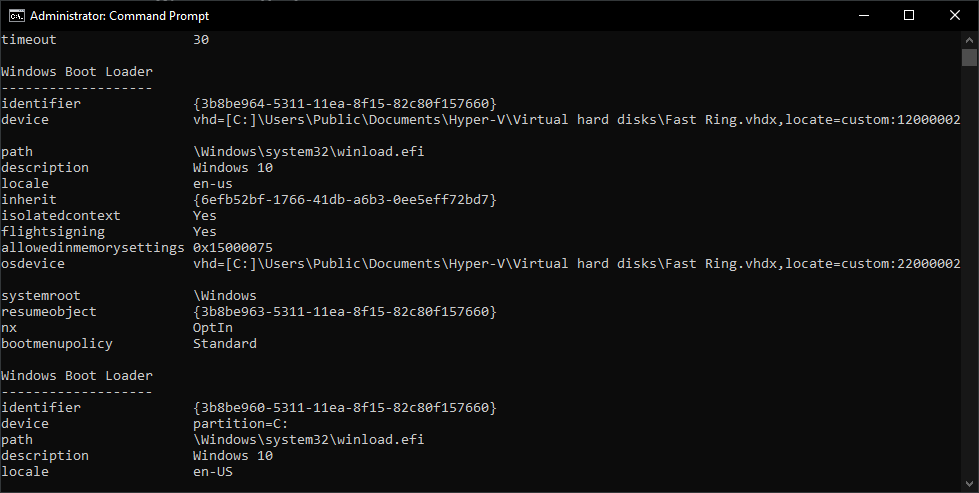
Copy the "identifier" from the Windows Boot Loader entry for the vhd device and type the following to rename the entry to something more useful:
bcdedit /set "{3b8be964-5311-11ea-8f15-82c80f157660}" description "Windows 10 Fast Ring VHDX"
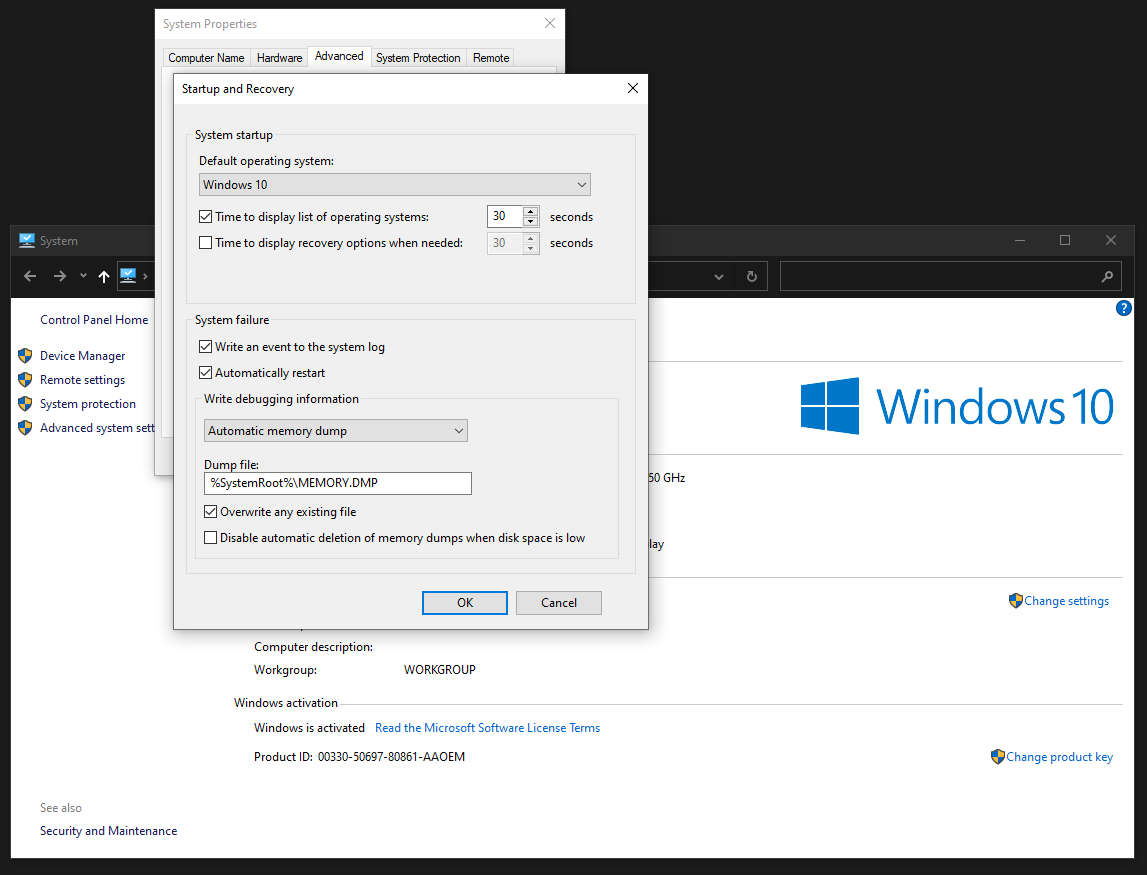
You can further customize boot options in System -> Advanced system settings -> Advanced -> Startup and Recovery -> Settings:
Reboot.
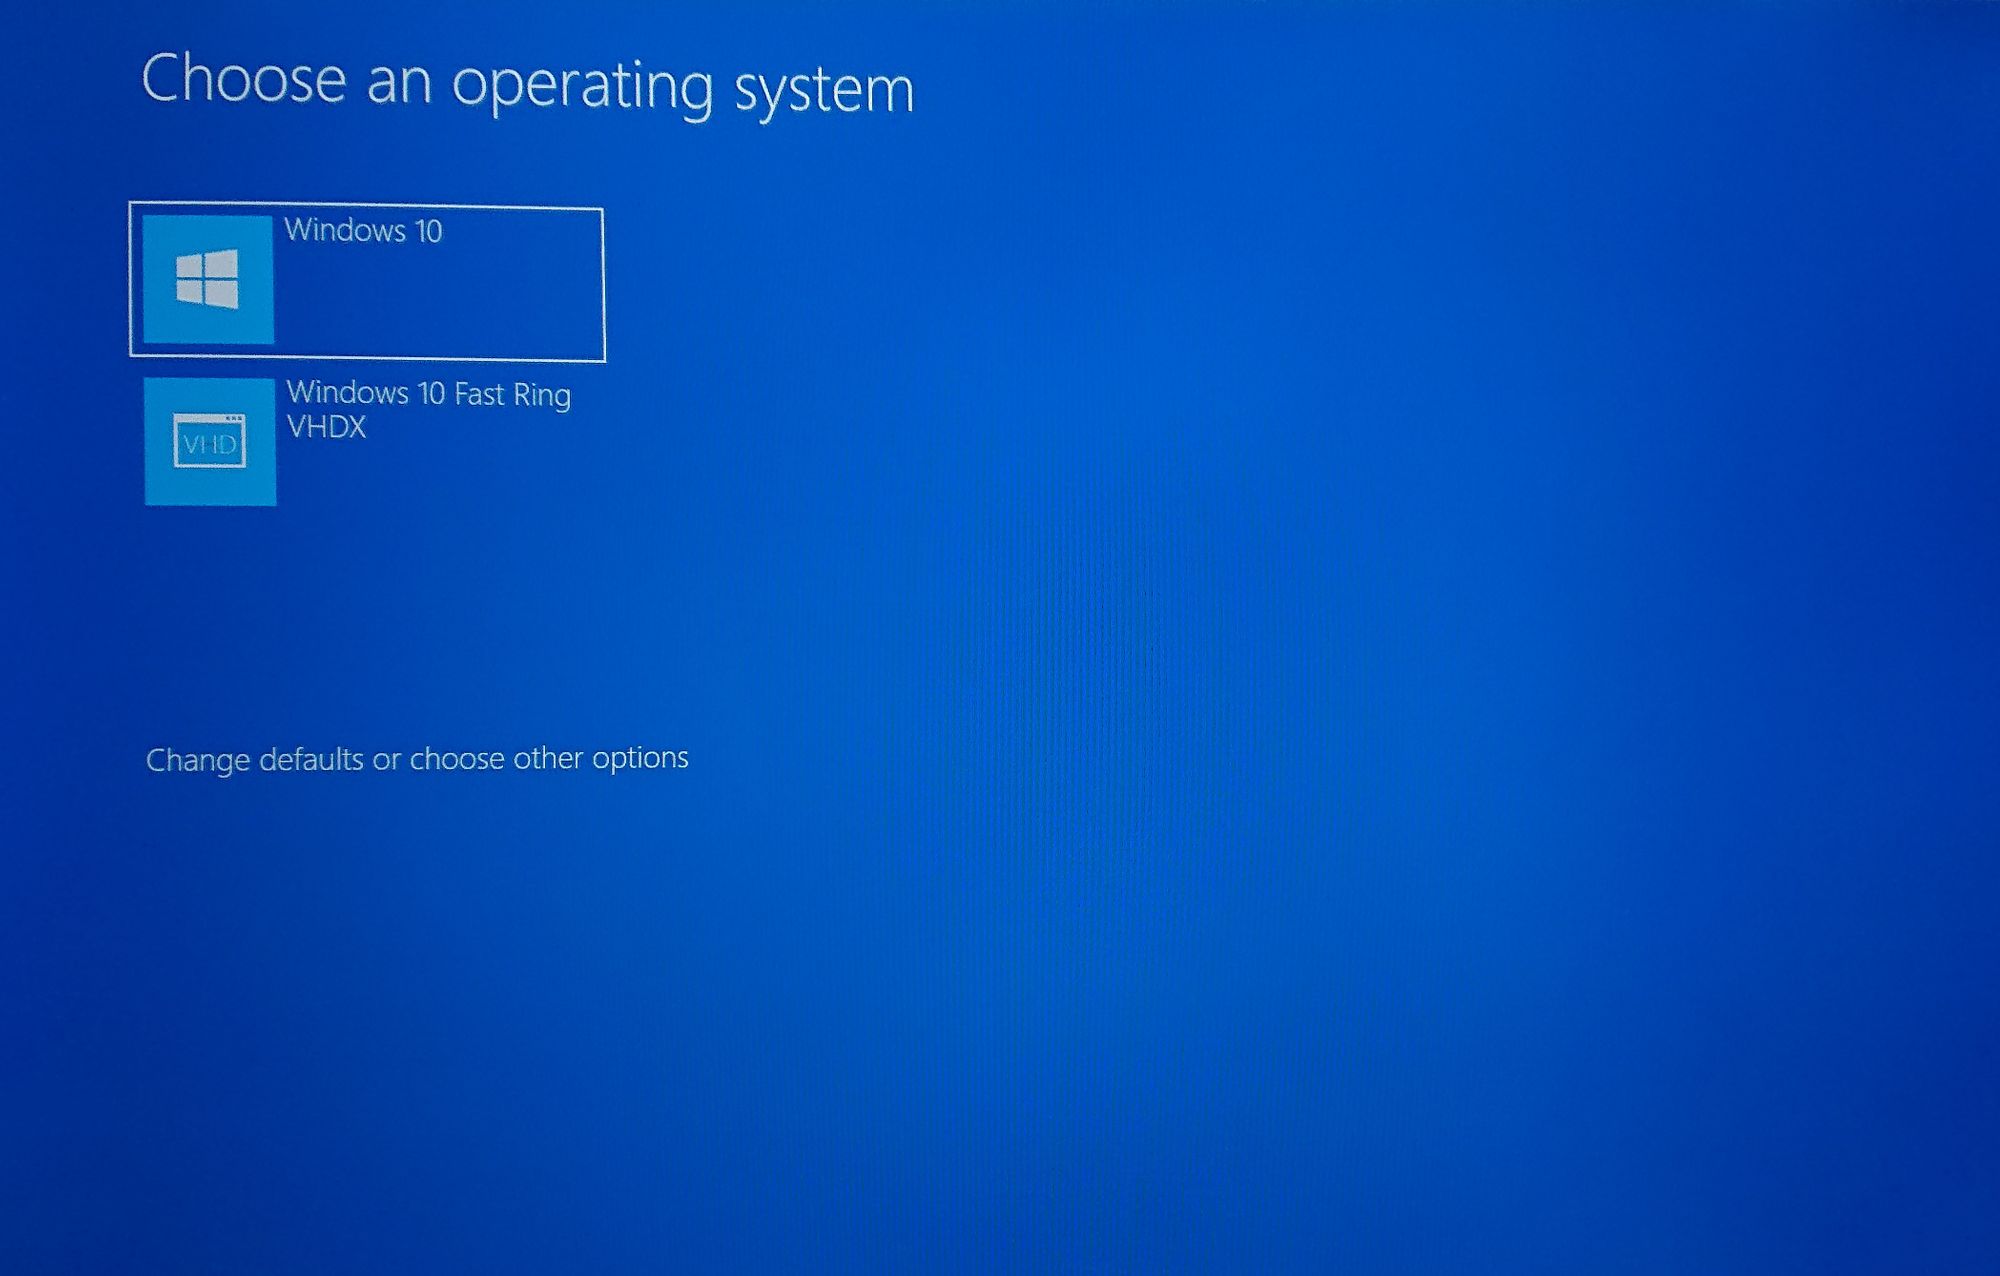
You can how choose between your Windows builds:
The first time you run the VHDX your system may reboot.
Our Fast Ring build running on bare metal:
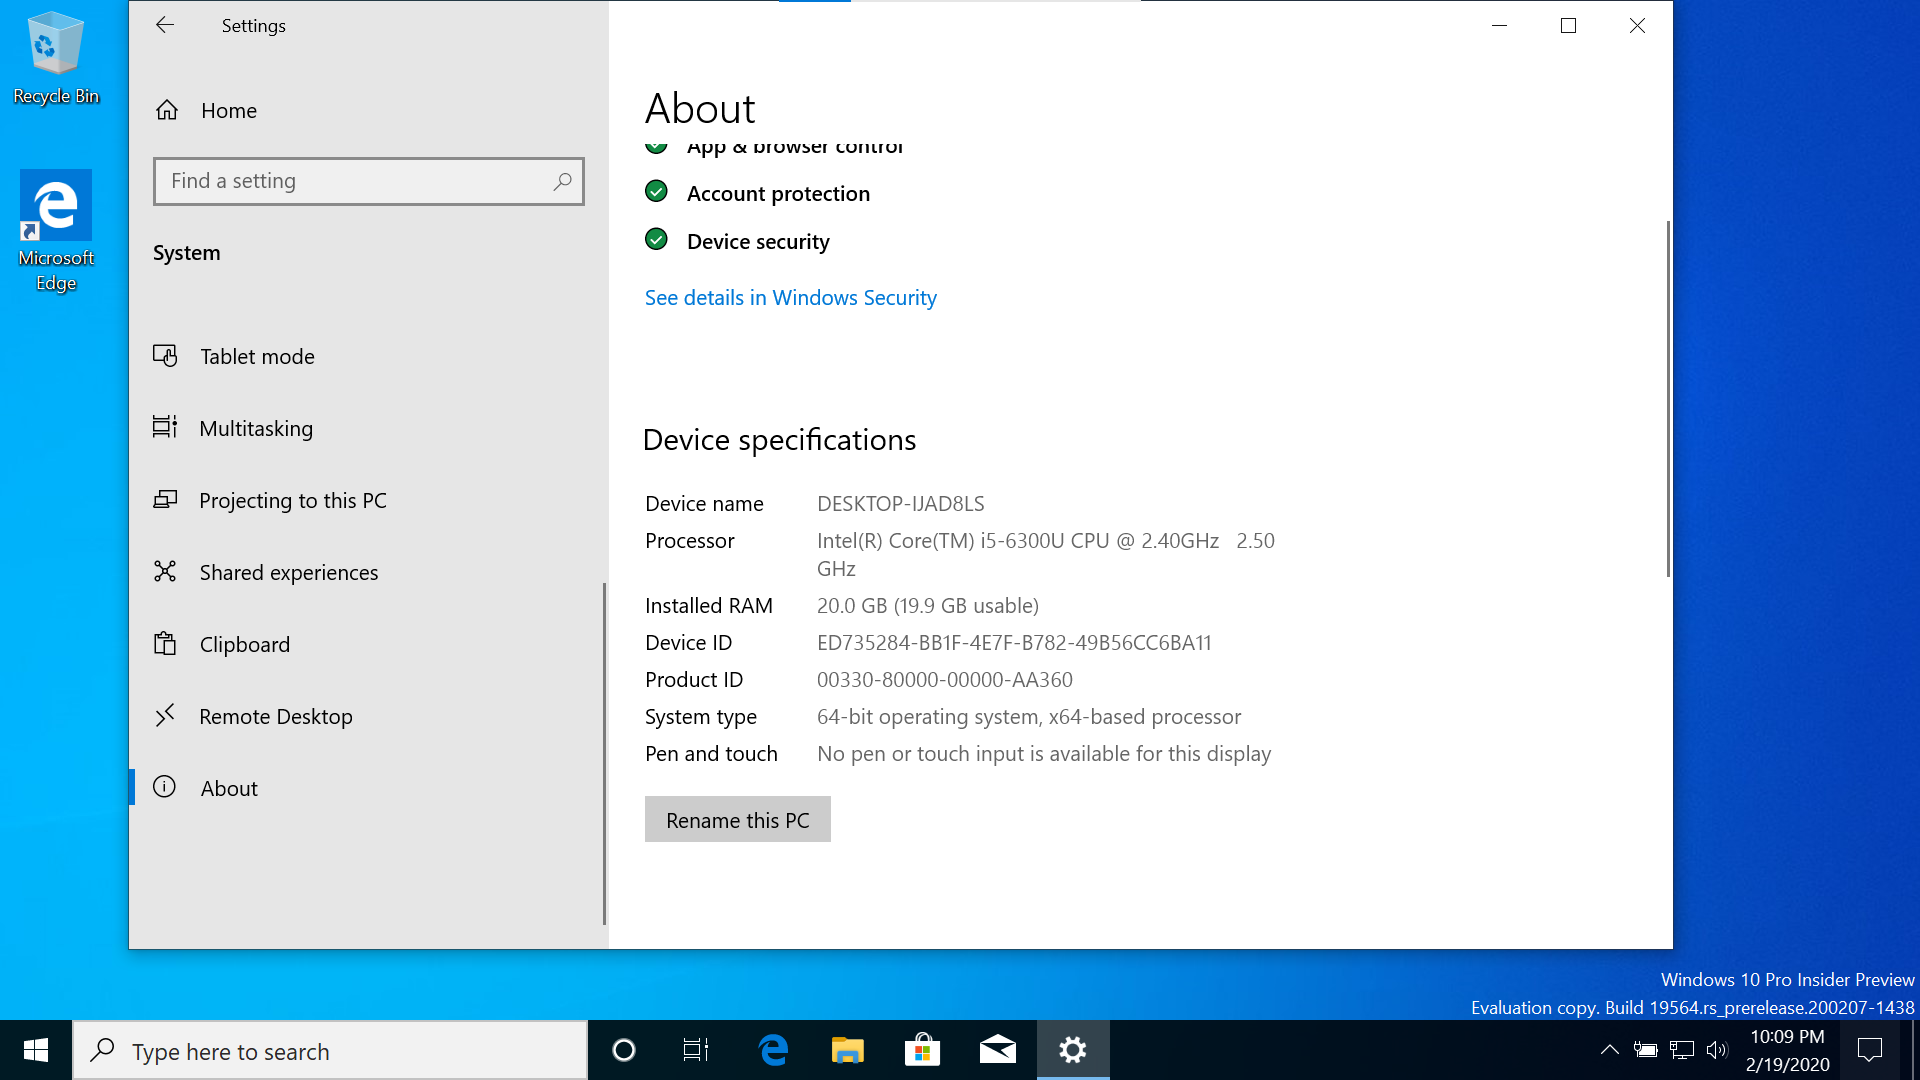
Our V:\ drive is mounted as C:\ in our VHDX. Our internal C:\ drive is mounted as D:\.
There you go.
Run Windows 10 Fast Ring without risking your daily driver.
To remove the VHDX from the boot menu.
Open a Command Prompt as Administrator.
First, find the identifier of your VHDX:
bcdedit /v
Then delete the entry:
bcdedit /delete "{3b8be964-5311-11ea-8f15-82c80f157660}"


