Visual Guide to Trying WSL2 on Hyper-V
A great way to dip your toes into WSL2 is using Hyper-V, the virtualization hypervisor built into Windows 10 Pro and Enterprise and a Windows Insider build ISO.
A great way to dip your toes into WSL2 is using Hyper-V, the virtualization hypervisor built into Windows 10 Pro and Enterprise and a Windows Insider build ISO.
WSL2 is very cool. But it is in fast-paced active development and as a result it has some rough edges. New Insider builds can break your WSL2 setup and you will get the dreaded GSOD from time to time. As a general rule I would not recommend any Fast Ring Insider build for a use on production or primary machines.
That being said installing an Insider build as a virtual machine (VM) in Windows' built-in hypervisor, Hyper-V, can give you a first look at new Windows features and WSL2.
This guide will walk you through installing the Windows 10 Insider ISO in Hyper-V, enabling nested virtualization for Hyper-V if needed, enabling WSL2, installing a Linux distribution, and then converting it to WSL2.
At the conclusion the guide will show you how to set your new Insider VM to continue getting Fast Ring updates and to use Hyper-V checkpoints so you can roll back to previous builds if necessary.
Requirements:
- A Windows 10 device with Windows 10 Pro or Enterprise editions.
- Sufficient hard drive space, you will need about 20 GB for a base install.
- Sufficient RAM, ideally a minimum of 8GB.
- An Intel processor. This guide does not work on AMD processors.
Enable Hyper-V
If Hyper-V is not already enabled on your system, open a PowerShell console as Administrator and run the following command:
Enable-WindowsOptionalFeature -Online -FeatureName Microsoft-Hyper-V -All
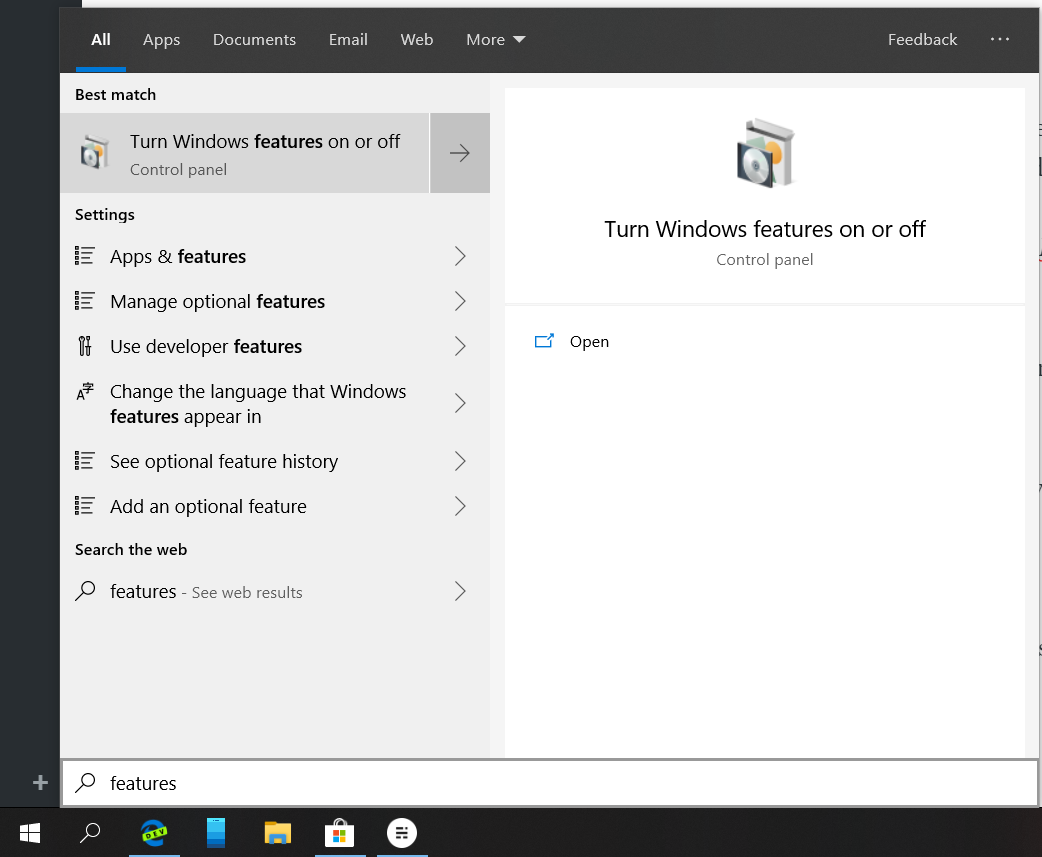
Alternatively, you can tap the Windows key to open Windows Search, type "features", and click "Turn Windows Features On or Off":
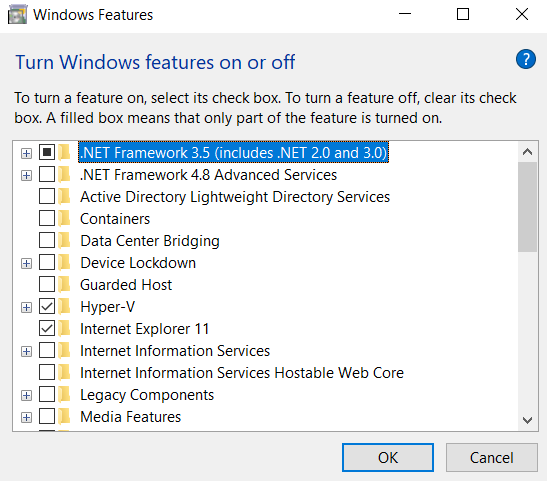
In Windows Features, check "Hyper-V" click OK. Restart as necessary.
Installing Windows 10 Insider ISO in Hyper-V
Go to the Insider Preview ISO download page.
Under "Select edition" choose "Windows 10 Insider Preview (FAST) - Build..." and click Confirm.
Then select your preferred language and click Confirm.

Click 64-bit Download and download the ISO.

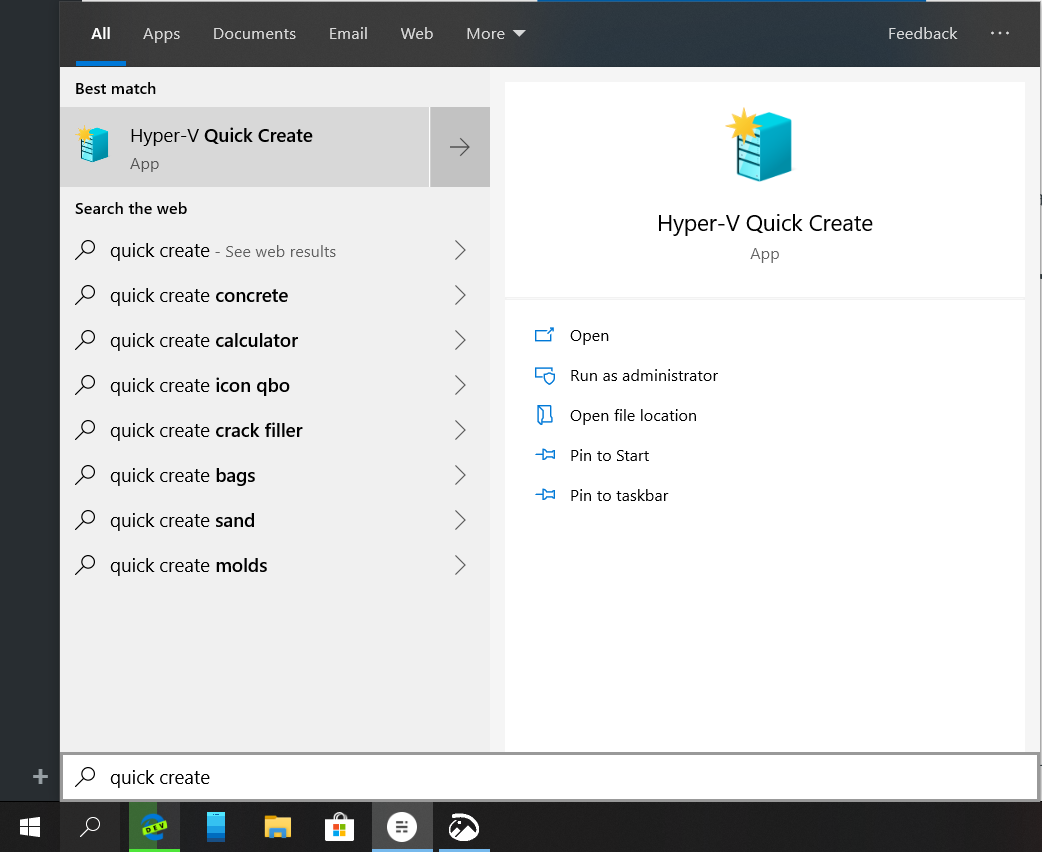
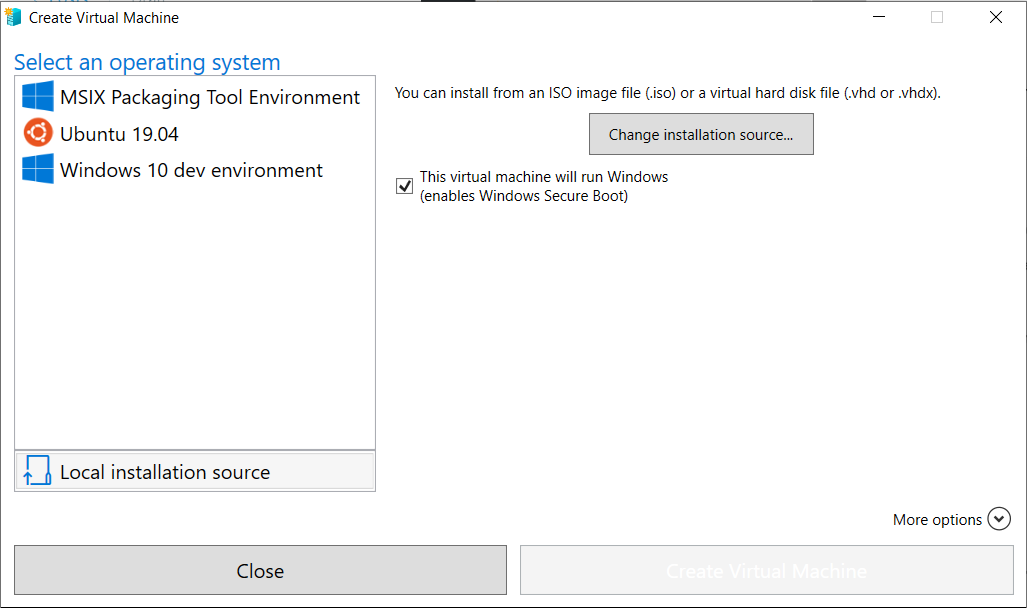
Tap the Windows key and type "quick create" and click "Hyper-V Quick Create". If you don't see Hyper-V Quick Create, check to make sure Hyper-V is installed.
In Hyper-V Quick Create, click "Local installation source" and then "Change installation source..."
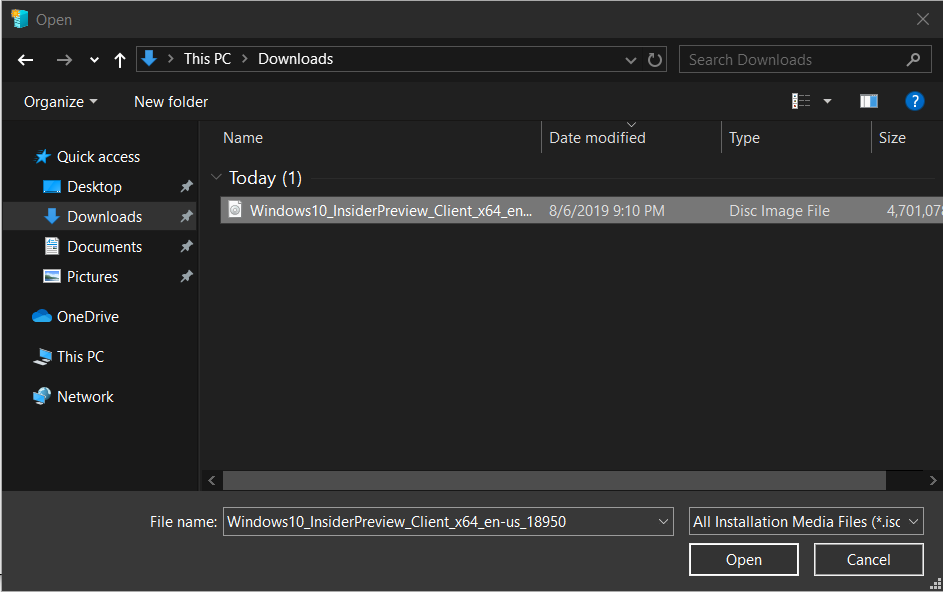
Select the ISO you just downloaded.
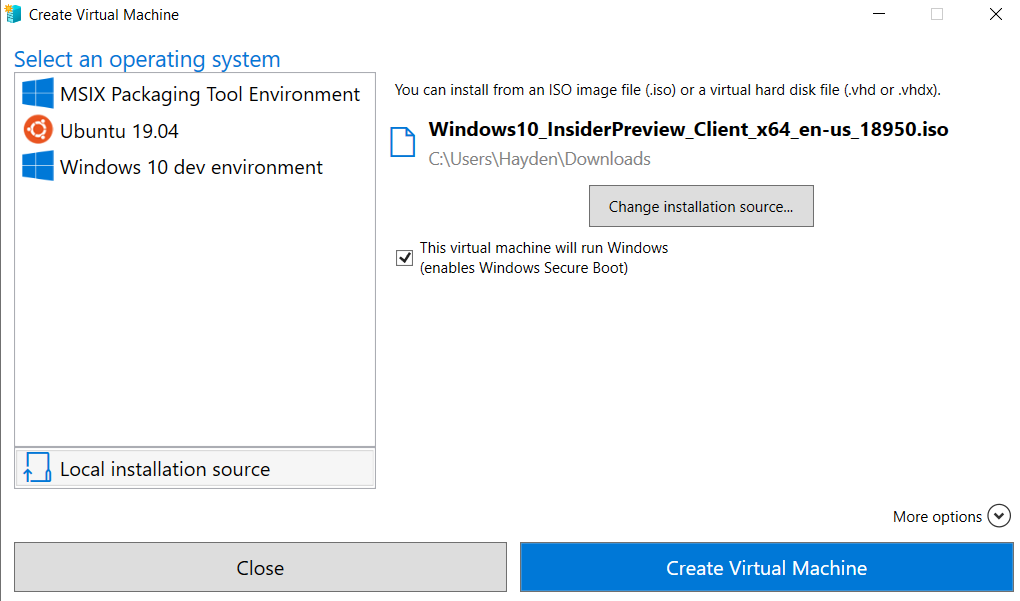
Click "Create Virtual Machine".
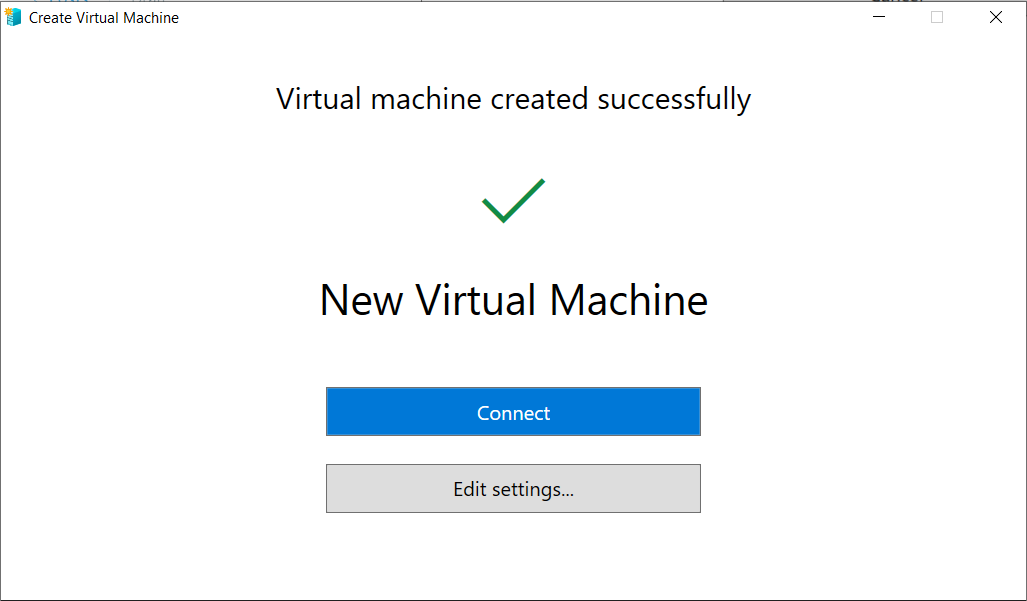
Before clicking Connect "Edit settings..." and then "Name" under "Management" and rename the VM to something more useful, such as "WSL2".
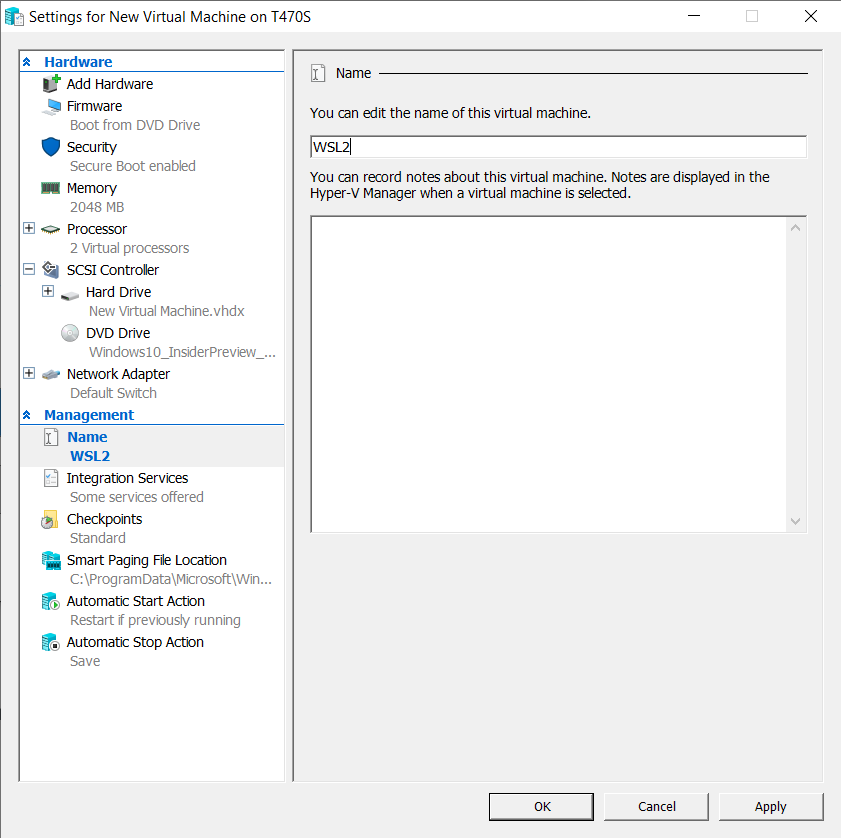
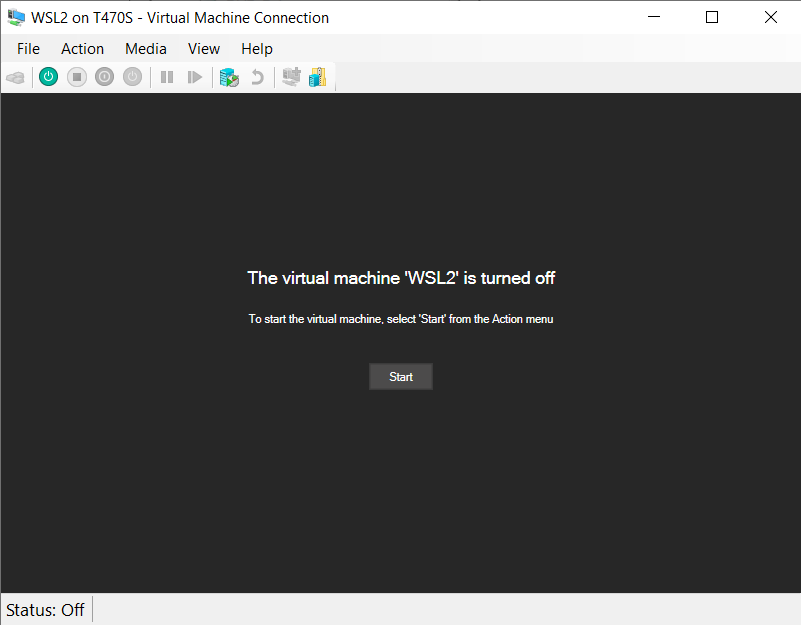
Click "Apply", "OK", and then "Connect".
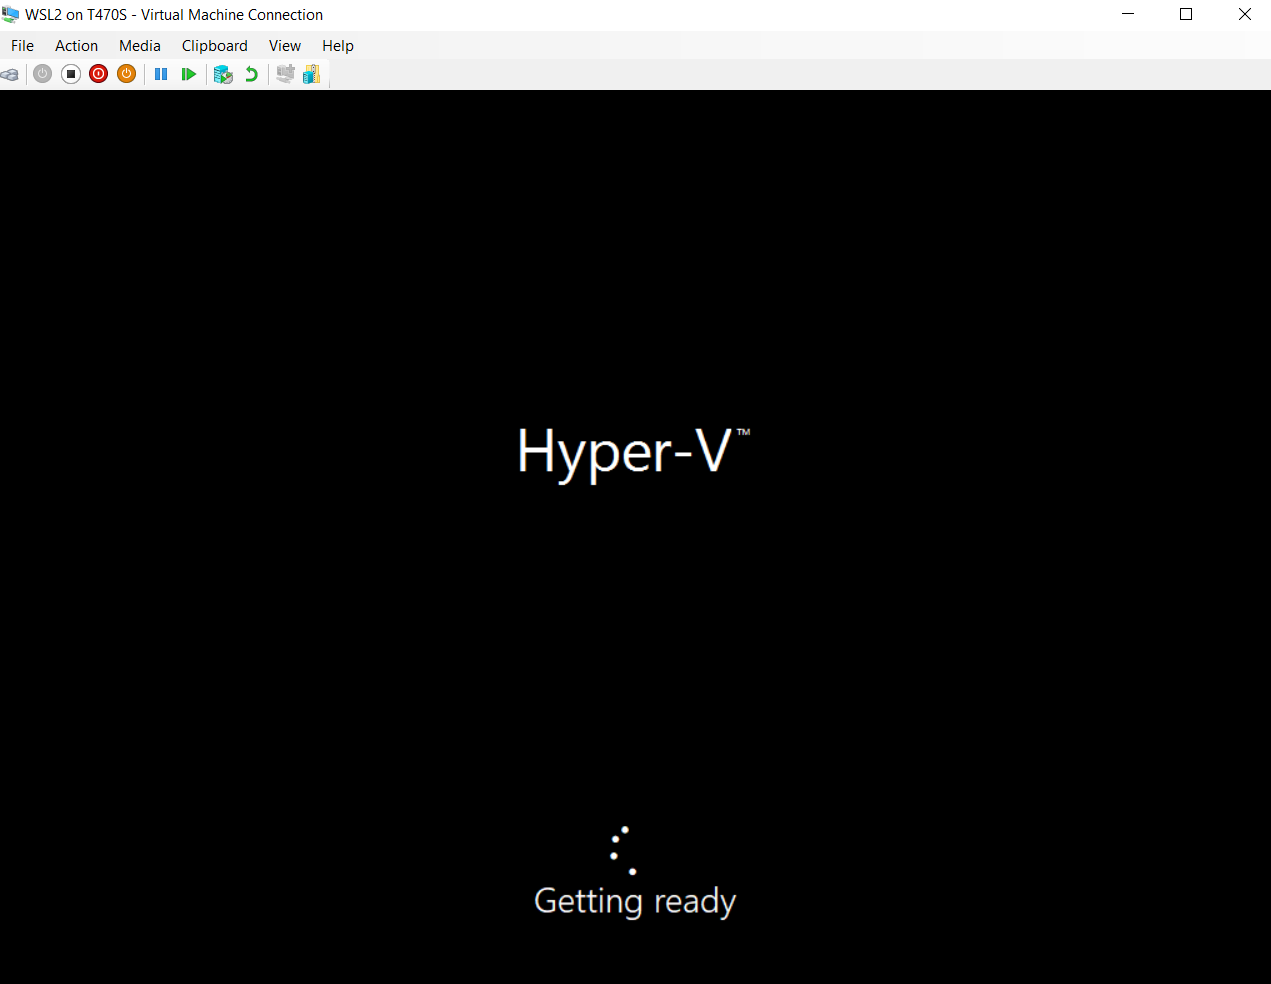
Then click "Start".
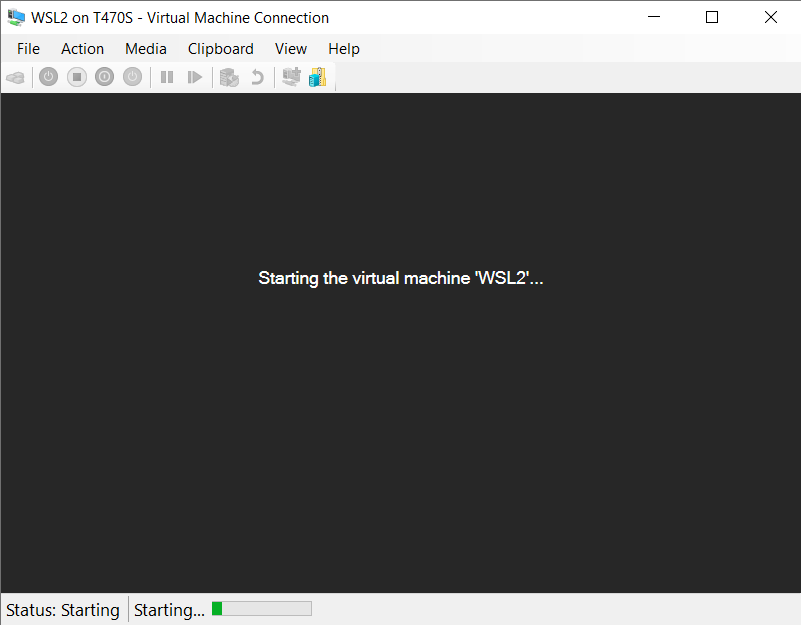
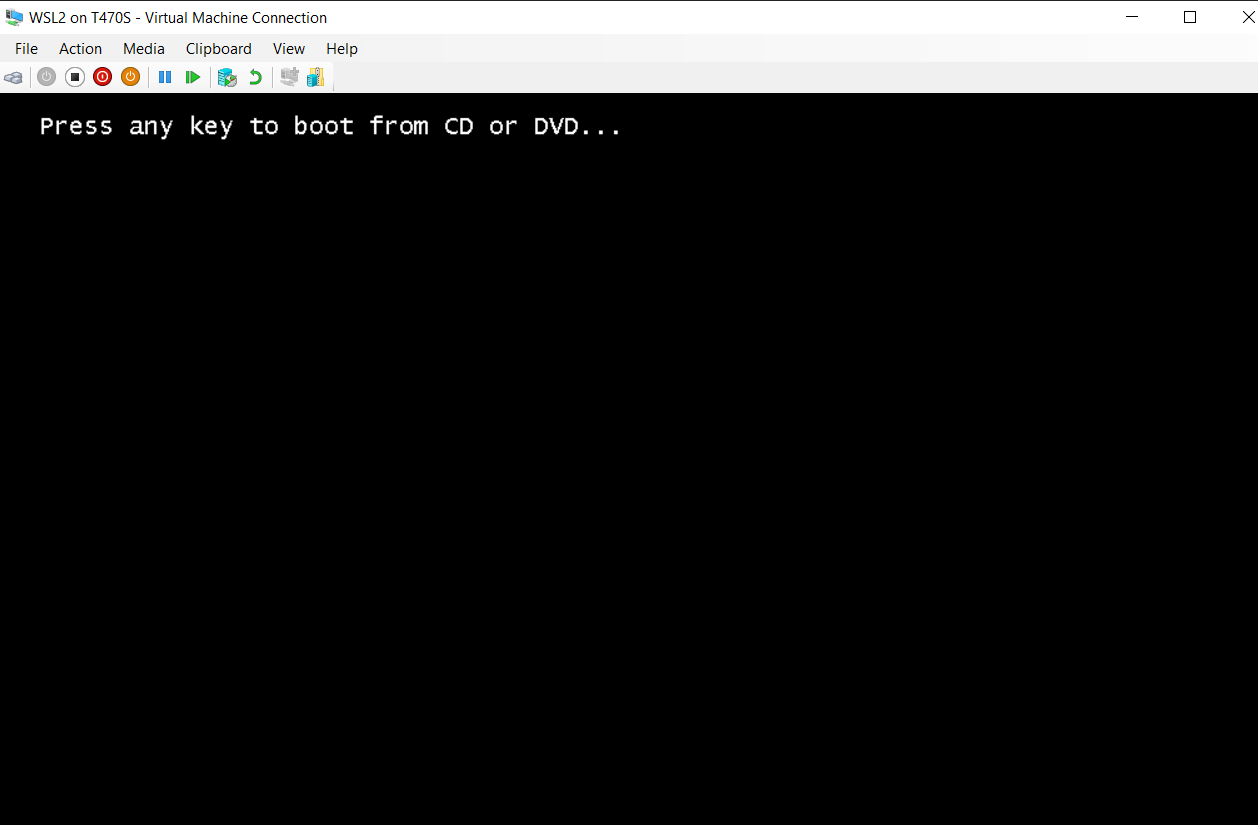
As the VM boots, click any keyboard key to boot the ISO.
Note: If you get a message about booting from PXE, restart and try again.
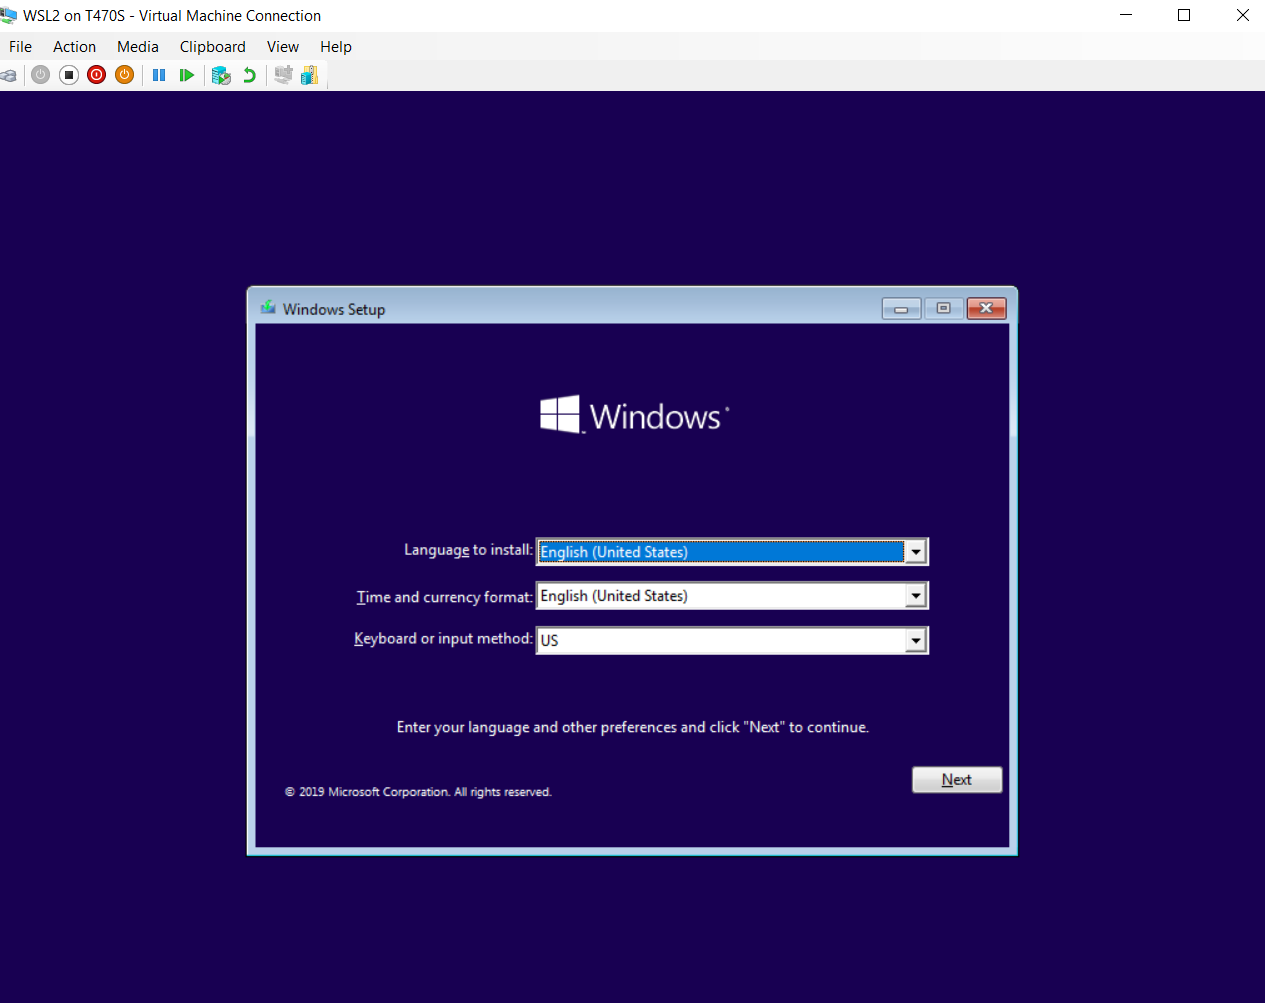
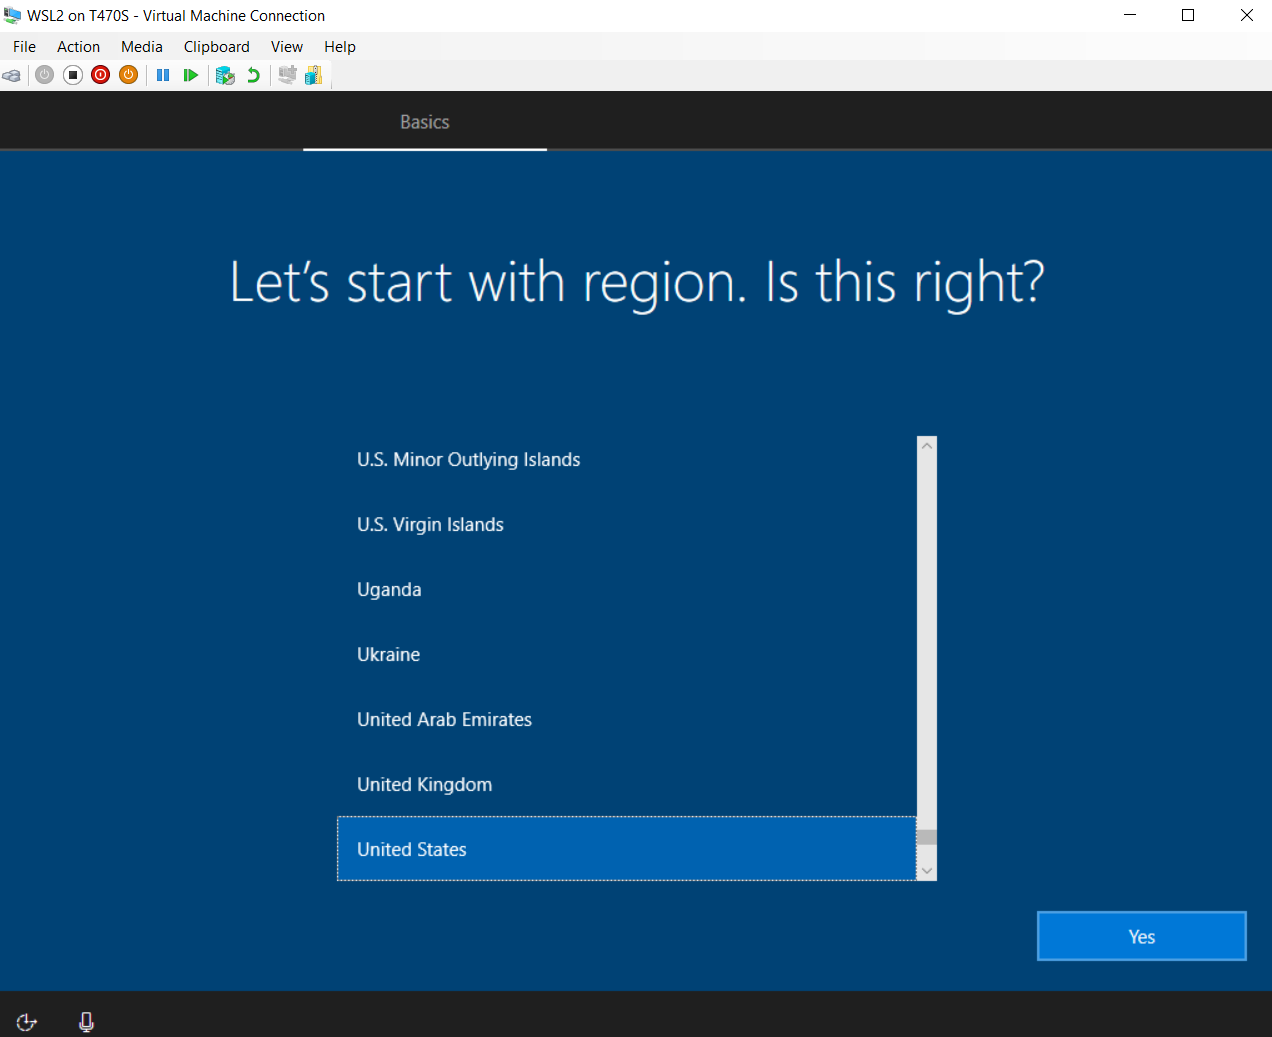
Select the language to install, your preferred time and current format, keyboard layout, then click Next.
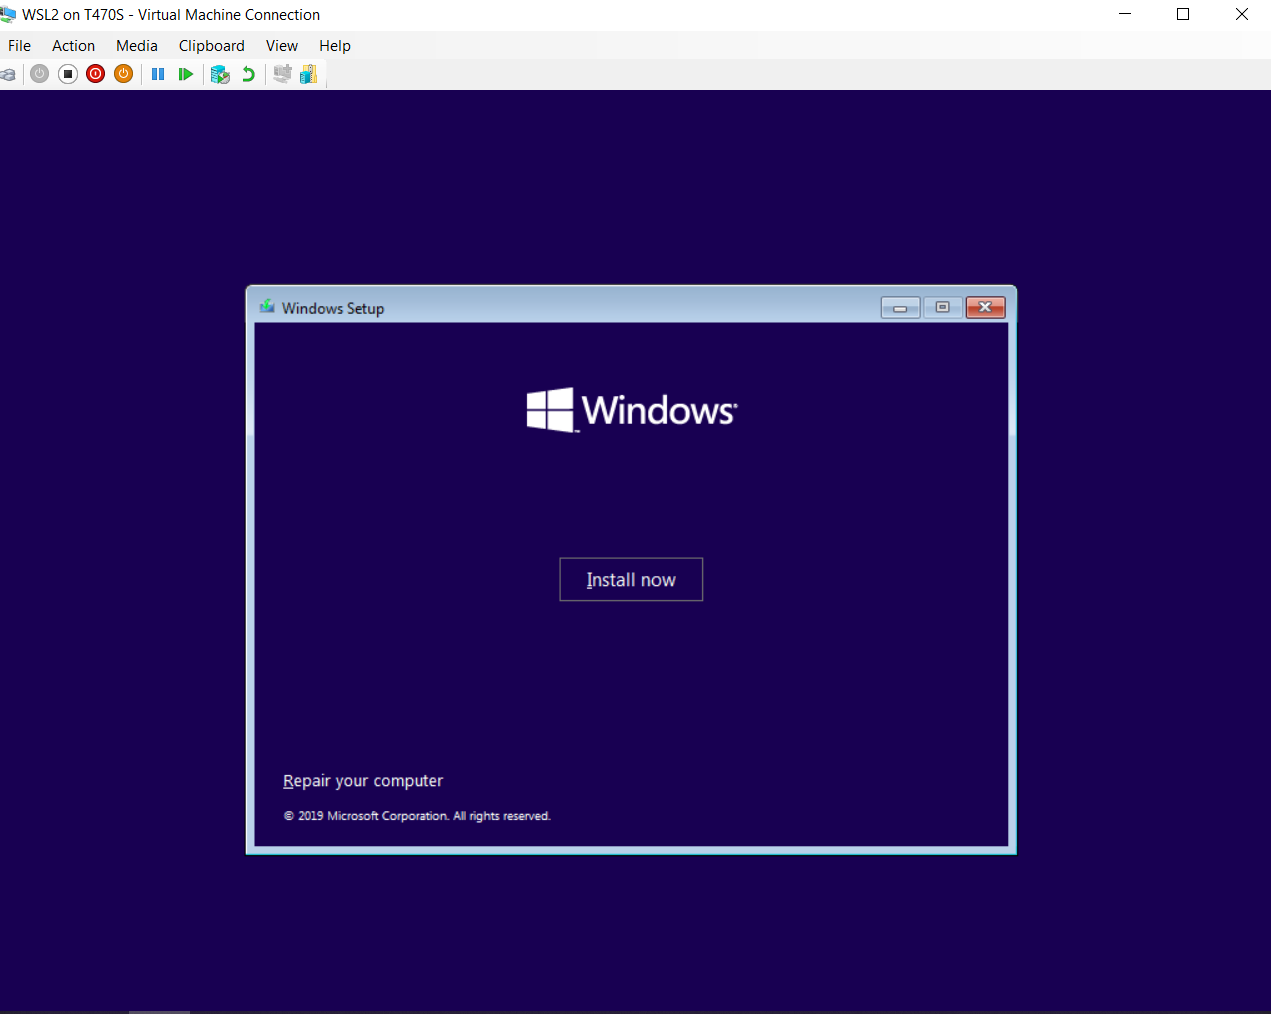
Click "Install now".
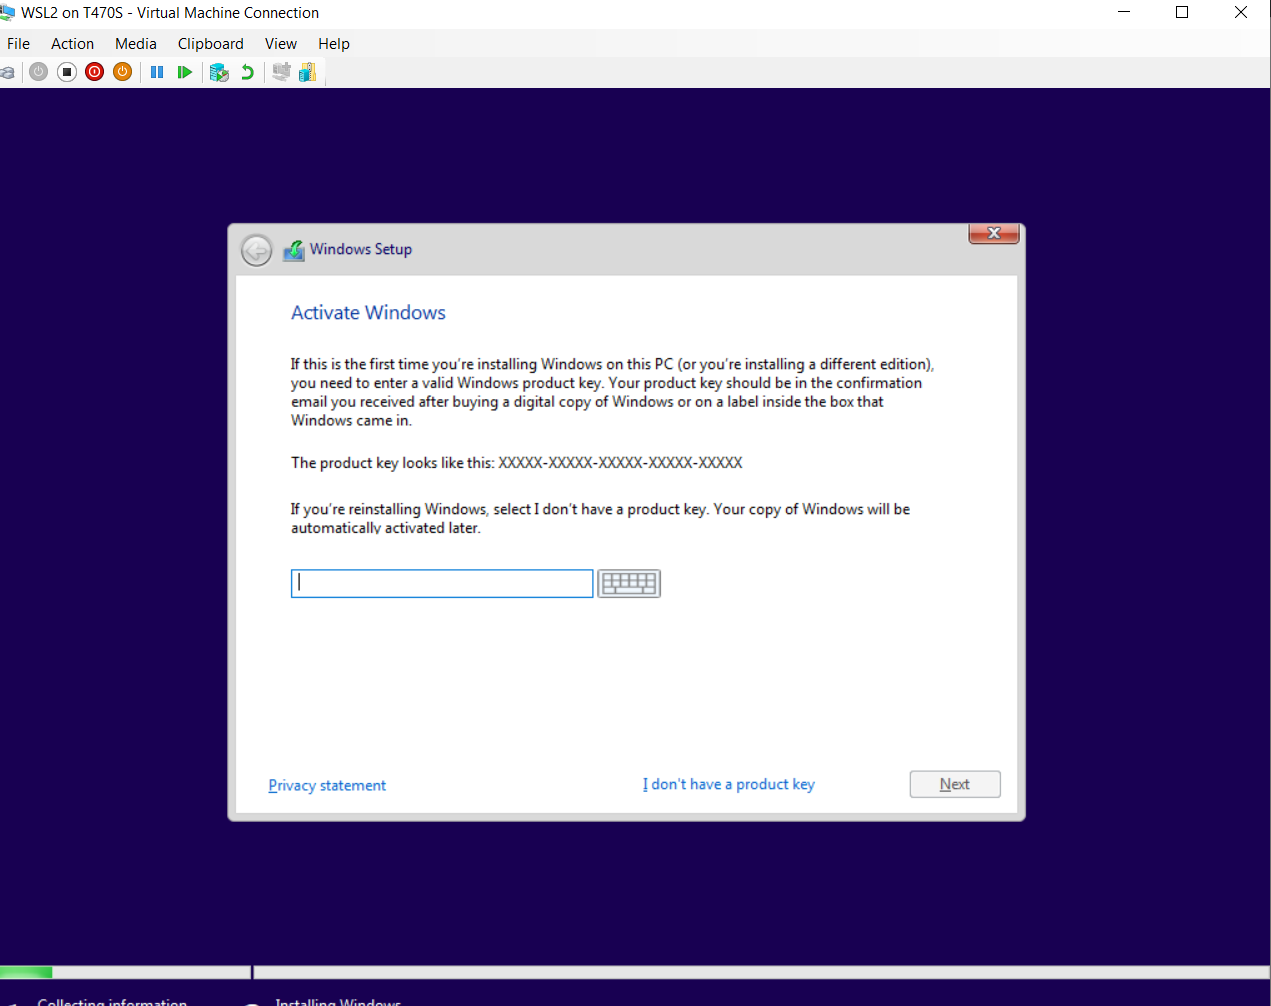
You don't need a product key for Insider builds, click "I don't have a product key".
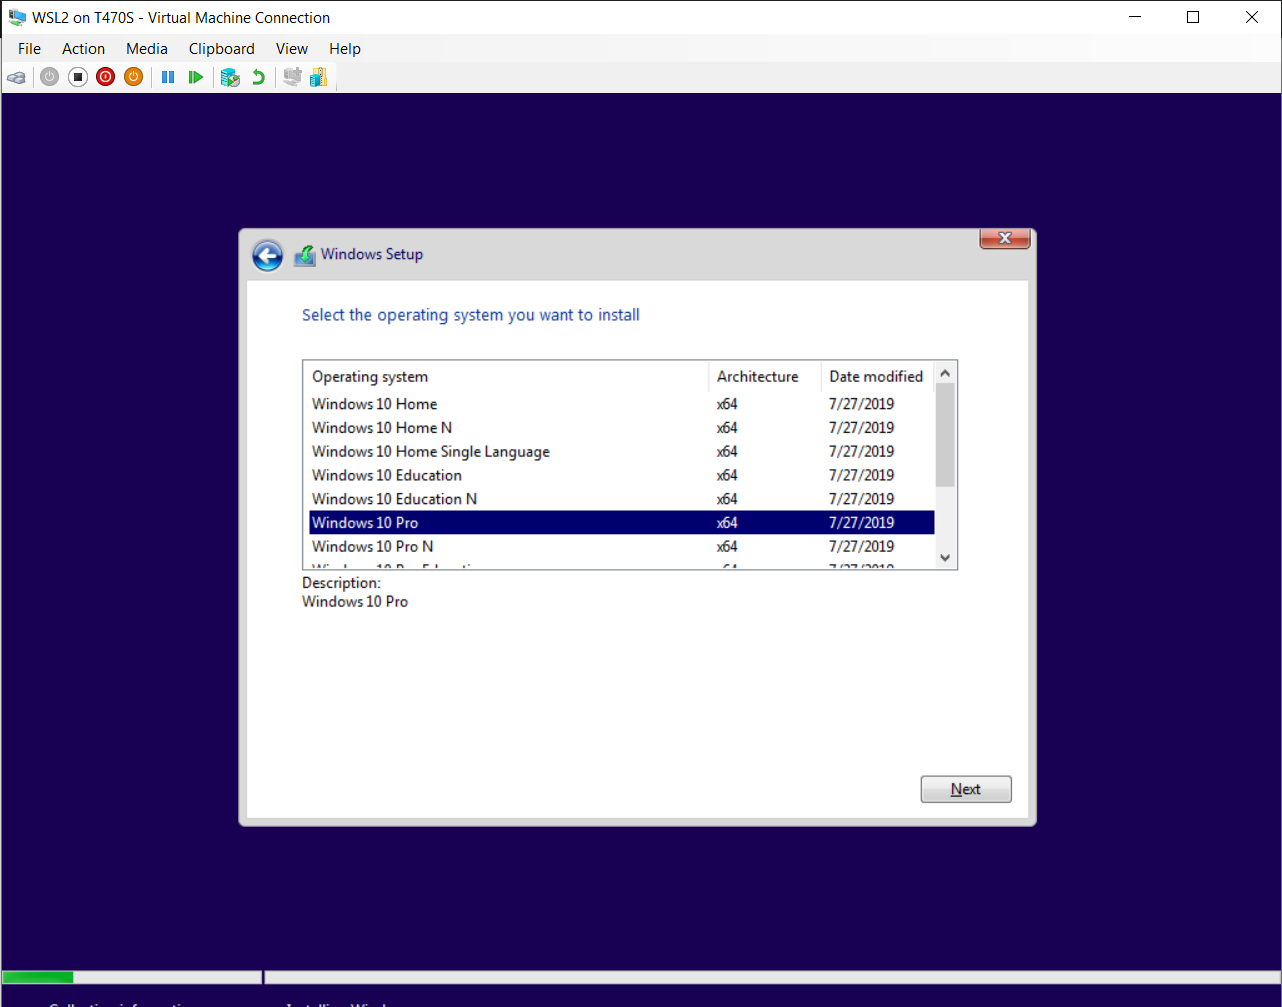
Select Windows 10 Pro and click "Next".
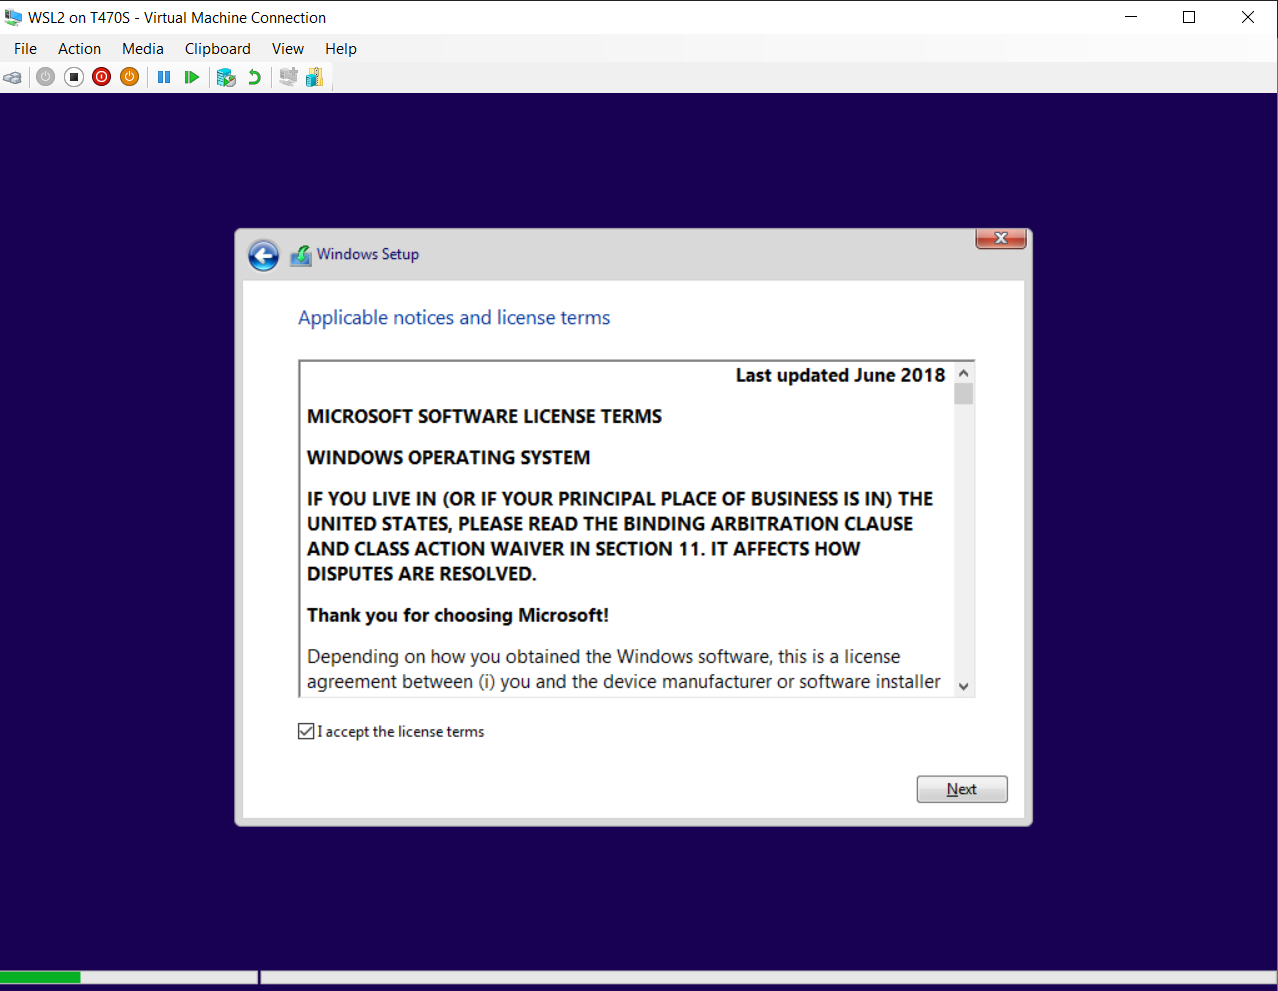
Accept the license terms and click "Next".
Click "Custom: Install Windows only (advanced)."

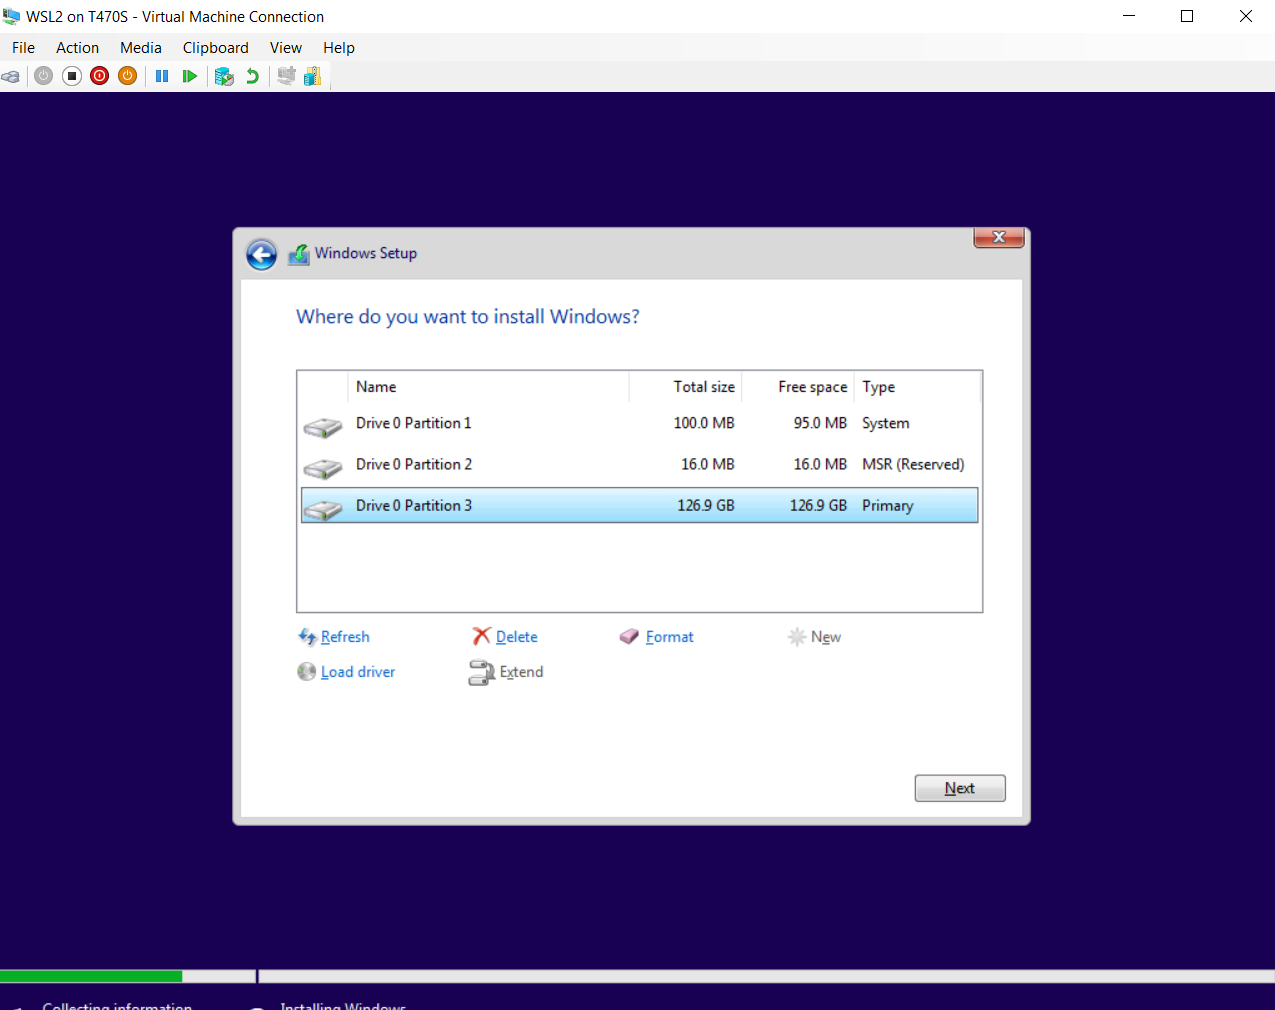
Select your virtual Hyper-V drive, click "New", and then "Apply". Windows may create some additional partitions for system files.
Then click "Next" and Windows will install.
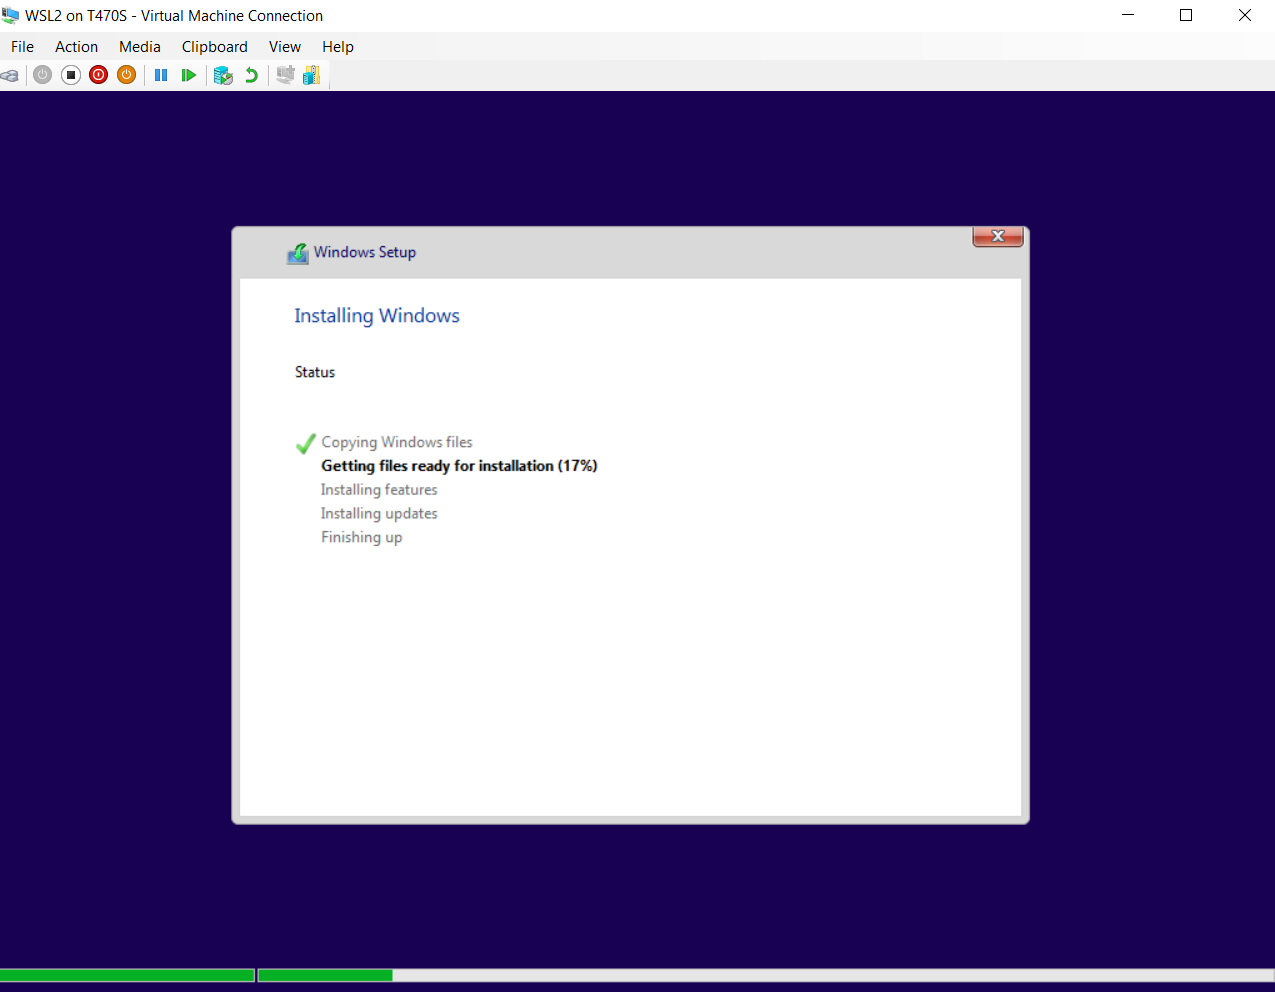
Windows will then restart a few times.

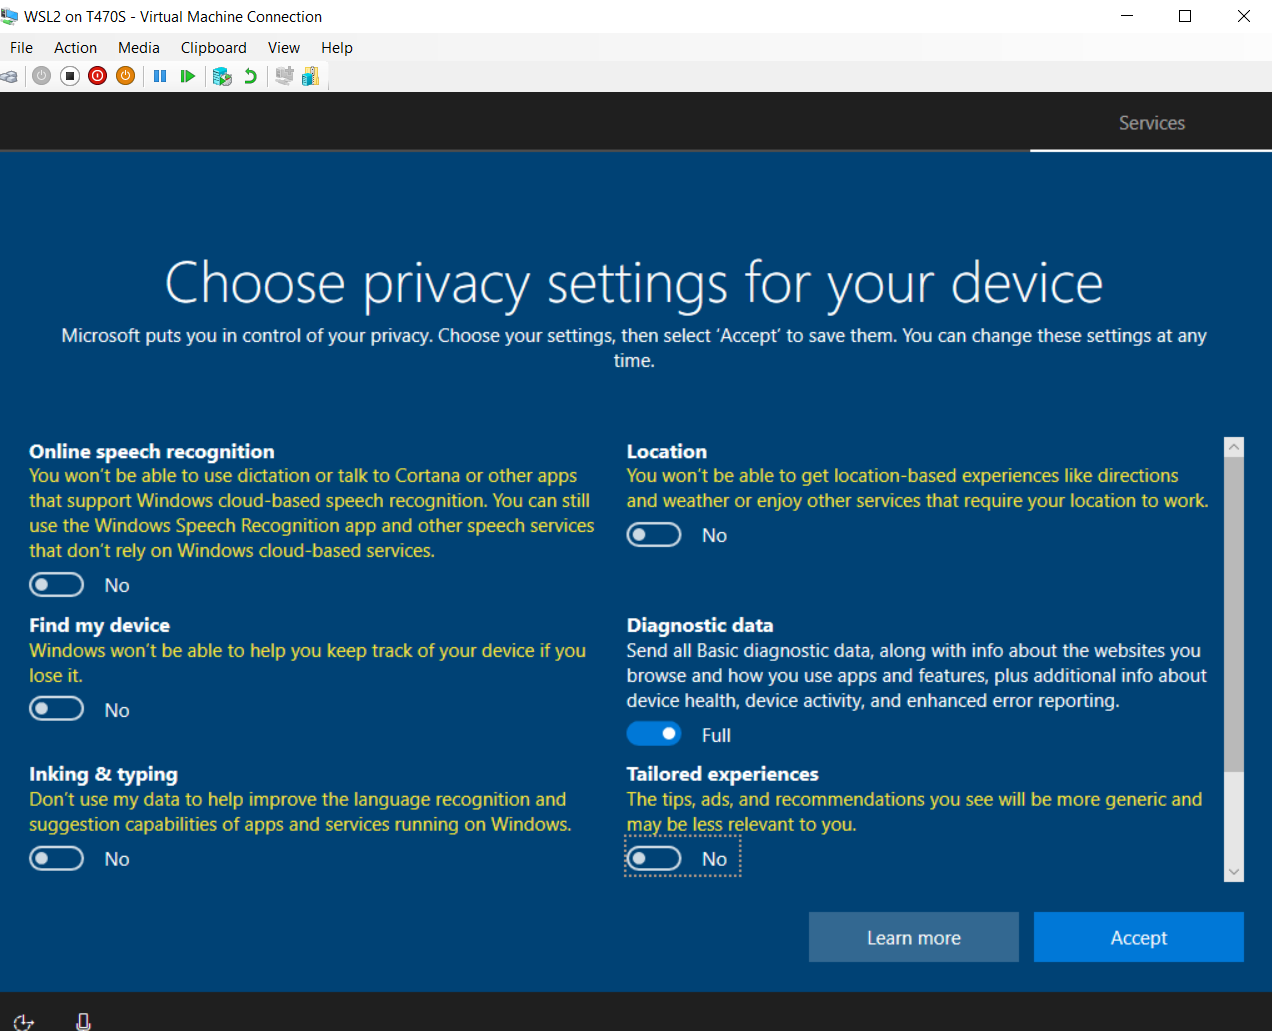
Configure your Windows 10 installation to your preferences.
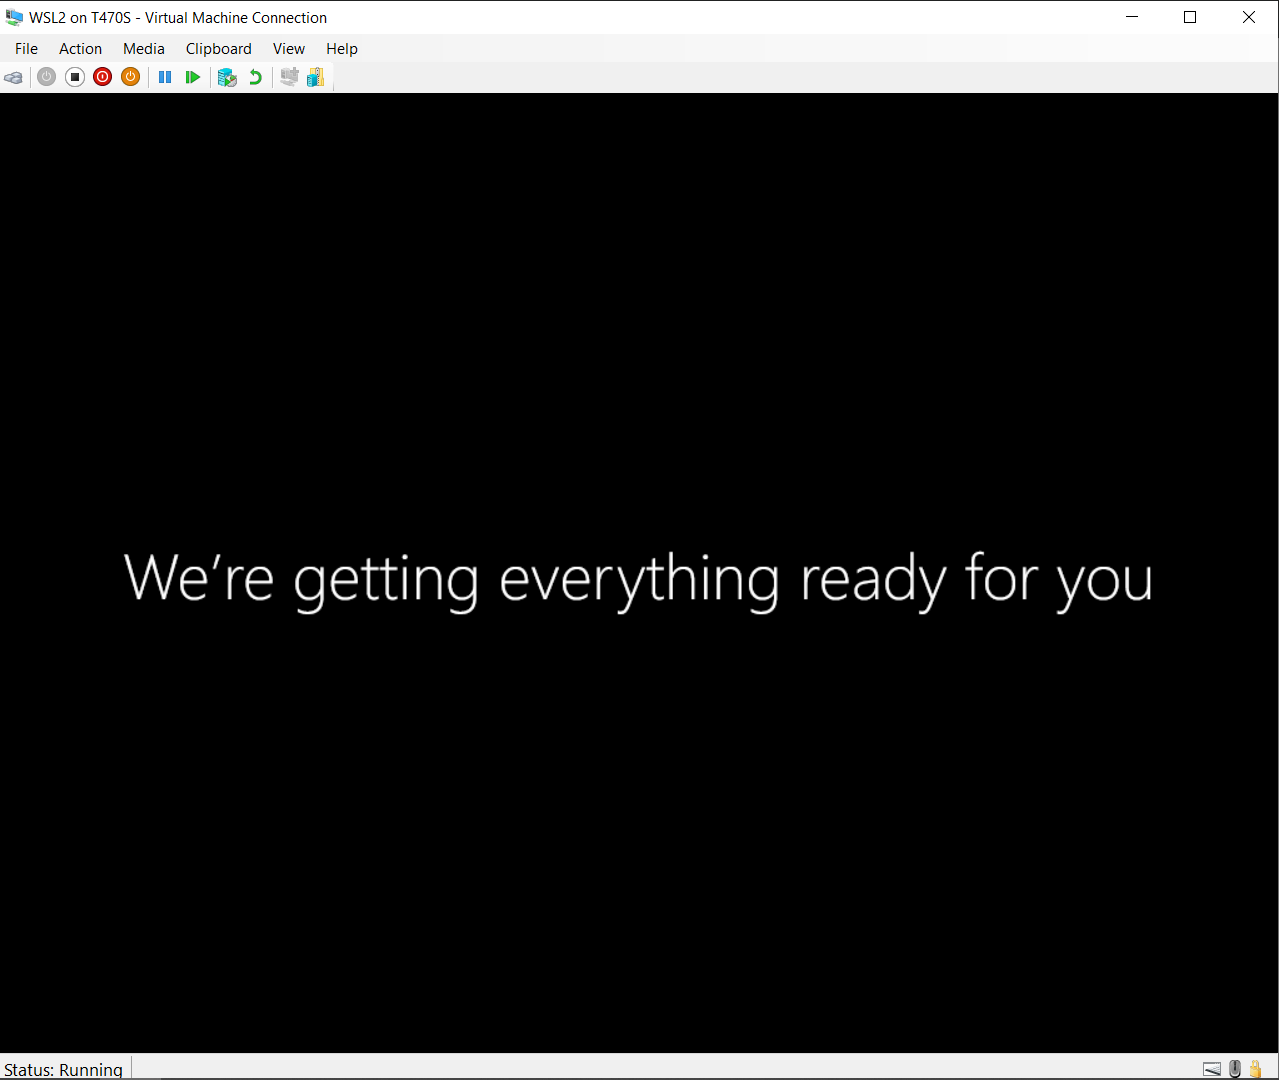
Let Windows finish setting up and installing drivers.
Select a preferred resolution, click "Connect", and log into your Windows VM.
Enable WSL2
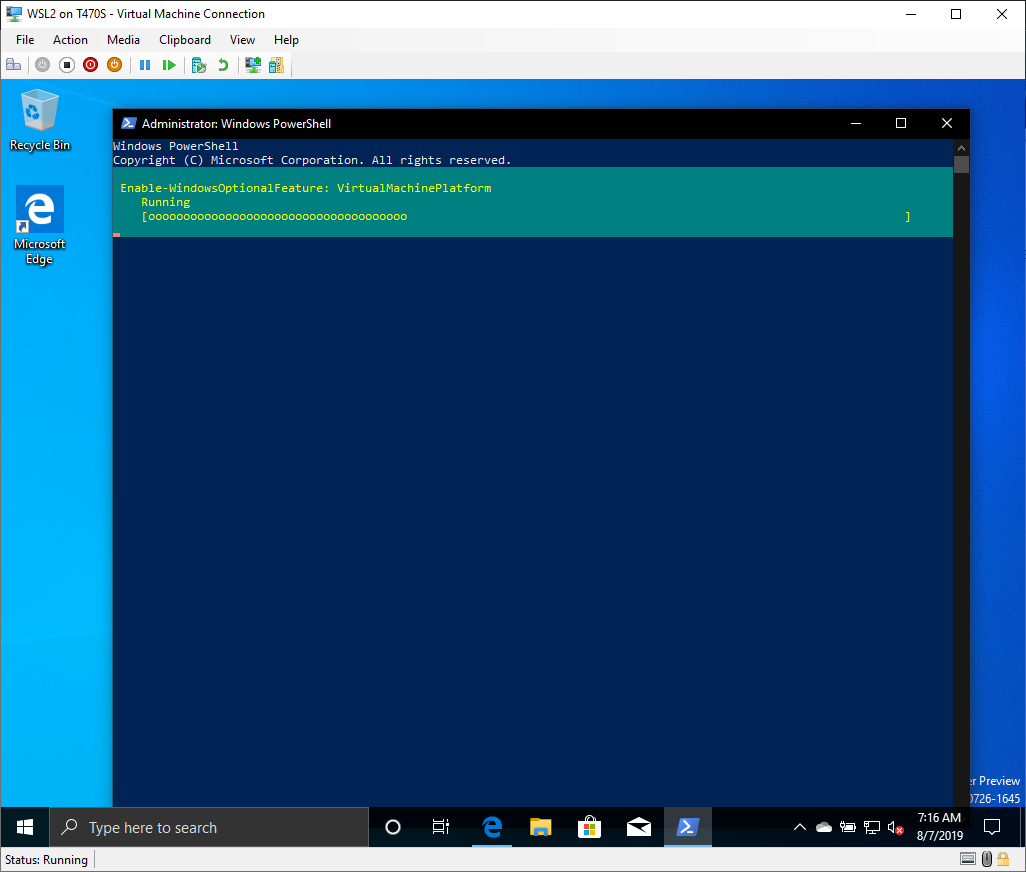
In the guest VM we just created focused, open a PowerShell console as Administrator and run the following command:
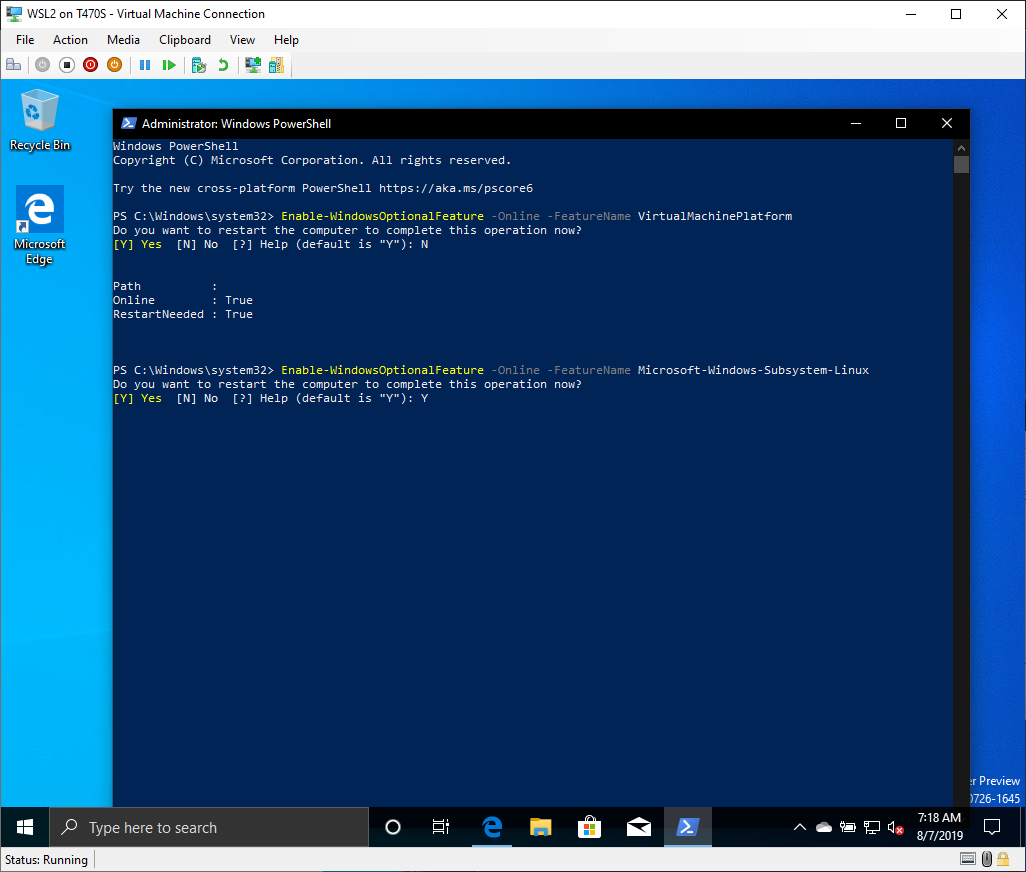
Enable-WindowsOptionalFeature -Online -FeatureName VirtualMachinePlatform
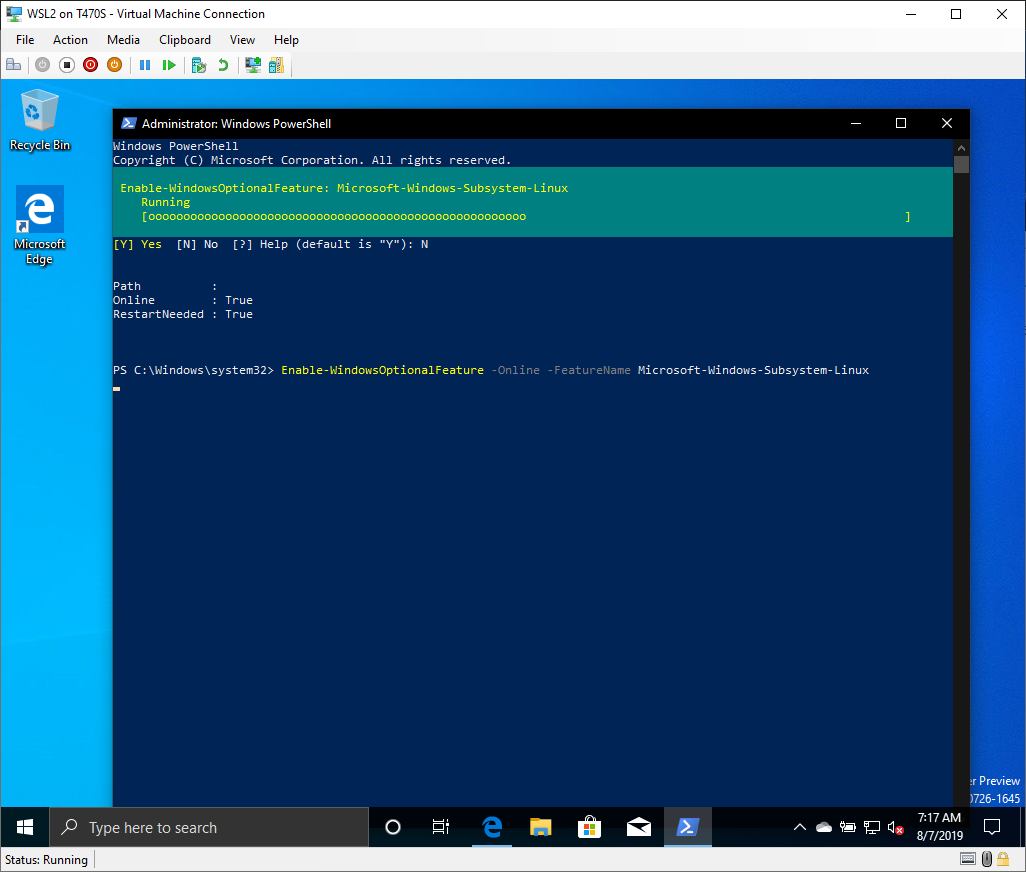
To enable WSL1 functionality, for switching back and forth or testing, also run the following command, then restart:
Enable-WindowsOptionalFeature -Online -FeatureName Microsoft-Windows-Subsystem-Linux
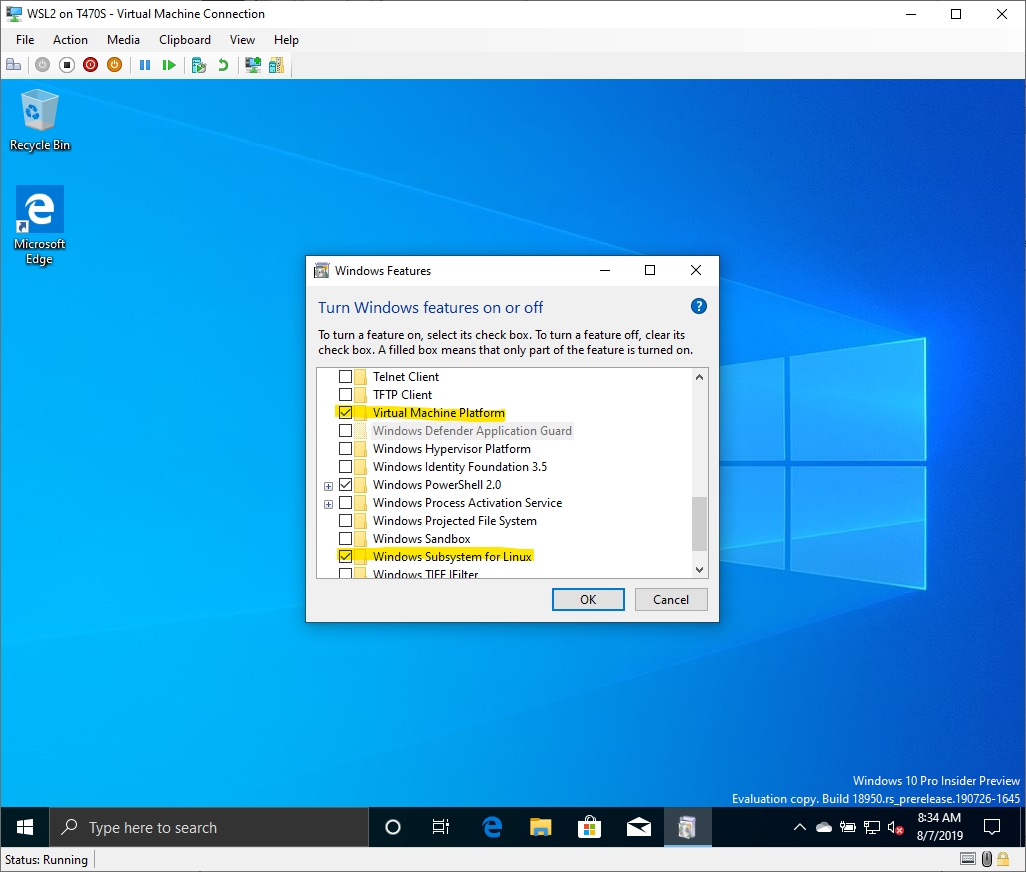
Alternatively, tap the Windows key to open Windows Search, type "features", and click "Turn Windows Features On or Off".

Check the boxes next to "Virtual Machine Platform" and "Windows Subsystem for Linux", click "OK", and restart.
Note: If the box next to "Virtual Machine Platform" is greyed out or you have installed "Virtual Machine Platform" but WSL2 complains you haven't, shut down the guest VM, open PowerShell as Administrator on the host machine, and run:
Set-VMProcessor -VMName WSL2 -ExposeVirtualizationExtensions $true
You can read more about Hyper-V virtualization extensions on the Microsoft docs site.
Install a Linux Distribution
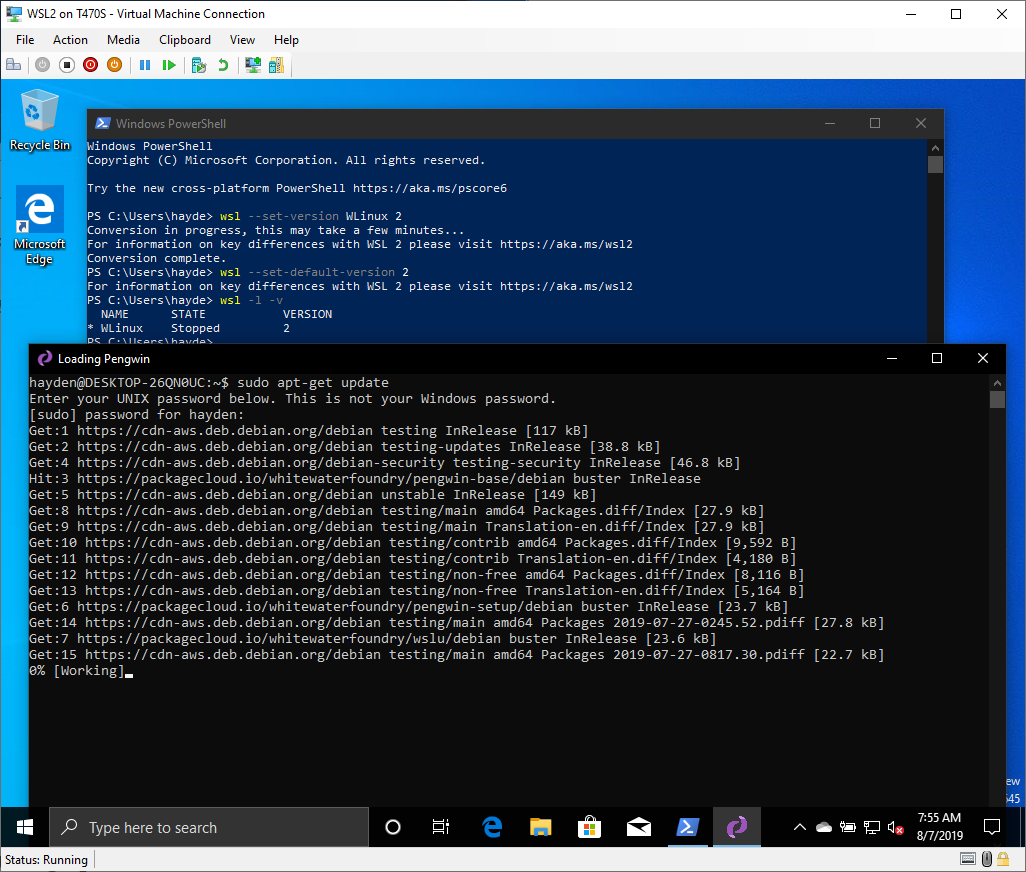
Open the Microsoft Store and search for "Pengwin".
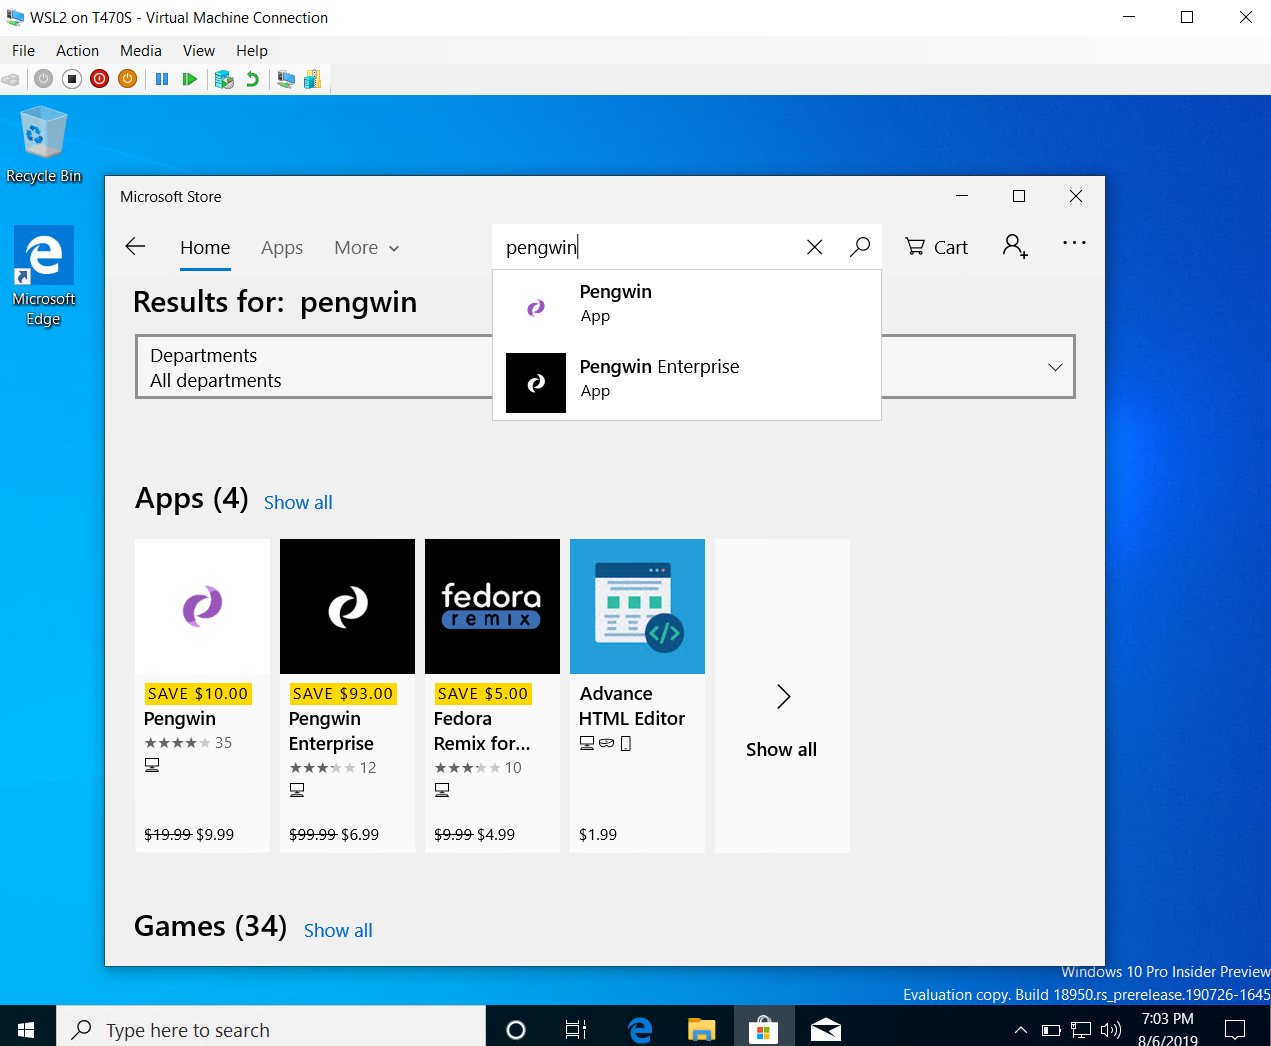
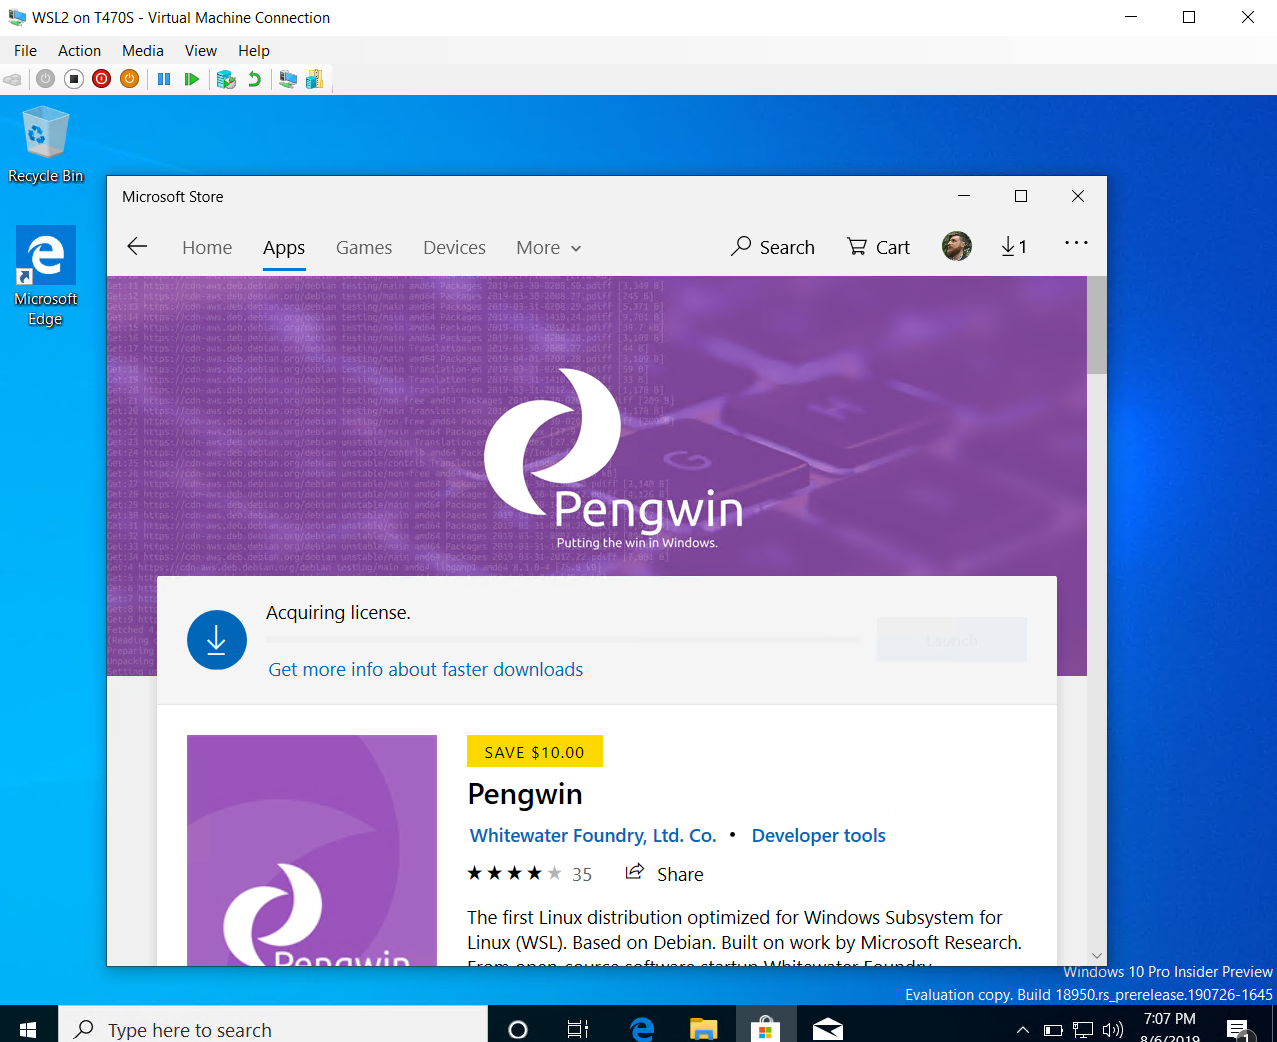
Install Pengwin.

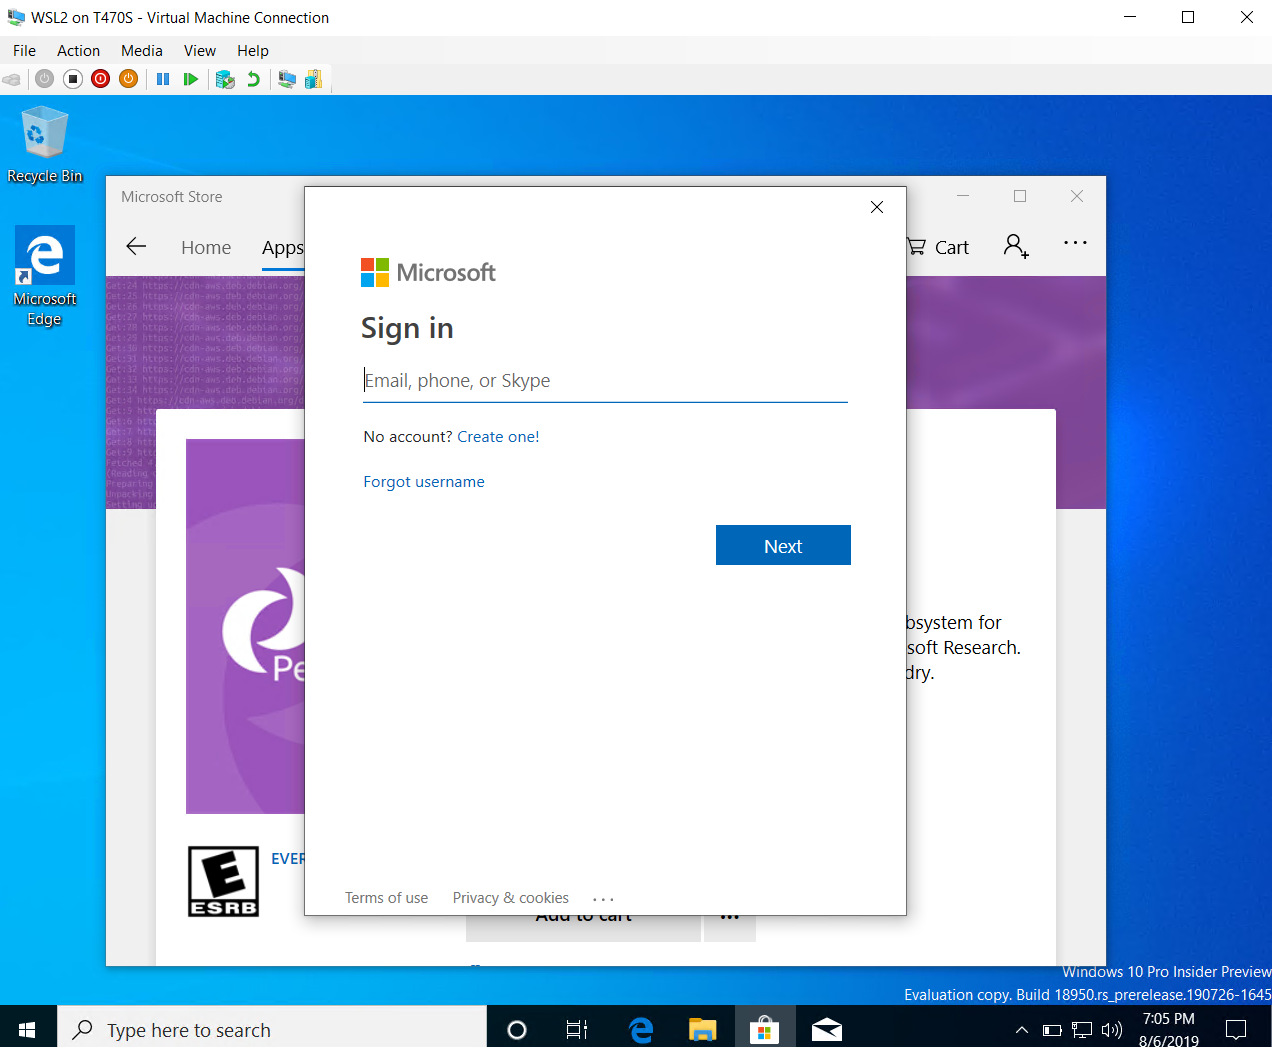
Login to your Microsoft account to purchase Pengwin and download. If you have already purchased Pengwin on other devices you will not be charged to download it again.
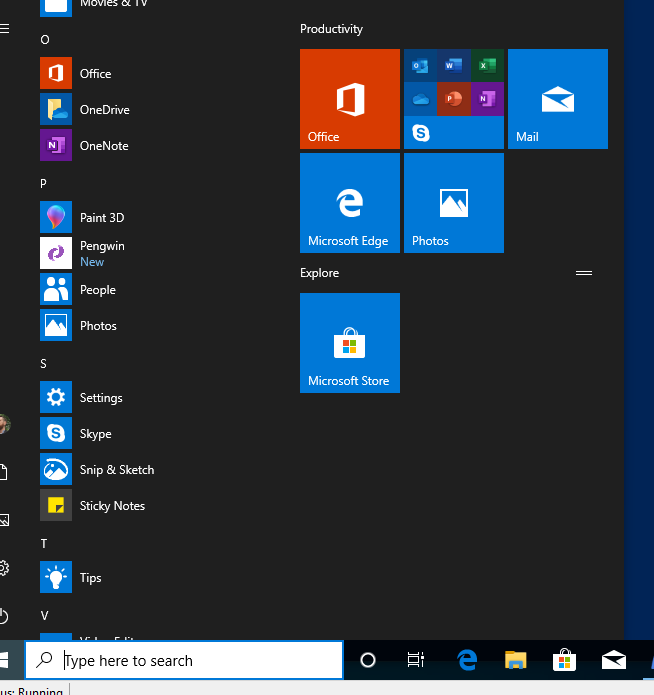
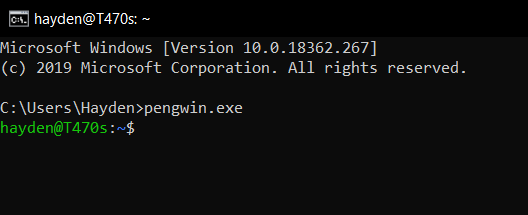
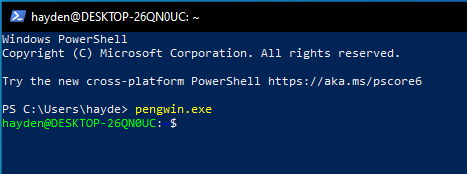
You can run Pengwin by selecting Pengwin from the Start Menu or running pengwin.exe from the Command Prompt or PowerShell.
Convert Pengwin to WSL2
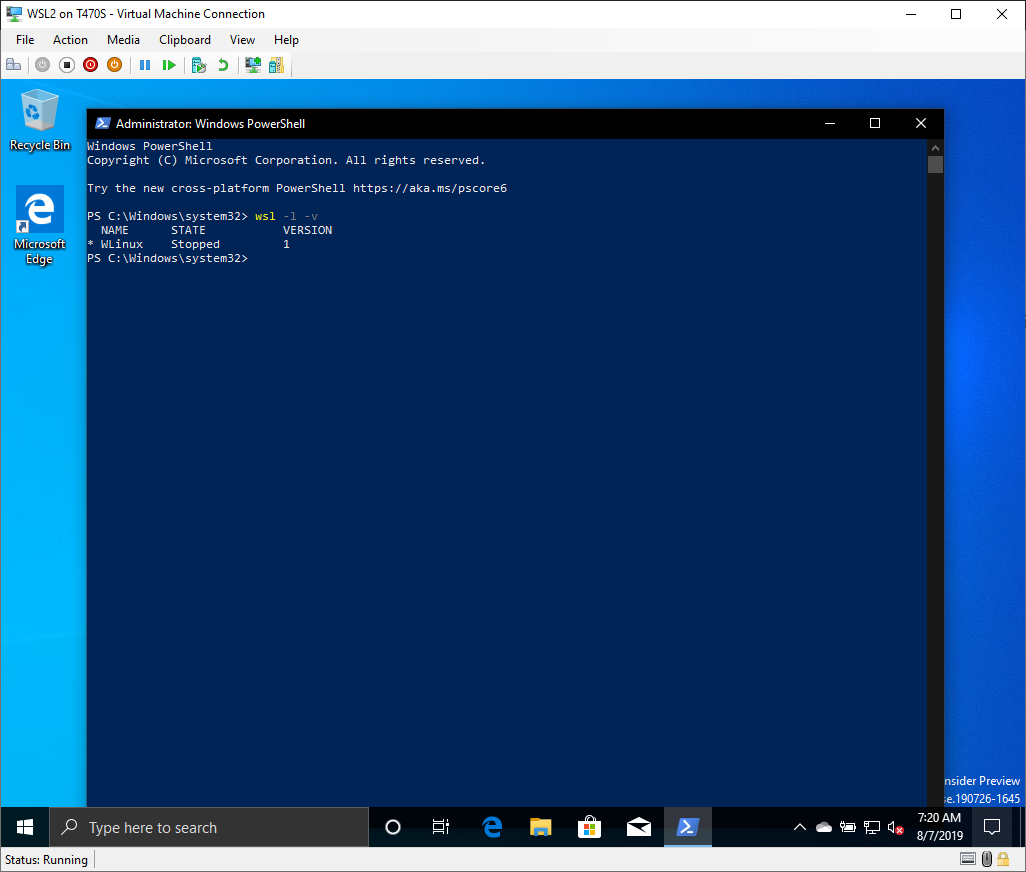
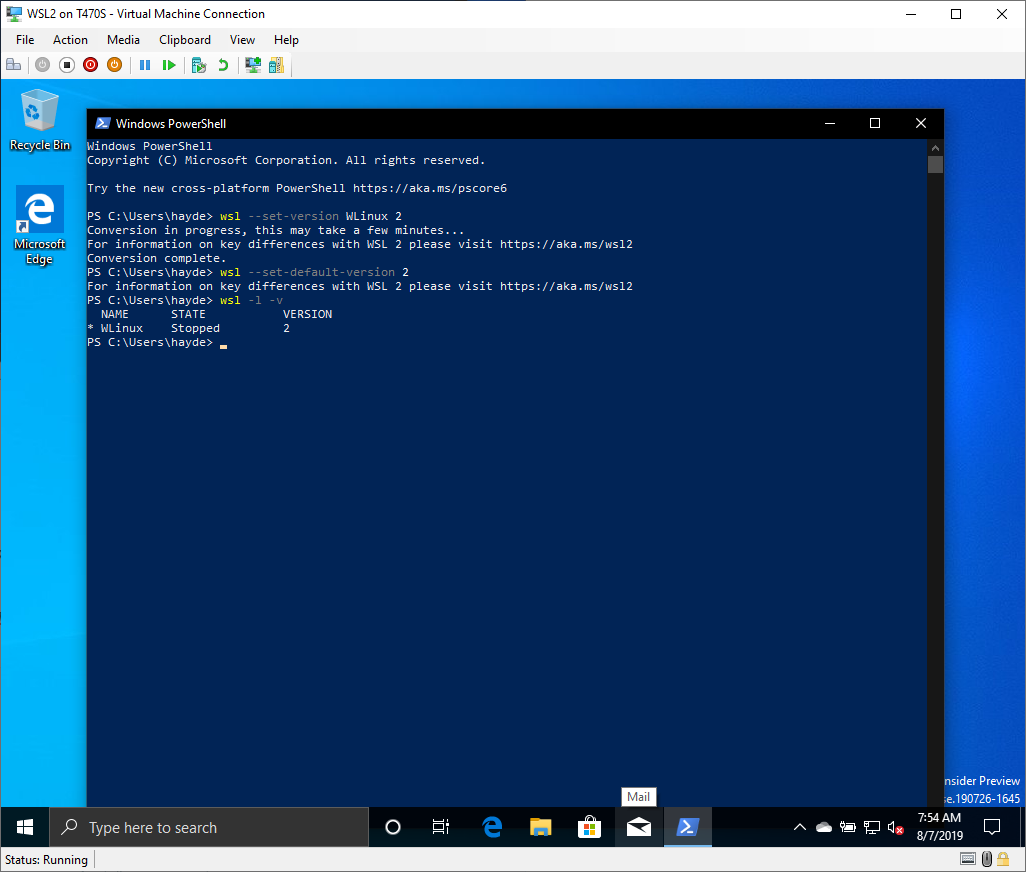
Open a PowerShell or Command Prompt console and run the following command to list the installed WSL distributions:
wsl -l -v
Note: Pengwin will be listed under it's legacy name, WLinux.
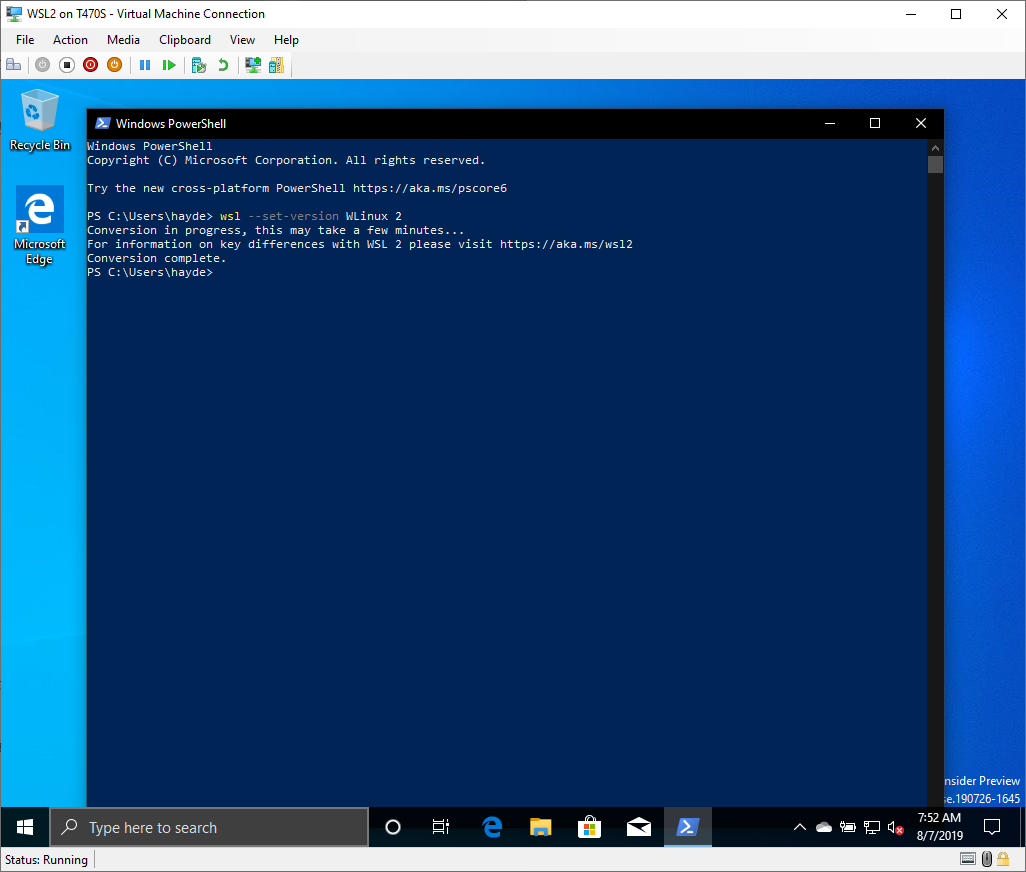
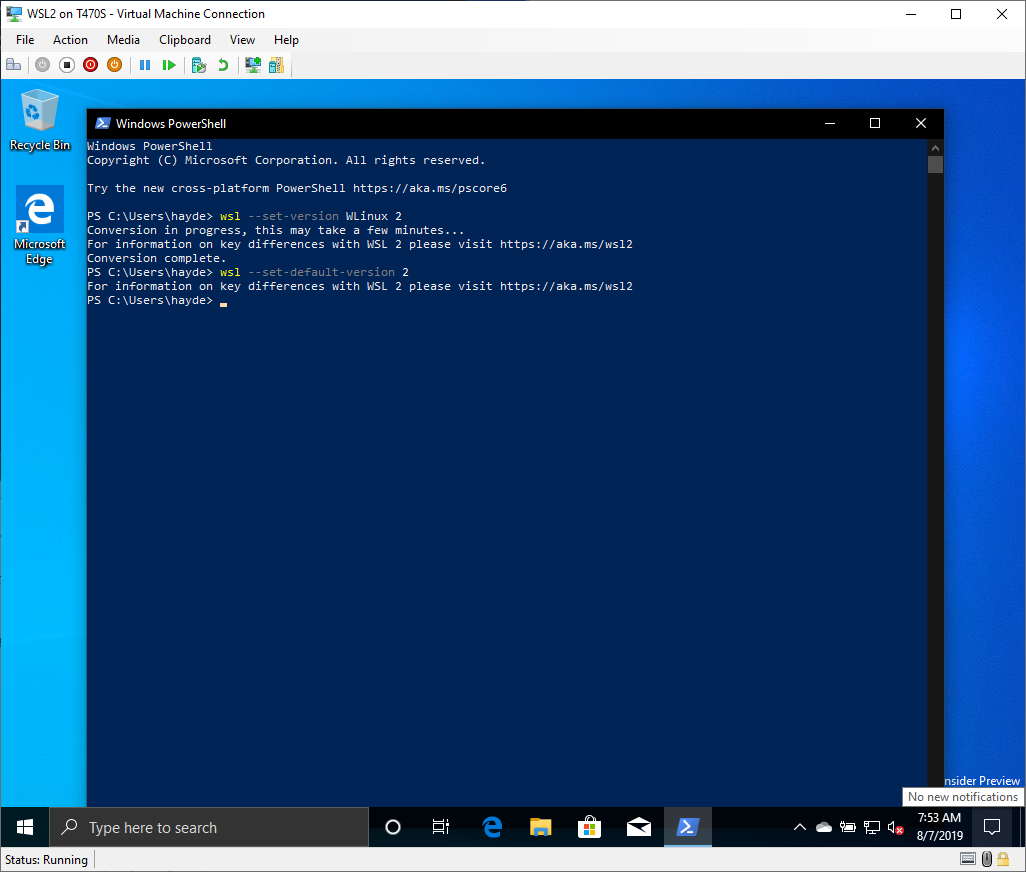
To convert Pengwin from WSL1 to WSL2, run the following command:
wsl --set-version WLinux 2
Note: If WSL2 complains here you haven't installed "Virtual Machine Platform" and you did above, shut down the guest VM, open PowerShell as Administrator on the host machine, and run:
Set-VMProcessor -VMName WSL2 -ExposeVirtualizationExtensions $true
You can read more about Hyper-V virtualization extensions on the Microsoft docs site.
To set WSL2 as the default for all WSL distributions, run the following command:
wsl --set-default-version 2
To confirm Pengwin was converted to WSL2, run the following command again:
wsl -l -v
Welcome to WSL2.
Note: On certain Insider builds an interop function is broken that requires you to comment out part of /etc/profile.d/00-pengwin.sh and prevents pengwin-setup from running. We recommend you start and configure Pengwin as WSL1 and then convert to WSL2. Read the bug report here. The bug is being patched in a future build.
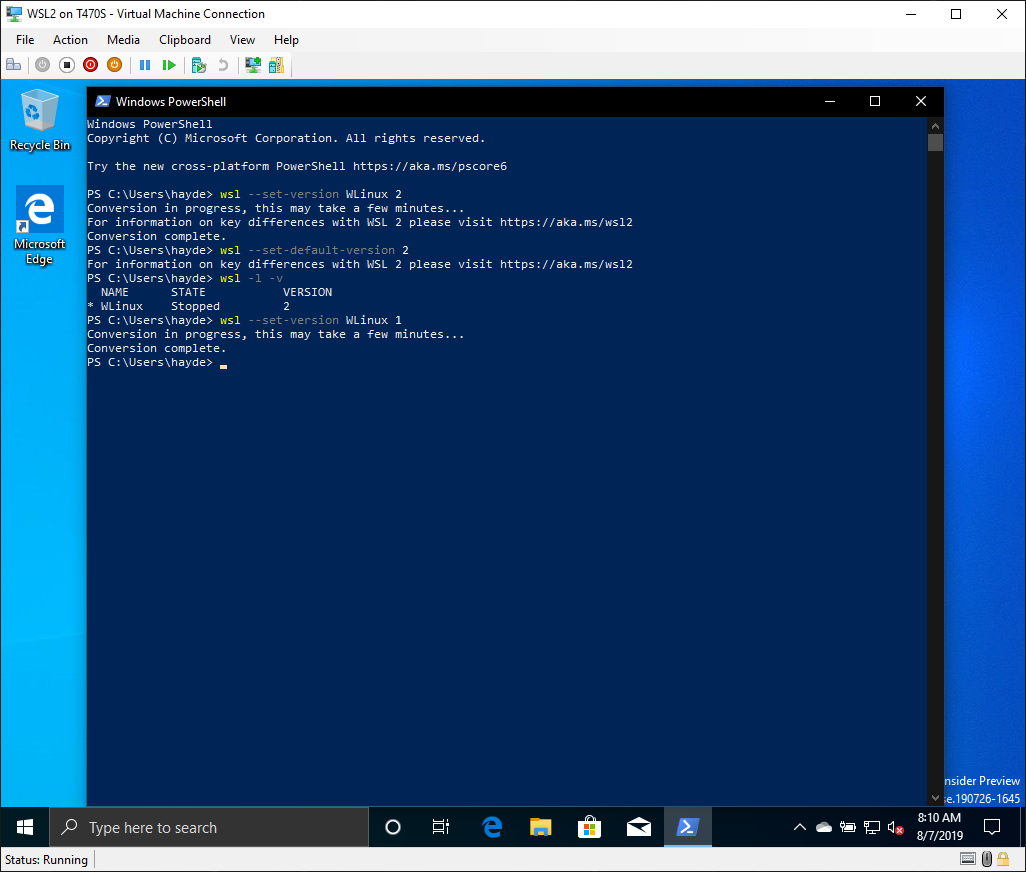
To convert Pengwin back to WSL1, run the following command:
wsl --set-version WLinux 1
Continue Getting Fast Ring Updates
The Insider VM we just installed is from the Insider Fast Ring but will only be updated with subsequent Slow Ring releases. To continue getting Fast Ring builds, you need to switch to Fast Ring.
You should be sure you have enough disk space for Fast Ring. I would recommend at least 50GB available for your current build of Windows, roll back, and checkpoints, discussed below.
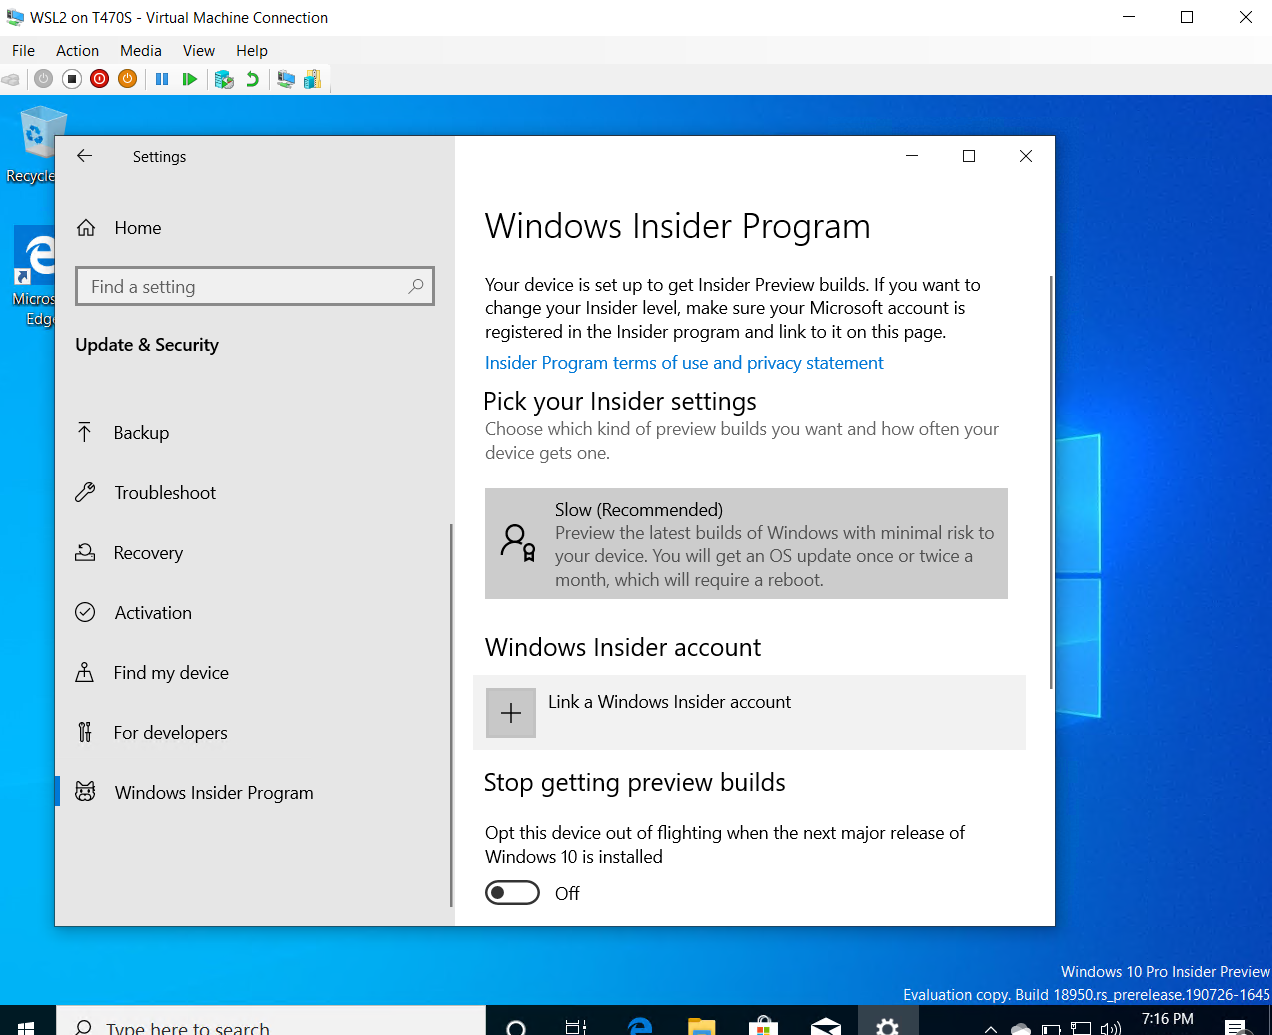
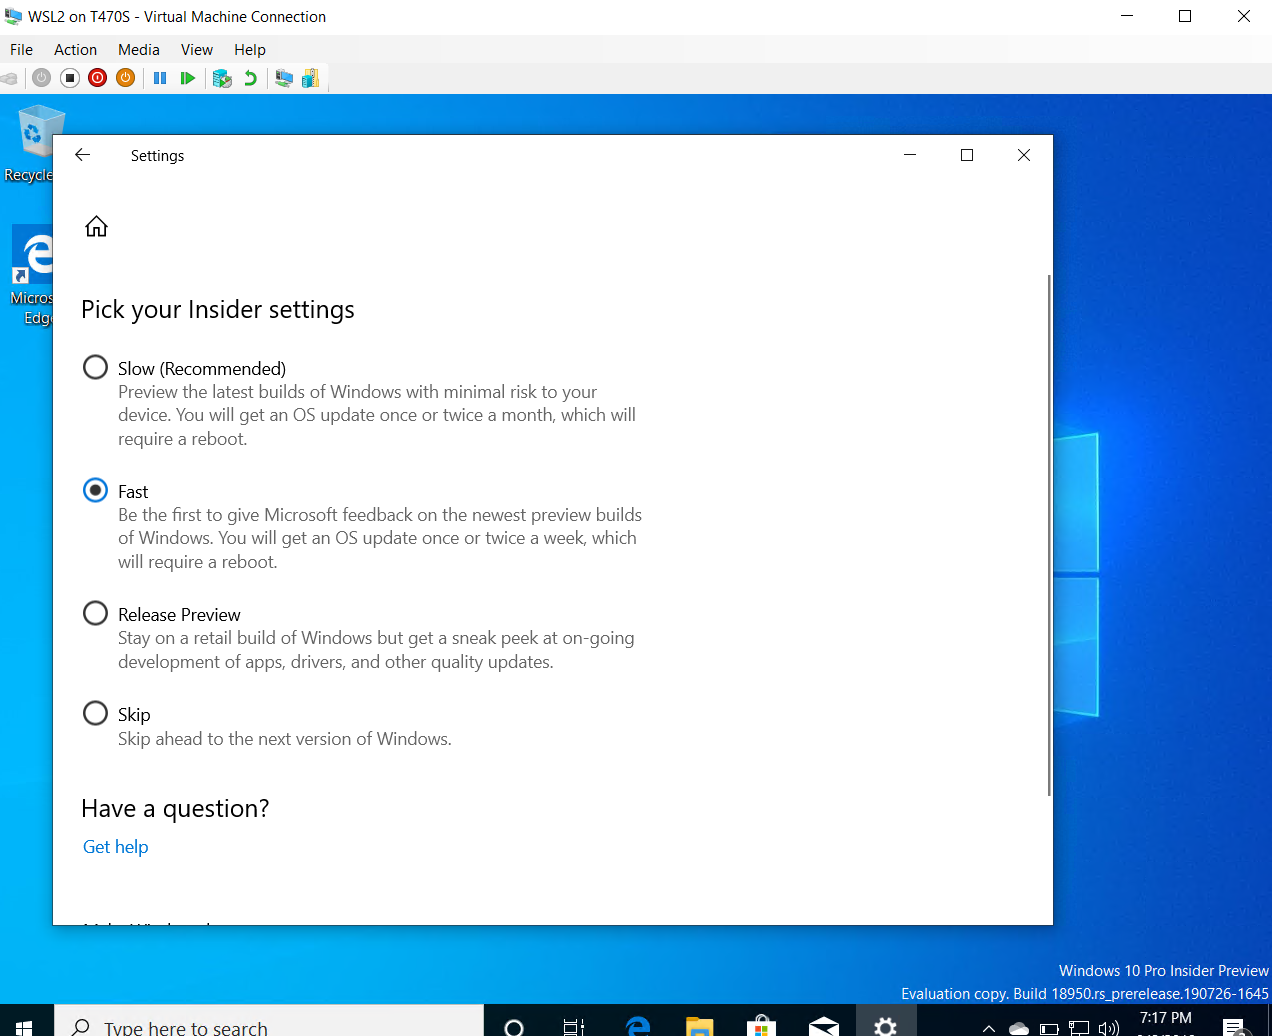
Tap the Windows key to open Windows Search, type "insider", and click "Windows Insider program settings".

Click "Take Control" if the button appears.
Then click "Slow Ring" and set your Insider VM to "Fast Ring."
Make A Checkpoint
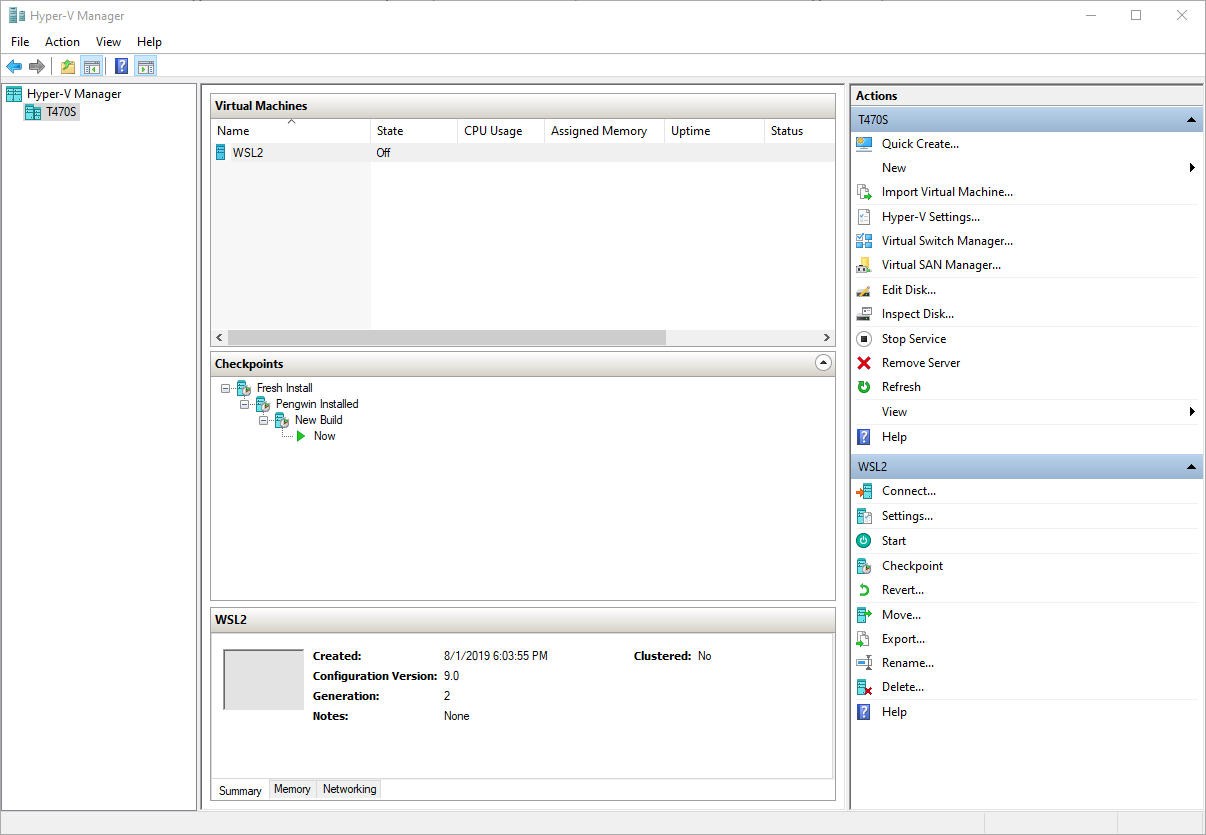
Now that you have set up your Insider VM, I recommend running Windows updates, shutting down, and then making a checkpoint of your freshly installed system that you can return to if necessary. You can do this after each new major update, which can be as often as weekly on Fast Ring.
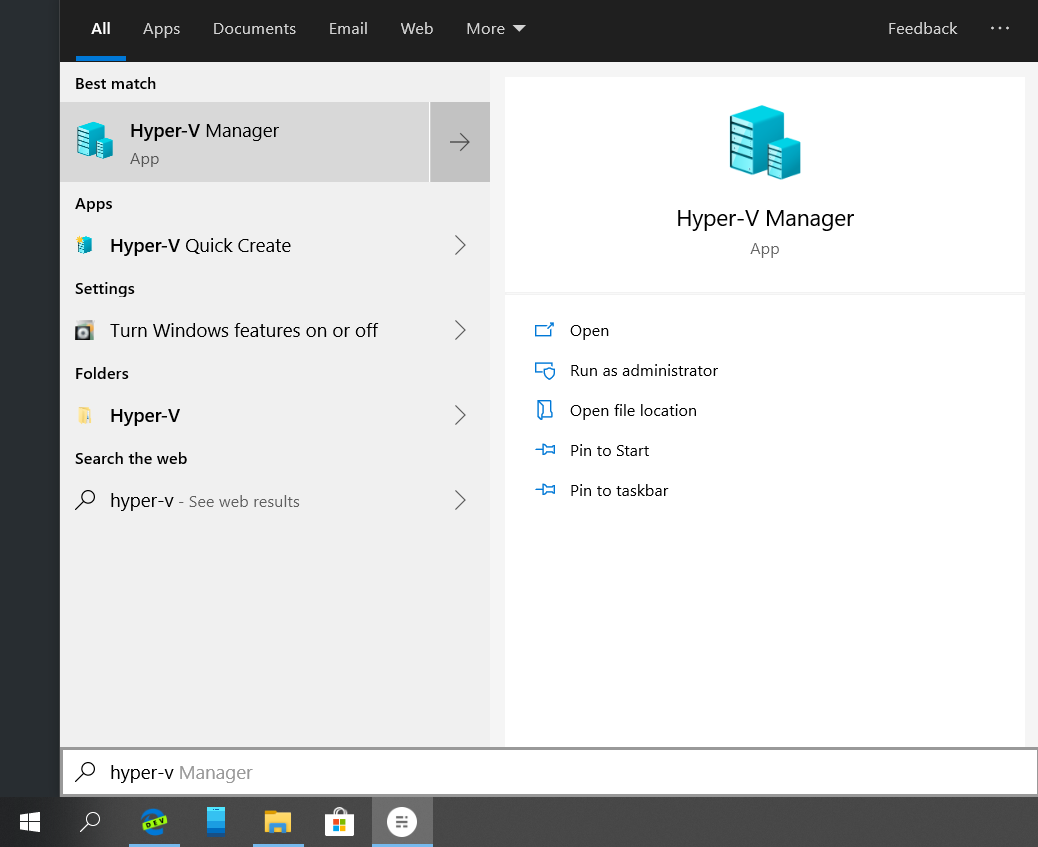
On your host machine, tap the Windows key to open Windows Search, type "Hyper-V", and click "Hyper-V Manager".
Select our new VM and then click Checkpoint to create a Checkpoint.
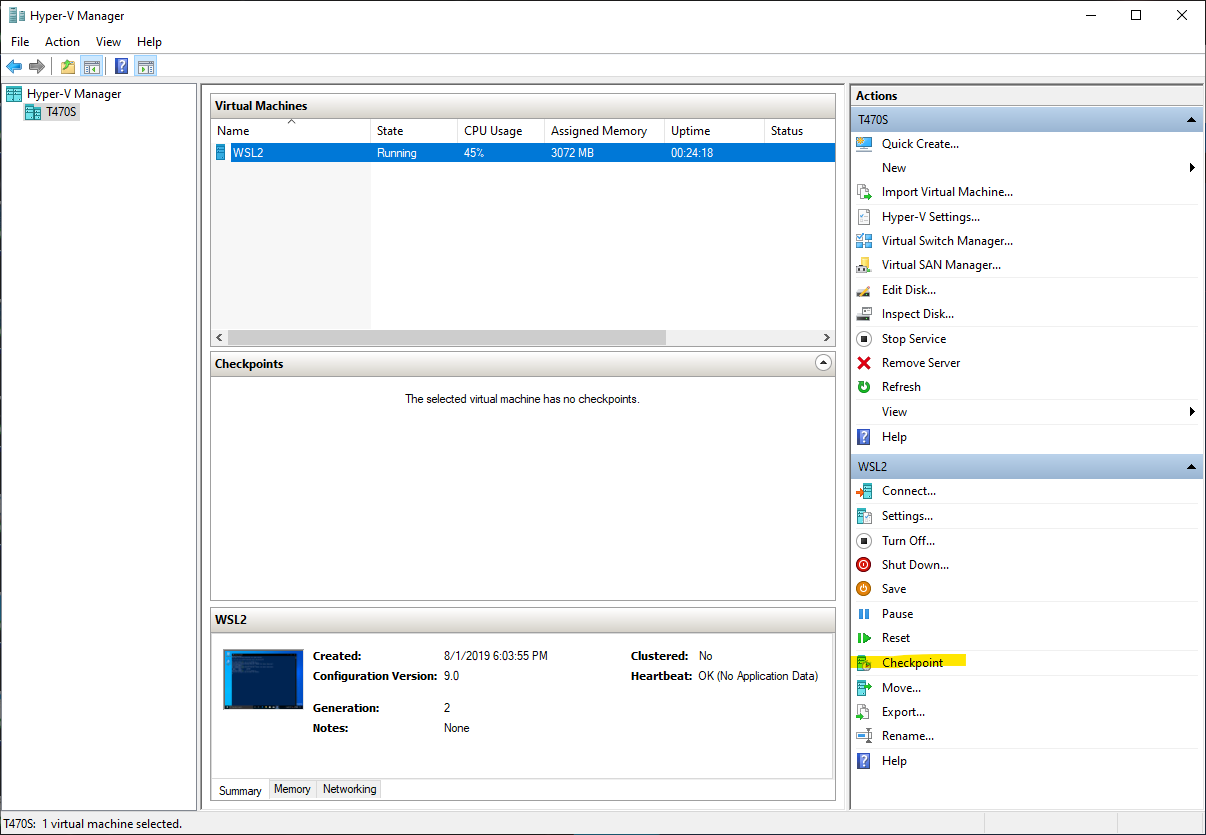
The new Checkpoint will be listed in the Checkpoints panel.
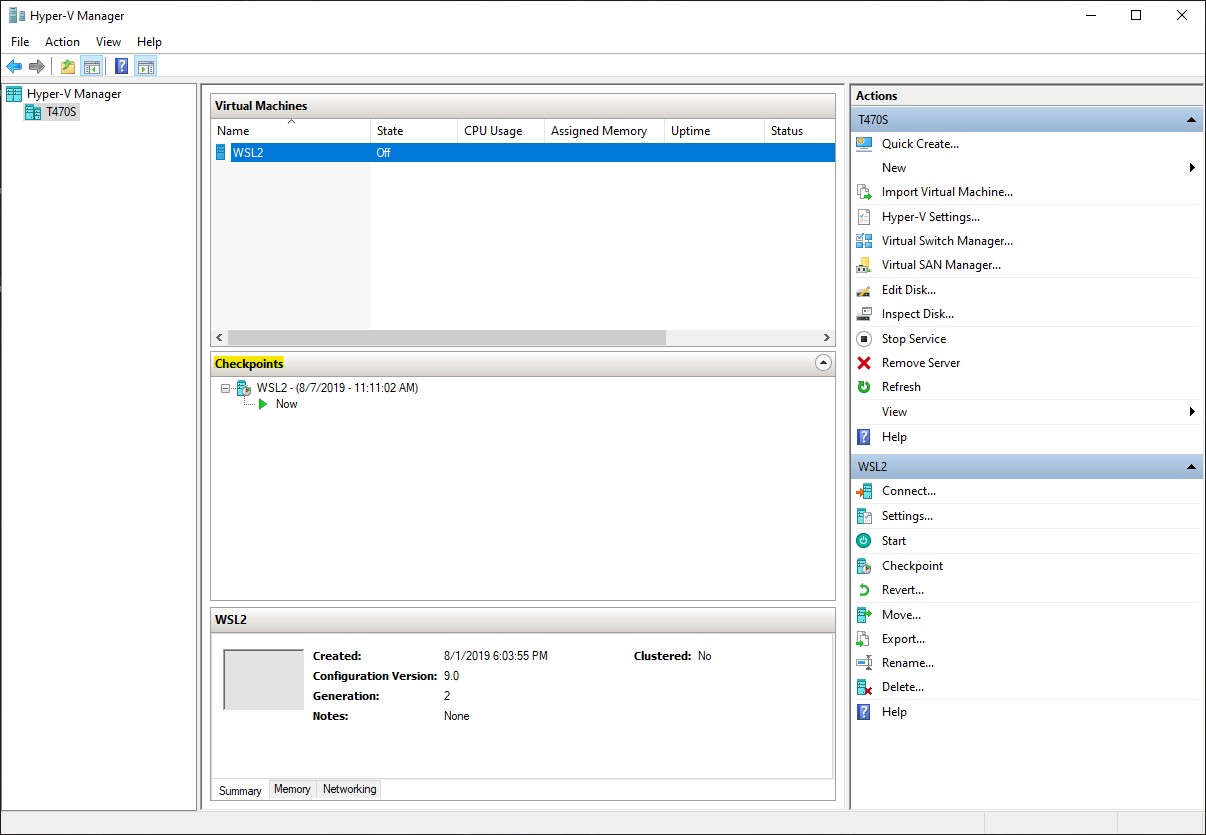
Right-click on the Checkpoint, click "Rename", and rename it to something useful, such as "Fresh Install".
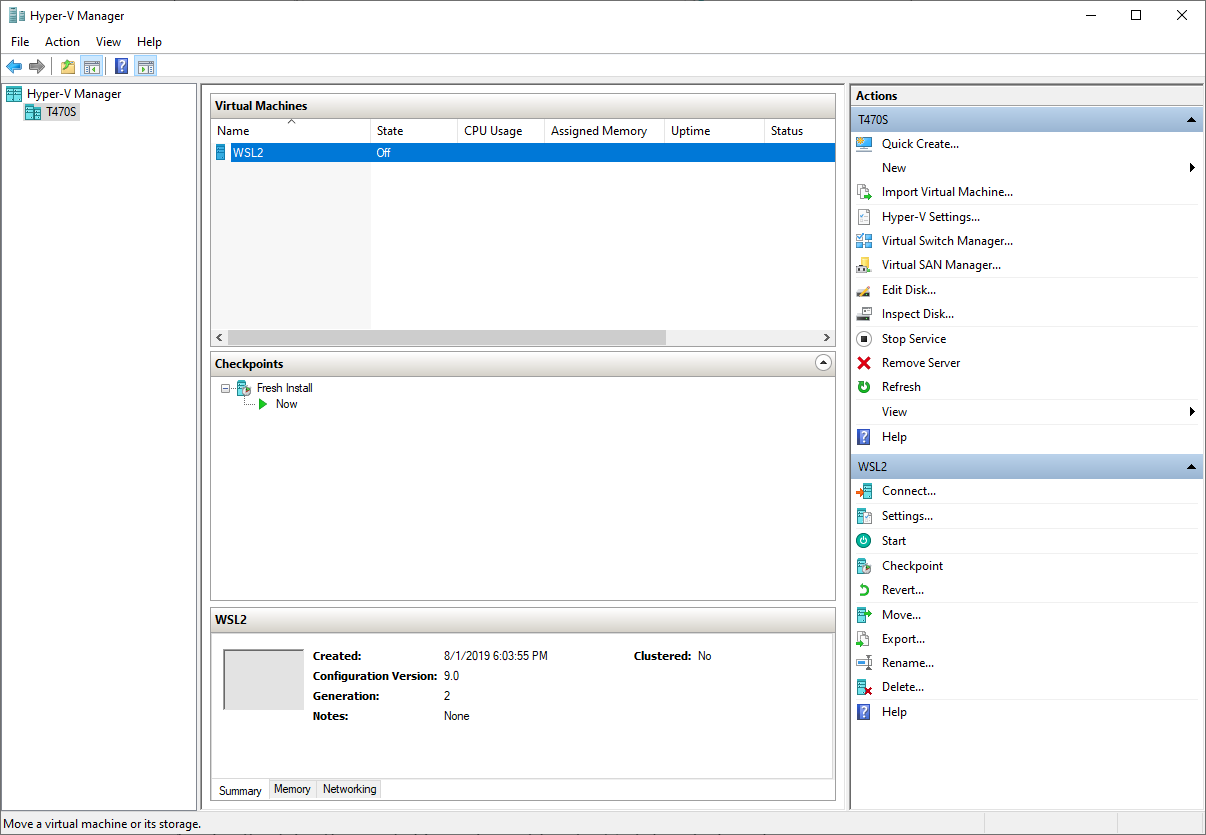
You can make periodic manual checkpoints, after a new build is released, or set Hyper-V to create automatic checkpoints.
You can configure automatic checkpoints by selecting our VM, clicking "Settings", and navigating to the Checkpoints panel.
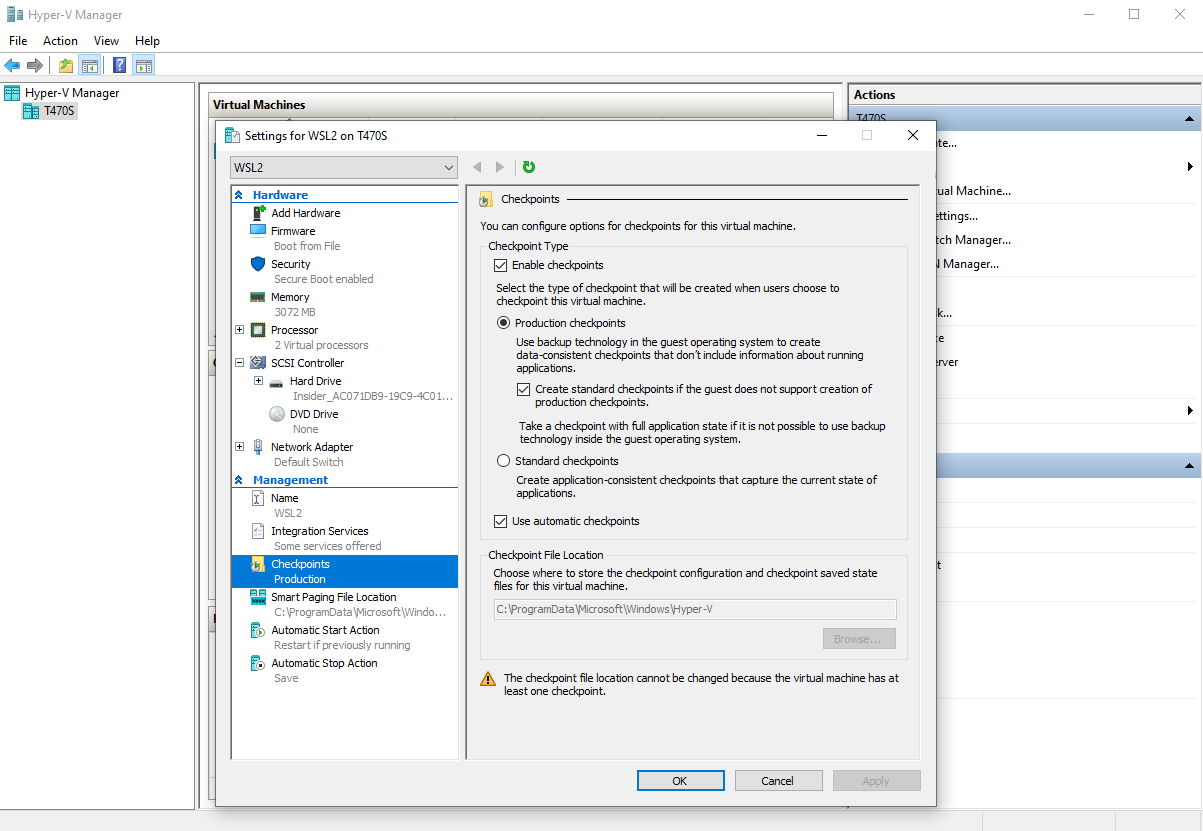
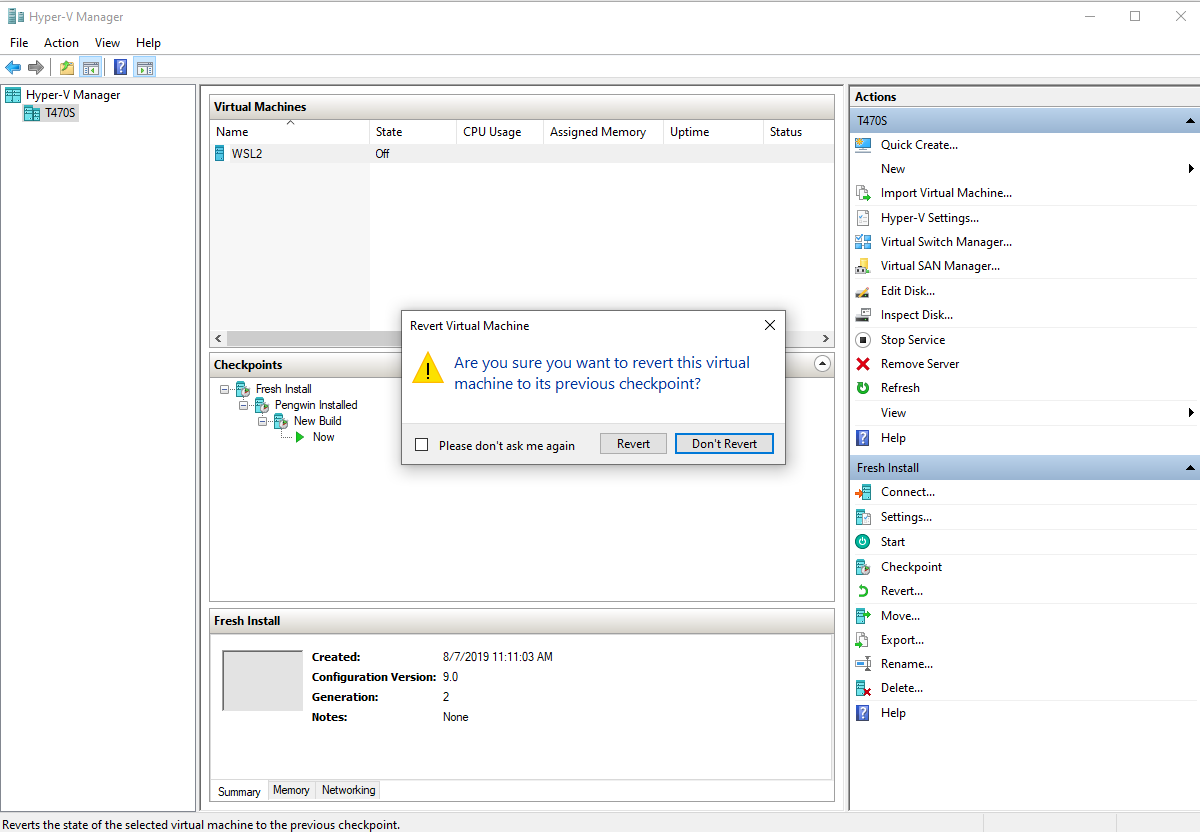
If necessary, you can revert to the last good checkpoint using the Revert feature or by selecting a specific checkpoint and clicking "Apply."
Any feedback for this guide? E-mail me at hayden at whitewaterfoundry.com.


