Trying Windows Server 2022 Insider Preview on openSUSE Tumbleweed
Installing Windows Server 2022 Insider Preview in GNOME Boxes on openSUSE Tumbleweed and configuring it with its own IP address on the LAN with YaST.
Windows Server 2022 Insider Preview
Microsoft recently released Windows Server 2022 Insider Preview. Like any preview OS release, it can be useful to run it in a virtual machine (VM) to test it out before deploying. This keeps your bare-metal devices free for stable OS releases and gives you access to unique virtual machine features such as snapshots which allow you to easily roll back breaking changes.
The Goal 🥅
At the end of this guide, you will have Windows Server 2022 Insider Preview running in GNOME Boxes with its own IP address on your local network separate from the IP address of the openSUSE Tumbleweed host. This will allow you to access Windows Server 2022 Insider Preview directly from other devices on the network. YaST on openSUSE Tumbleweed makes this extremely easy.
This guide makes the following assumptions:
- You are running the latest openSUSE Tumbleweed, though these steps should also work on openSUSE Leap and SUSE Enterprise Linux.
- Your host is connected to your network via ethernet that is configured by DHCP. If you are manually assigned a IP address you may need to tweak steps below to manually set the IP. It may be possible to use a wireless connection but note that not all wireless adapters support bridging.
GNOME Boxes and virt-manager
GNOME Boxes is a simple and elegant interface for managing virtual machines on openSUSE Tumbleweed and other Linux desktops:
GNOME Boxes has a very minimal interface, sometimes too minimal. In some cases, you will want to configure your VM using another tool called virt-manager first where more configuration options are available. Then you can return to and enjoy your minimal Boxes virtualization experience.
We will use virt-manager to provision and configure our Windows Server 2022 Insider Preview VM first. We are using virt-manager here because we want to do some custom network configuration so that our VM shows up directly on our LAN with its own IP address, separate from the Linux host. This way our VM can be easily accessed from other LAN devices, not just our host or other guest VMs.
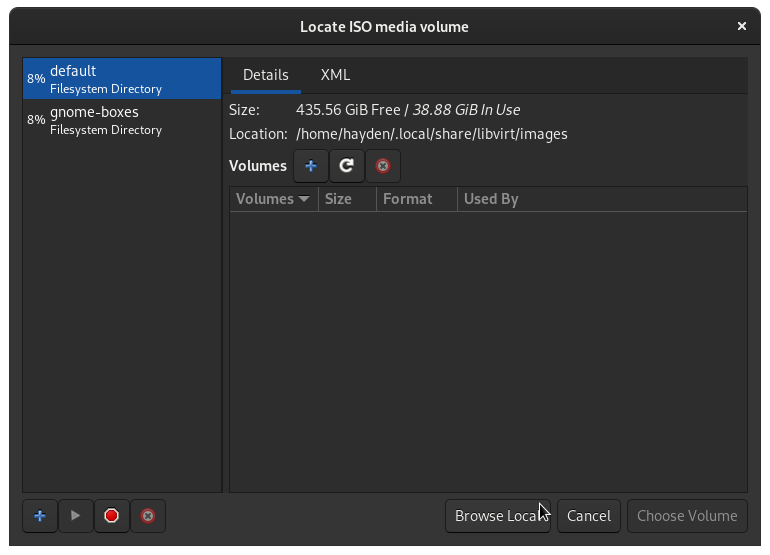
It is possible to do this entirely within GNOME Boxes if you want to edit some XML, but the goal of this guide was to use as much GUI tools as possible and eliminate manual editing of configuration files. I had really hoped to get by without any terminal commands either but sadly there are two.
Get the Windows Server 2022 Insider Preview ISO
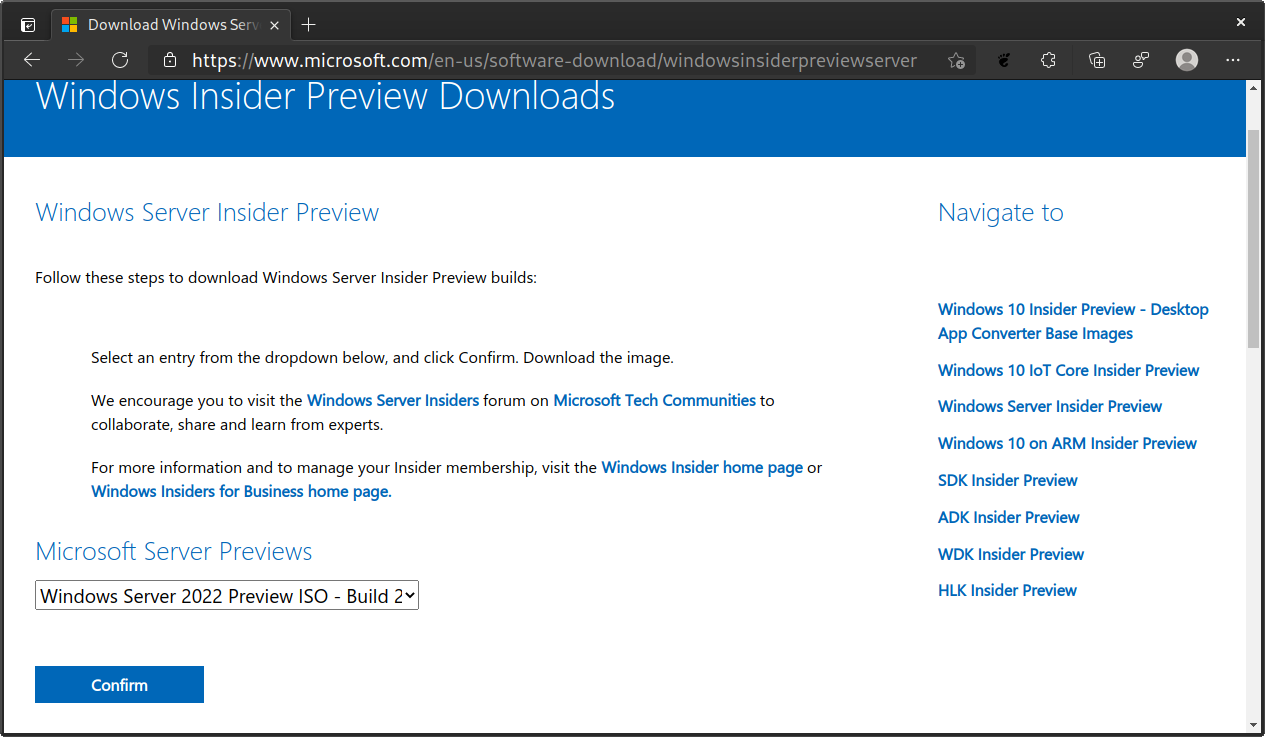
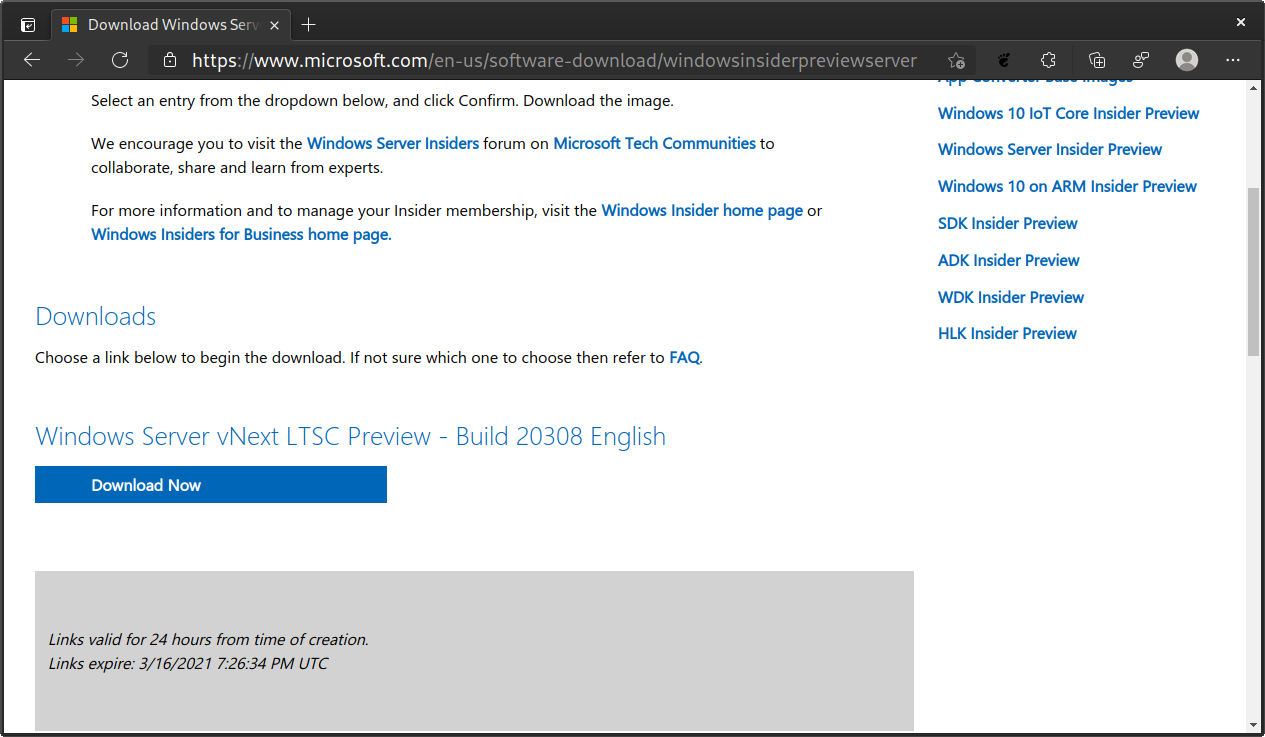
Grab the Windows Server 2022 Insider Preview ISO from the Windows Server Insider page. You will need a Microsoft account and to be registered as a Windows Insider to download the ISO. It is free and relatively painless to register as a Windows Insider. Select the ISO option, your preferred language, and click Download Now.
Install GNOME Boxes and virt-manager
While the ISO is downloading, install the tools we are going to need on openSUSE Tumbleweed host.
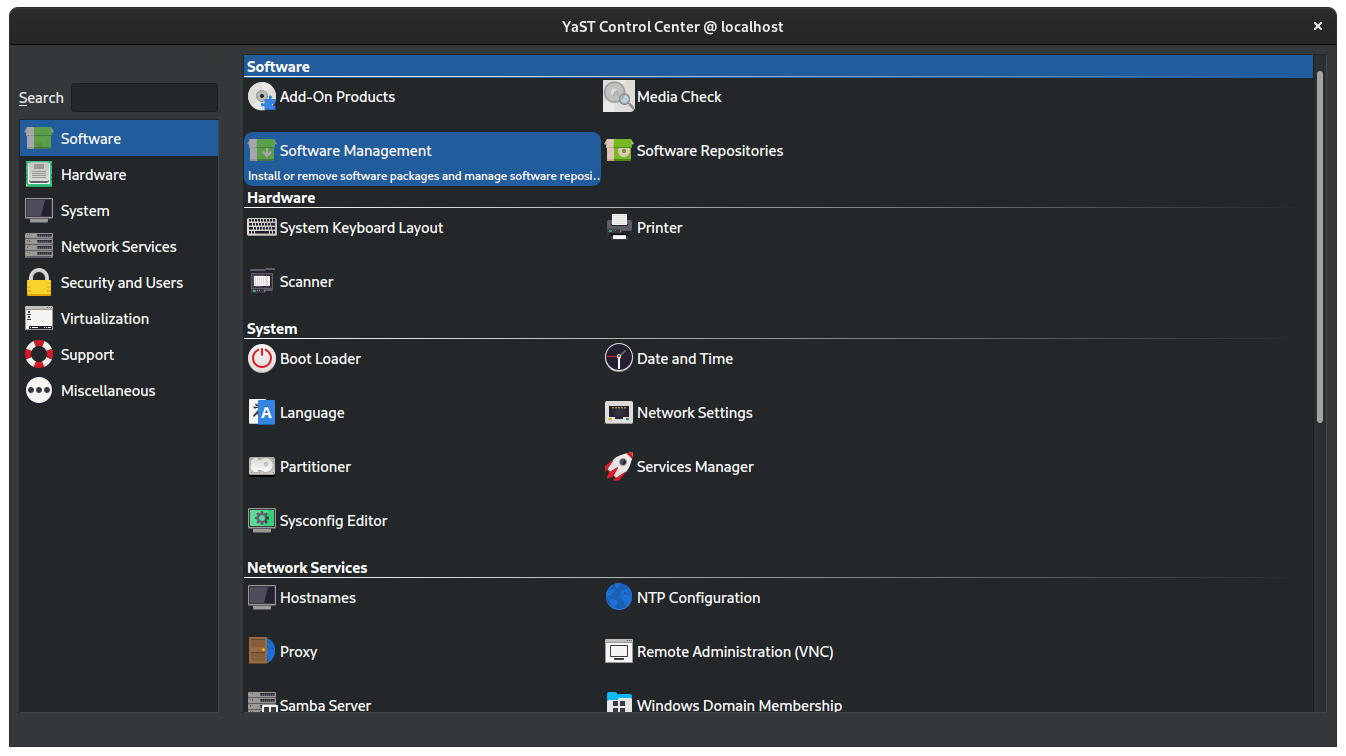
Open YaST:
In YaST, click Software Management:
Search for the gnome-boxes package and check the box next to it to mark it as a package to install:
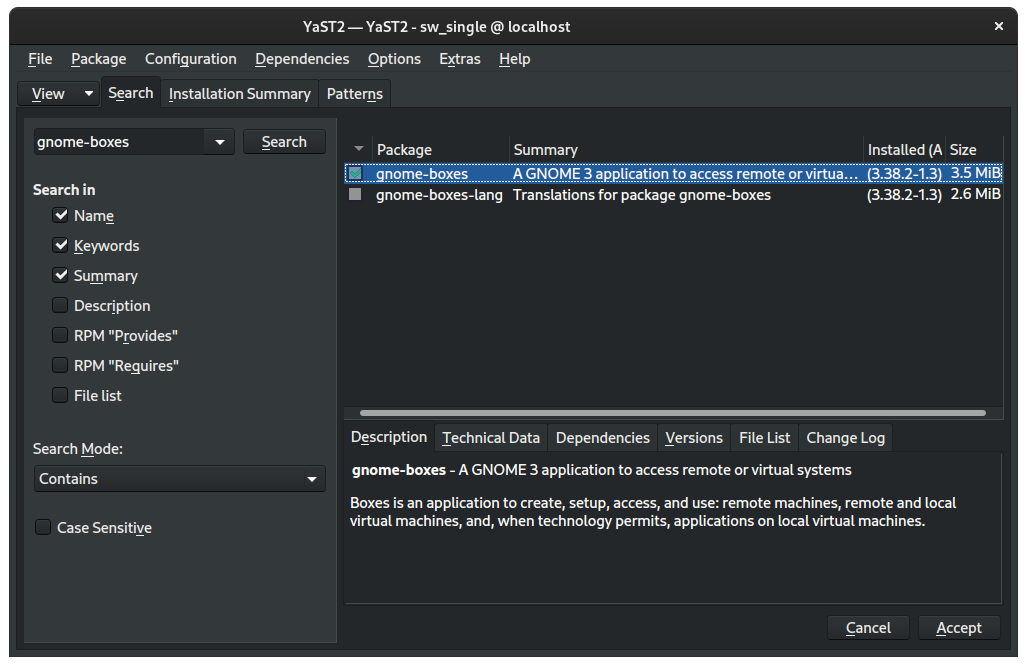
Then search for the virt-manager package and, similarly, check the box to mark it as a package to install:

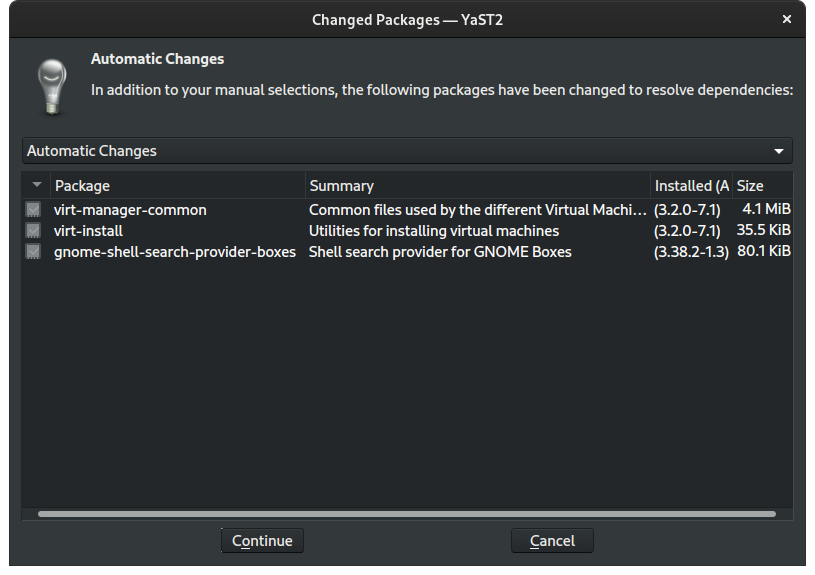
Click Accept, review the Automatic Changes, and then click Continue:
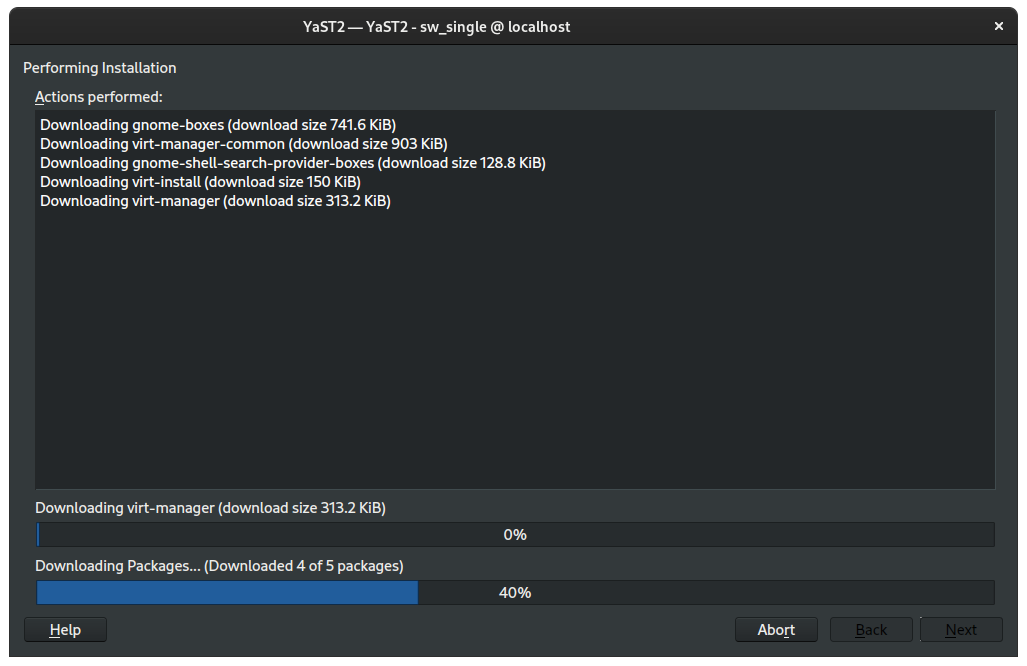
Wait a moment while the packages and their dependencies are downloaded and installed:
When complete, you will see in the Installation Report that the installation successfully finished. Click Finish.

Configure bridged networking on our host
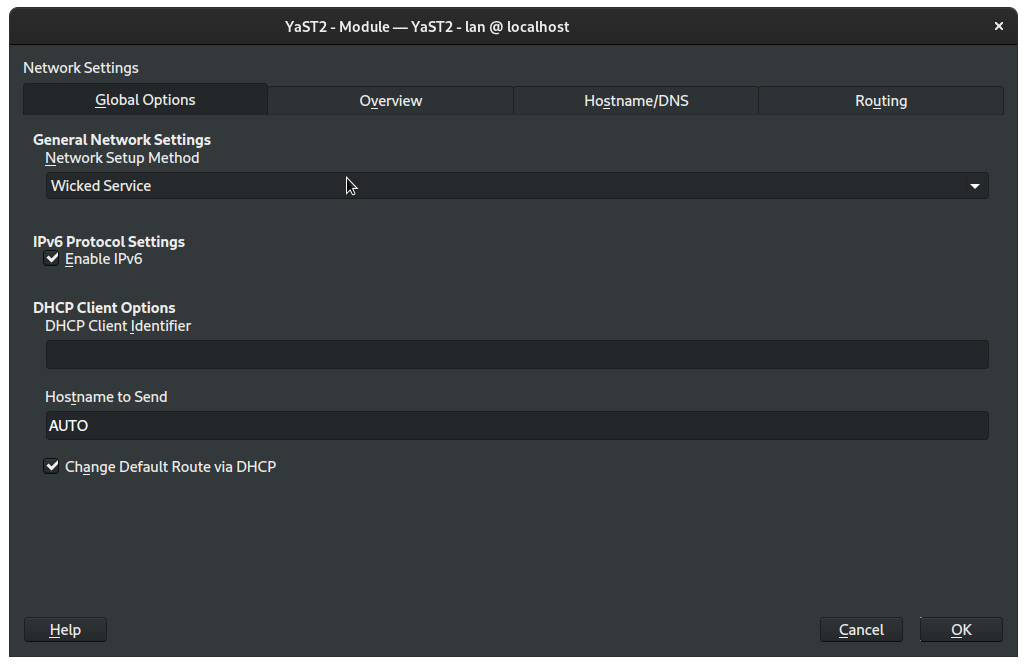
Back in YaST open Network Settings:

On the Global Options tab, under Network Setup Method, select Wicked Service:
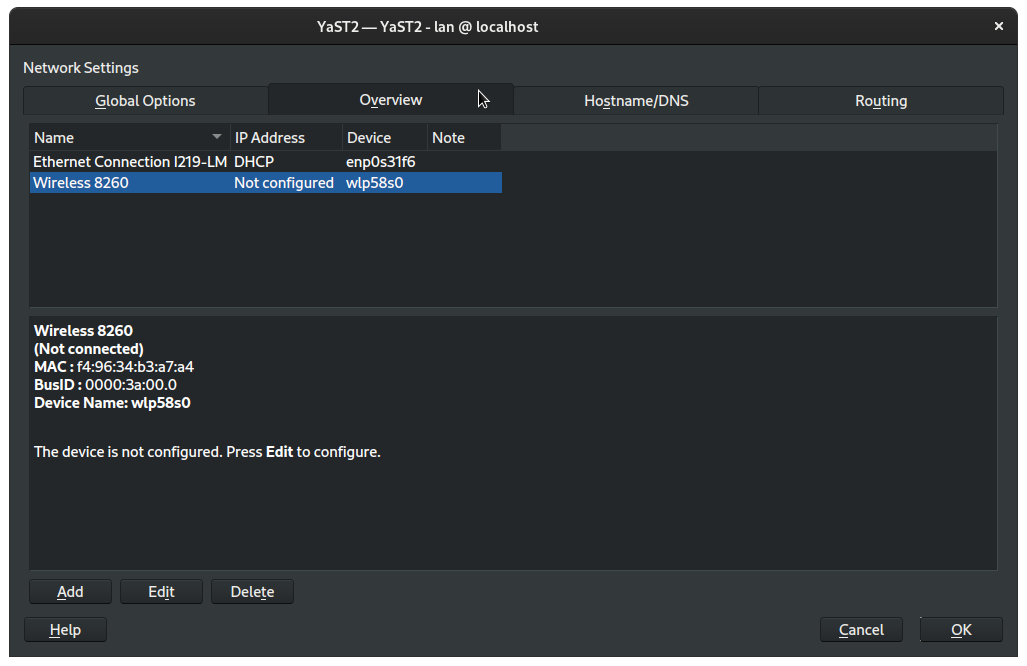
Switch to the Overview tab:
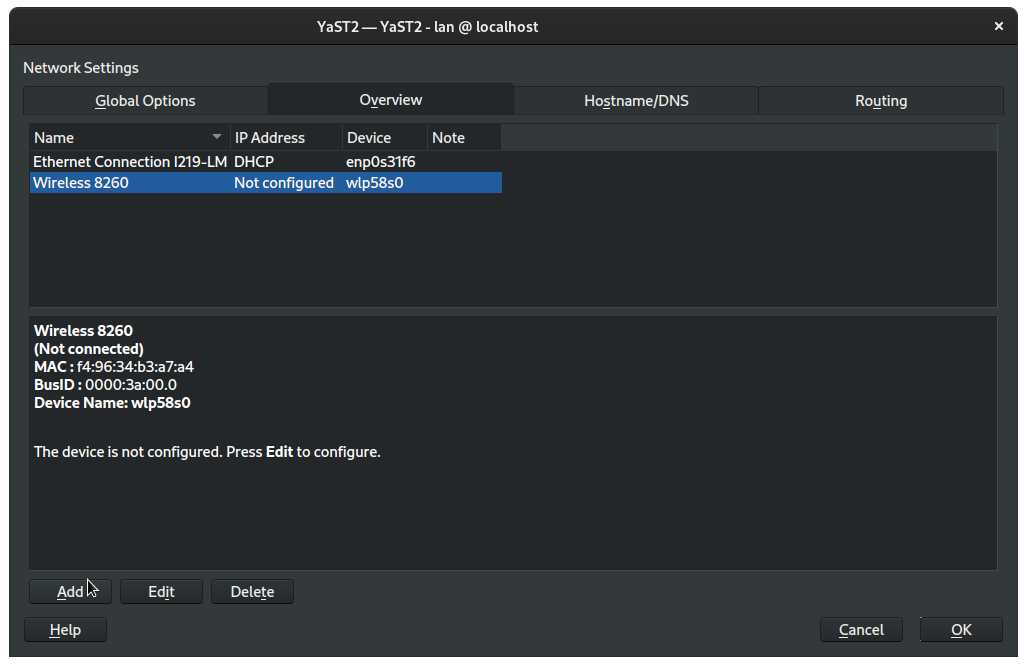
Then click Add:
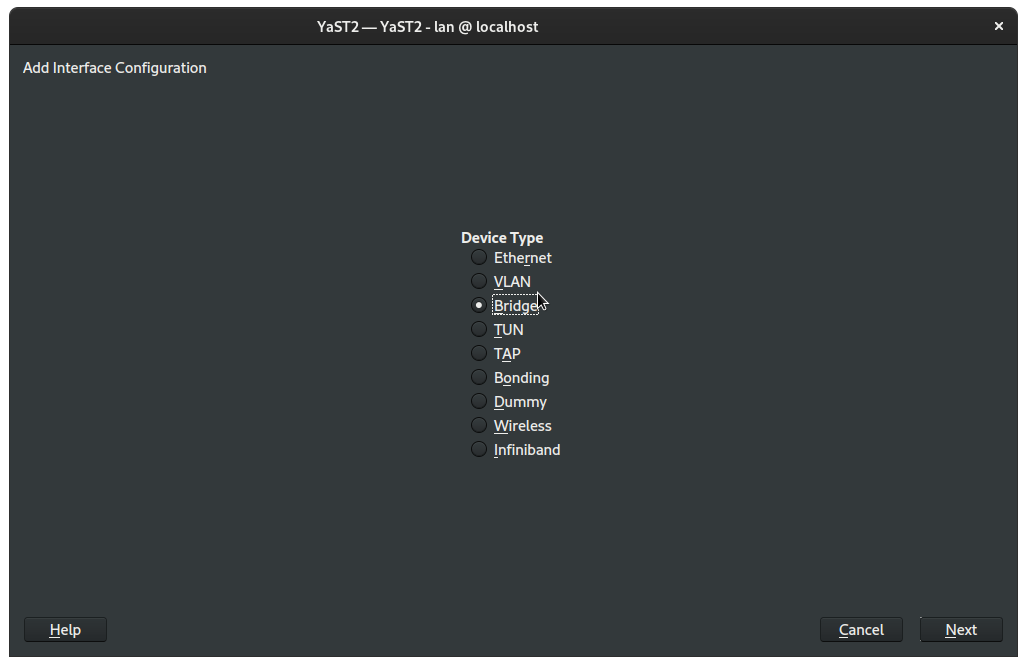
Under Device Type select Bridge and then click Next:
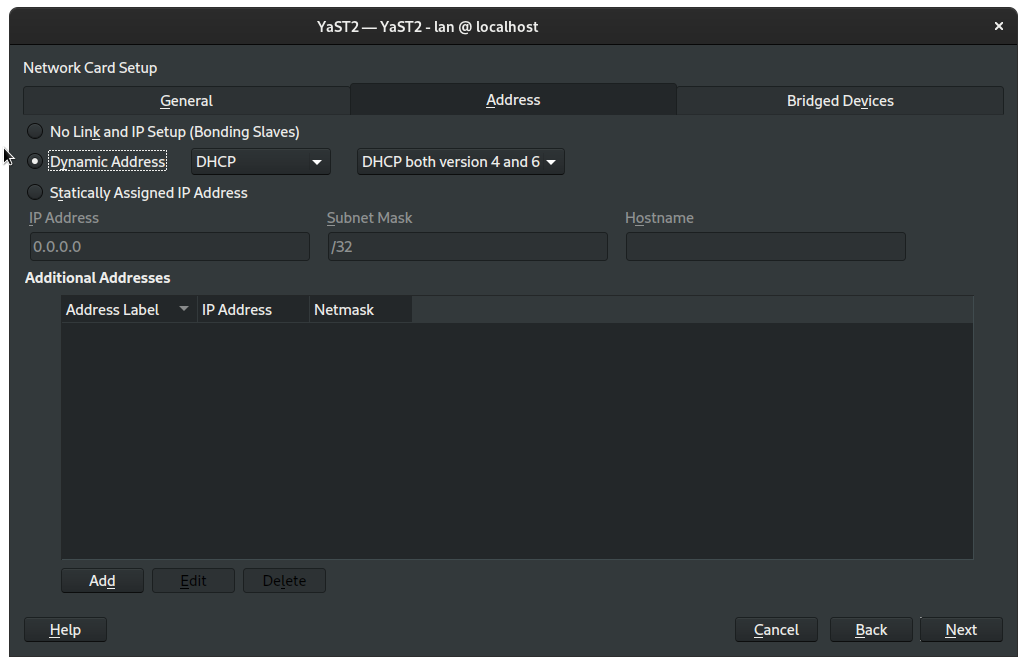
On the next window, Network Card Setup, on the Address tab, and select Dynamic Address:
Then switch to the Bridged Devices tab:
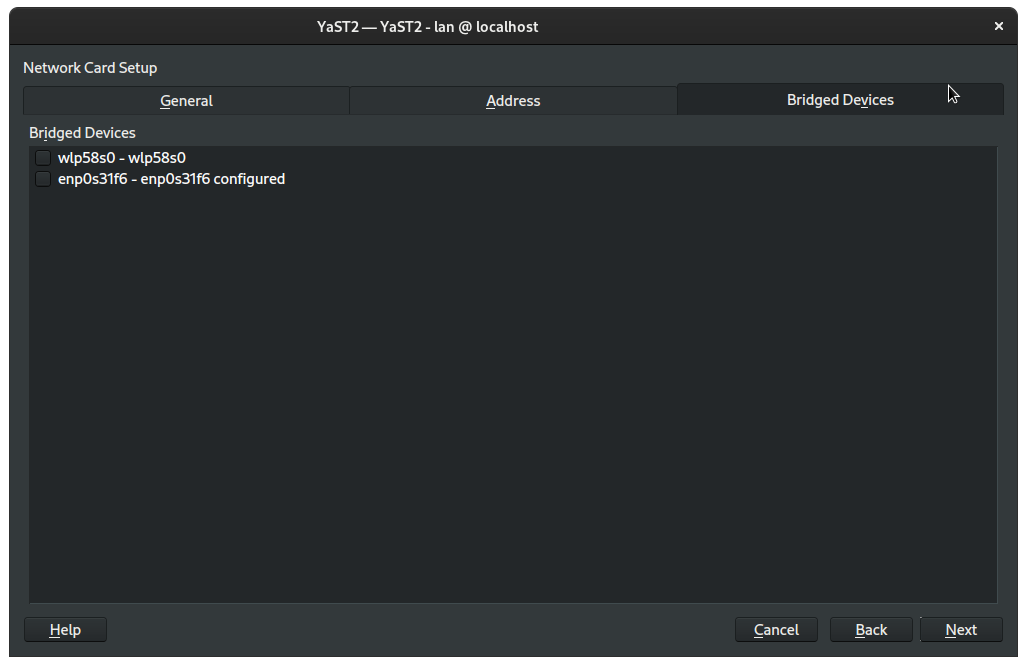
Check the box next to your ethernet connection, which usually begins with enp:

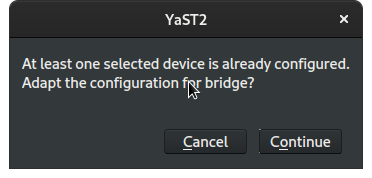
Click Next and confirm that we are adapting the configuration for bridged networking:
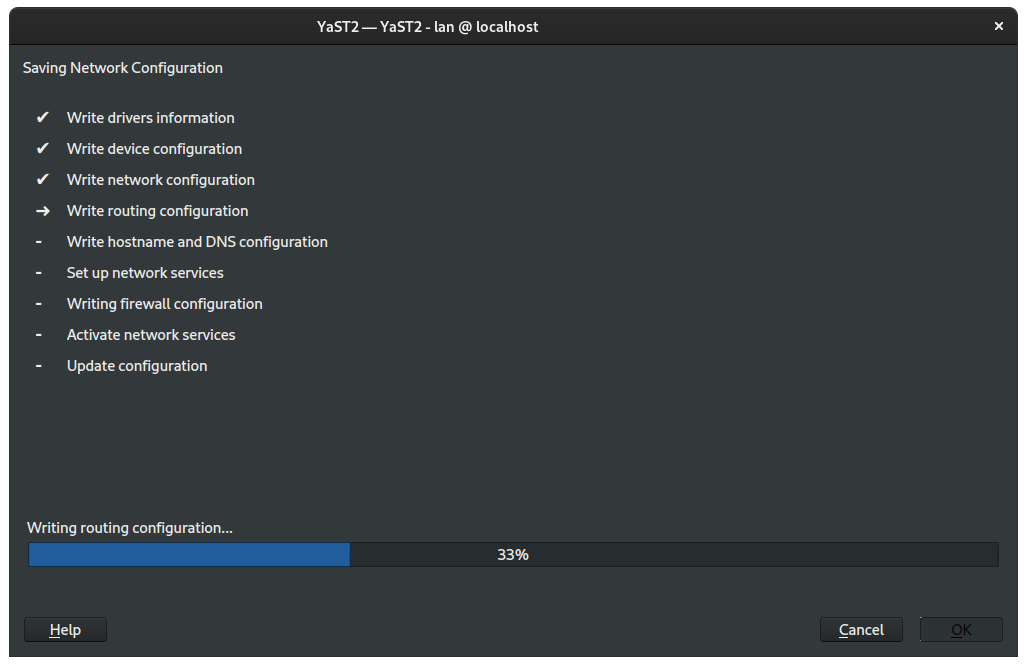
We are now returned to the Overview tab of the Network Settings module. We should see that our ethernet device now reports IP address as NONE and, in the note, that is enslaved to br0, our new bridge device, which itself is configured for DHCP.

Click OK and YaST will apply our new settings. Note that if you switched from using NetworkManager to Wicked, your DHCP lease may have been renewed under a new IP address.
Exit YaST.
Give our user access to bridged networking
To give our normal user access to configure the bridge we just created, we need to enable bridge access in the QEMU bridge ACL and then set the setuid attribute on the helper binary:
echo "allow br0" | sudo tee /etc/qemu/bridge.conf
sudo chmod u+s /usr/libexec/qemu-bridge-helper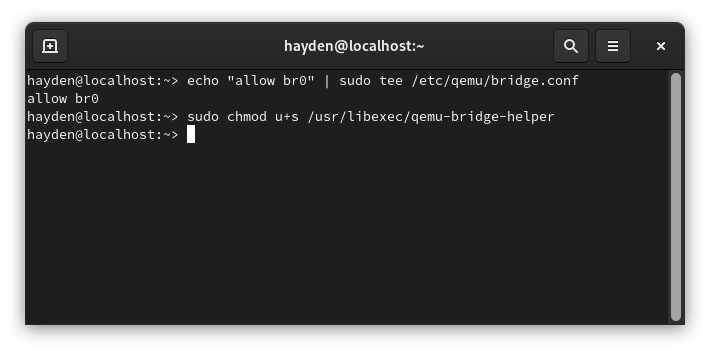
It would be nifty if adding a user to qemu or kvm group bypassed the need for above, but alas.
Provision our Windows Server 2022 VM in virt-manager
Open virt-manager:
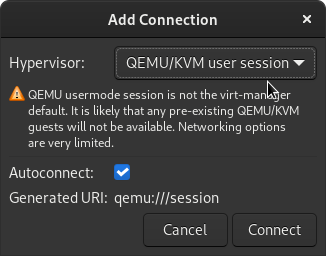
Click File and Add Connection:
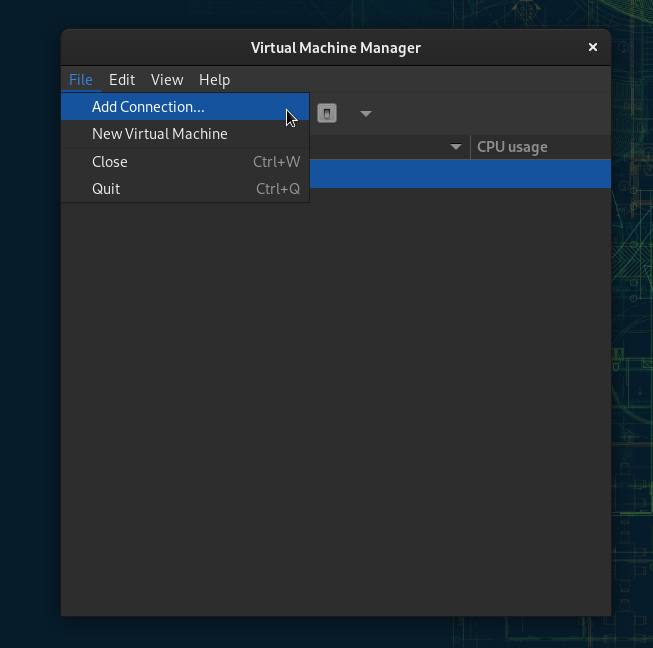
Next to Hypervisor select QEMU/KVM user session and then click Connect:
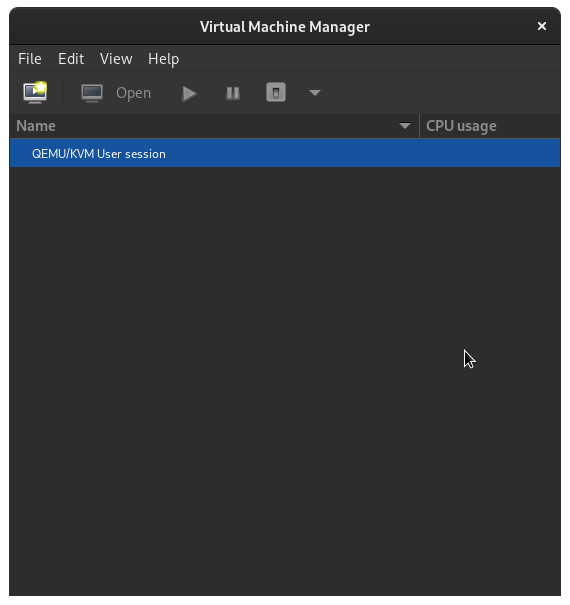
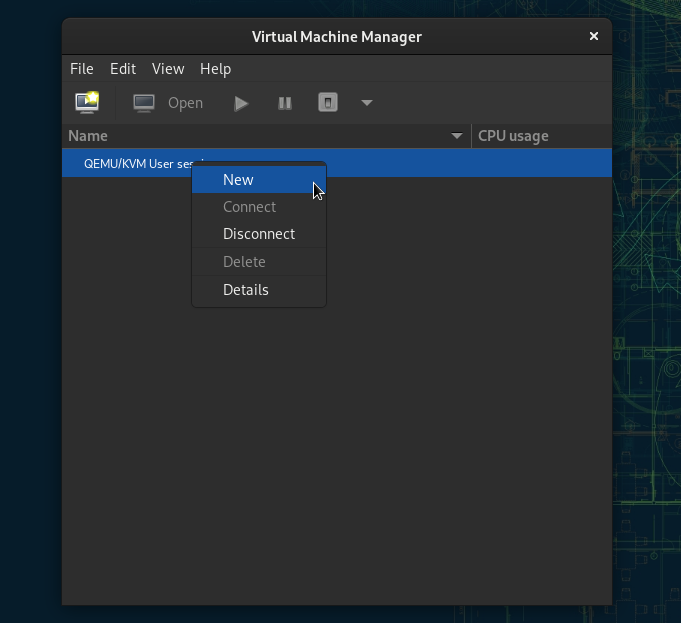
You should now see QEMU/KVM User session listed in virt-manager:
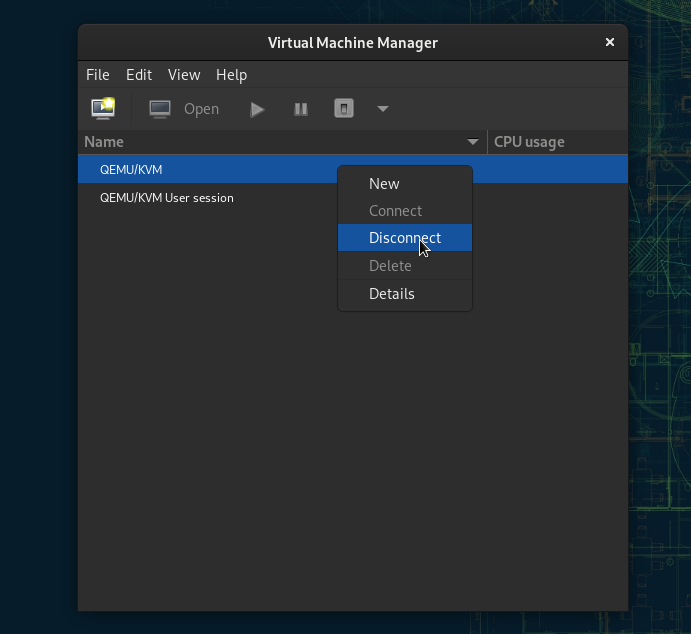
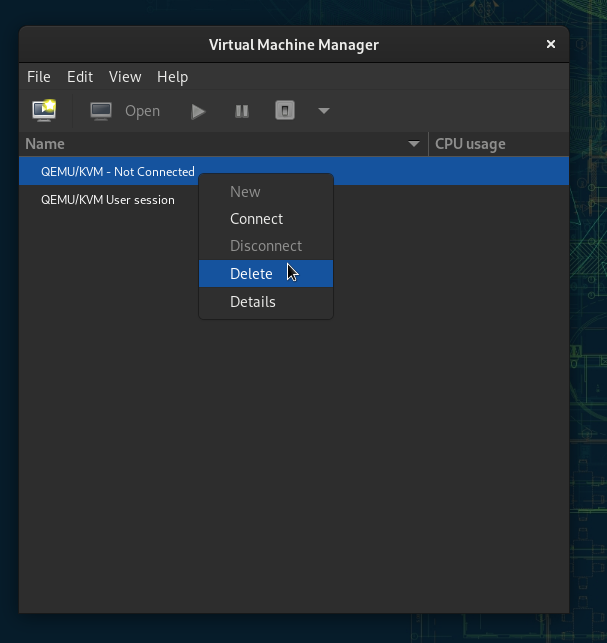
You may also see QEMU/KVM (sans 'User session') listed in virt-manager. Unless you have VMs already installed here, you can right-click, click Disconnect, right-click again, click Delete, and confirm to remove this from virt-manager to avoid confusion. Note: Only VMs created in QEMU/KVM User session will appear in GNOME Boxes.
Right-click on QEMU/KVM User session and click New:
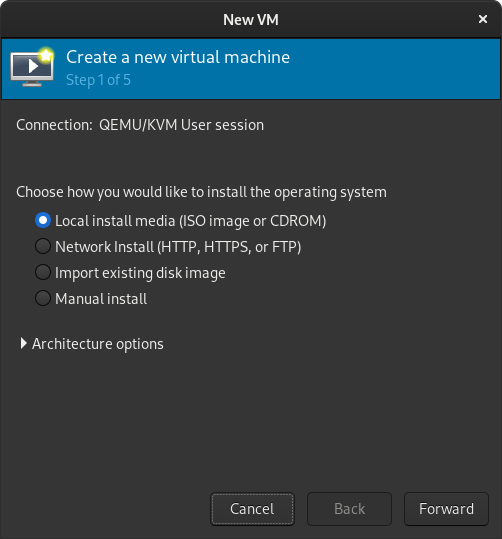
This will launch a wizard to craft our new VM.
Select Local install media and click Forward:
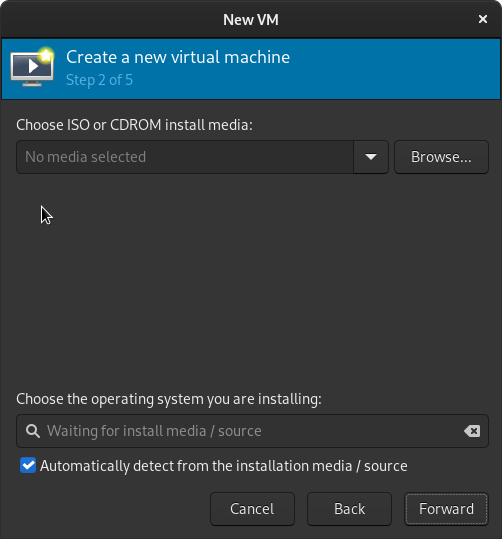
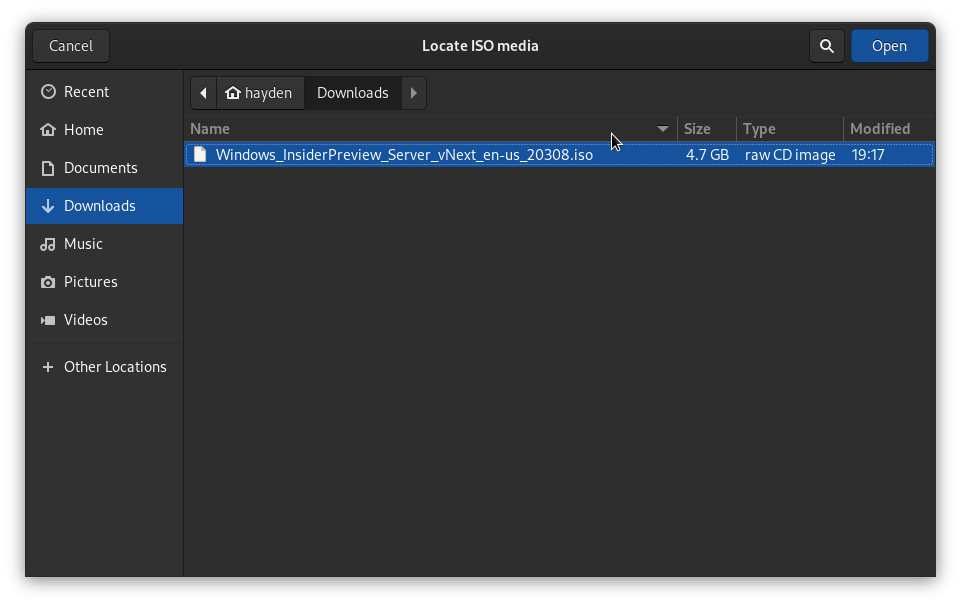
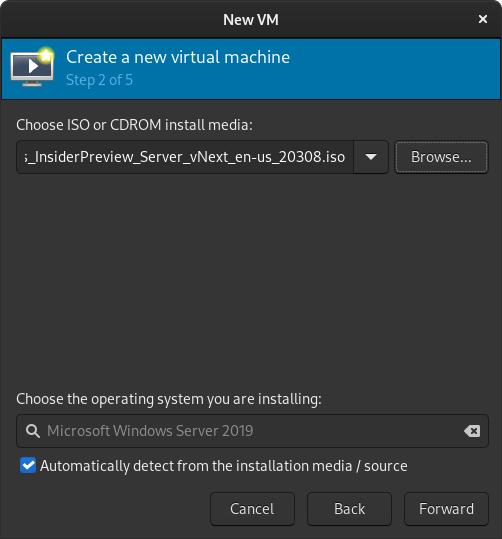
Click Browse and then Browse Local to locate the Windows Server 2022 Insider Preview ISO we downloaded, probably in your current user Downloads folder unless you moved it. The ISO will be detected as Windows Server 2019 by virt-manager, which is fine. Click Forward.
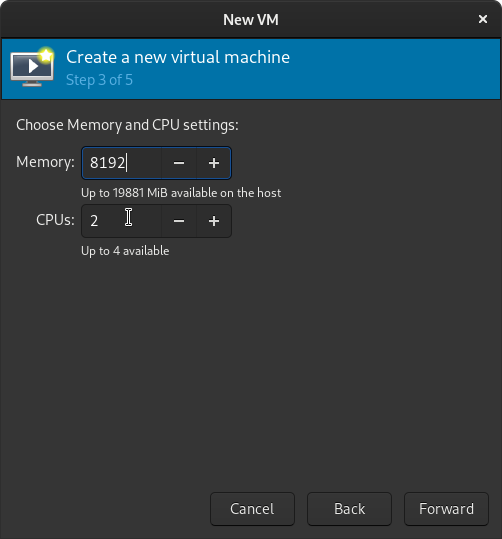
Configure your VM with a minimum of 8GB of RAM, ideally more if you have it, and at least 2 CPU cores. Then click Forward.
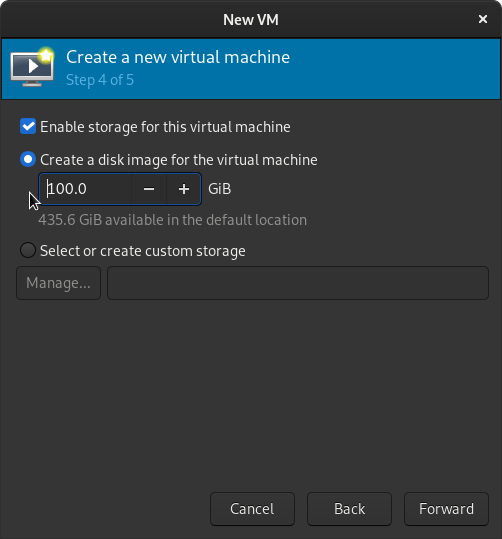
Next up we configure the virtual storage drive for our VM. I would recommend provisioning at least 100GB for a Windows Server image you may be testing for production purposes, but your usage may vary. Configure your VM with a minimum of 40GB then click Forward.
We are almost there. Rename our Windows Server 2022 Insider Preview image from win2k19 to the more appropriate win2k22, or whatever you prefer. Expand Network selection, select Bridge device..., and then enter br0:
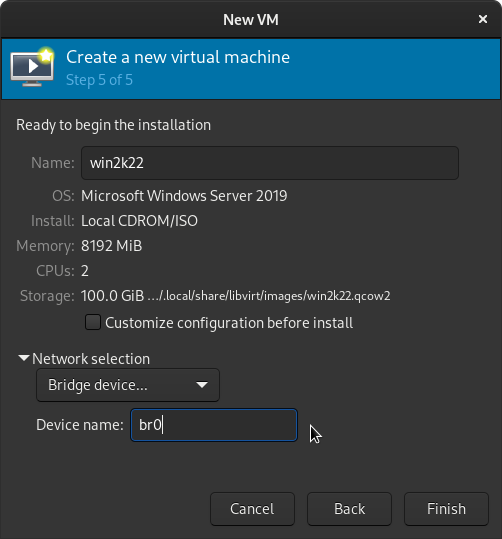
Click Finish and Window Server 2022 Insider Preview will boot.
Install Windows Server 2022 Insider Preview
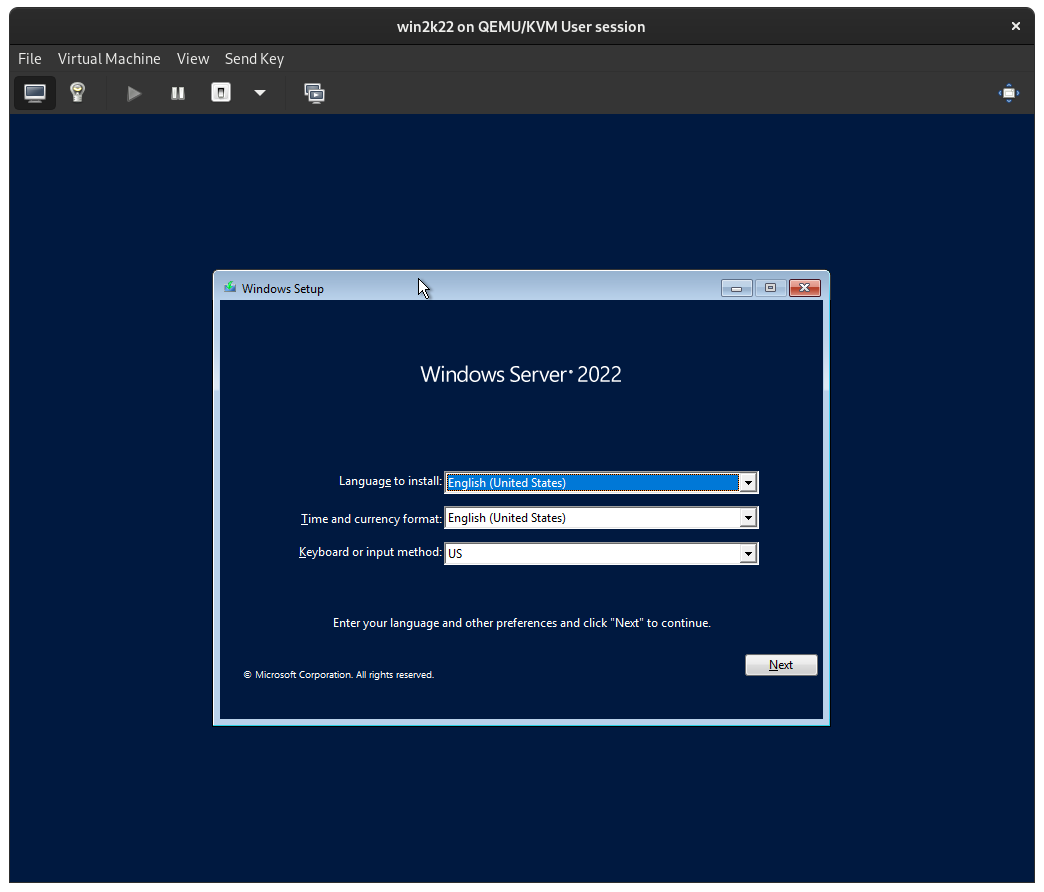
Select the appropriate language and keyboard options and then click Next:
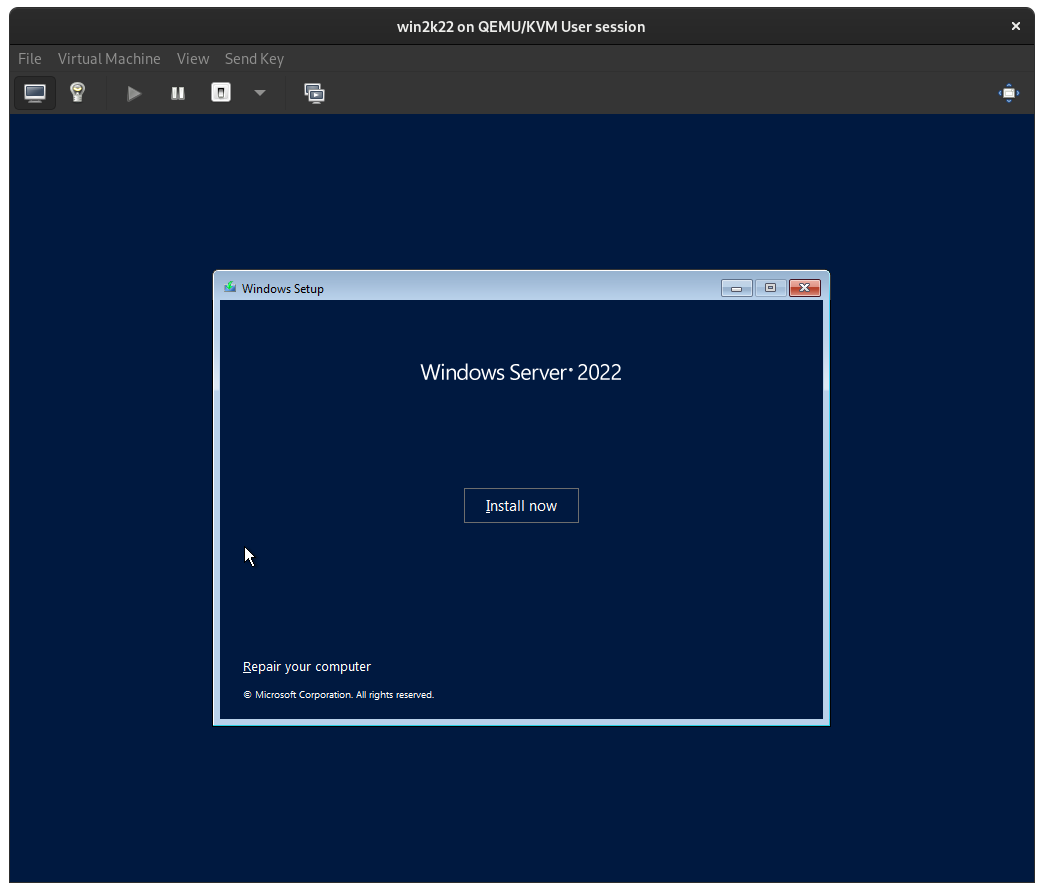
Click Install now:
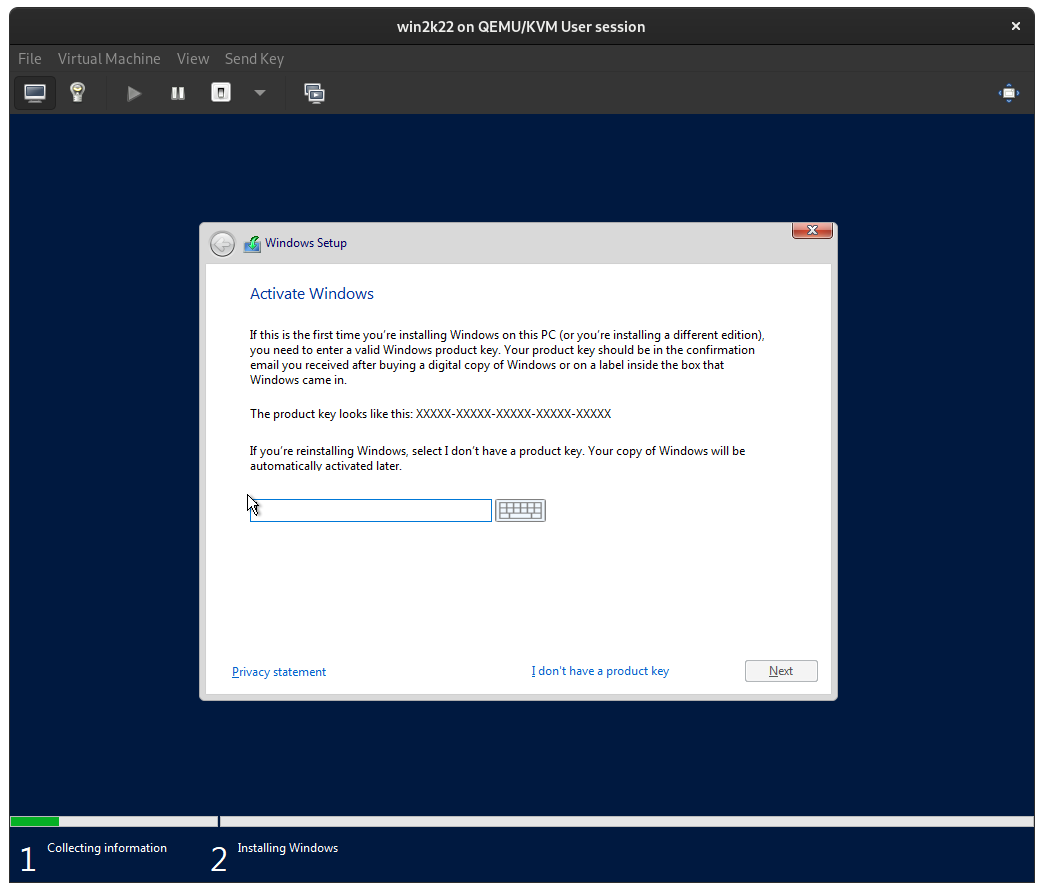
You do not have to enter a CD key for Windows Insider Preview builds, just click I don't have a product key:
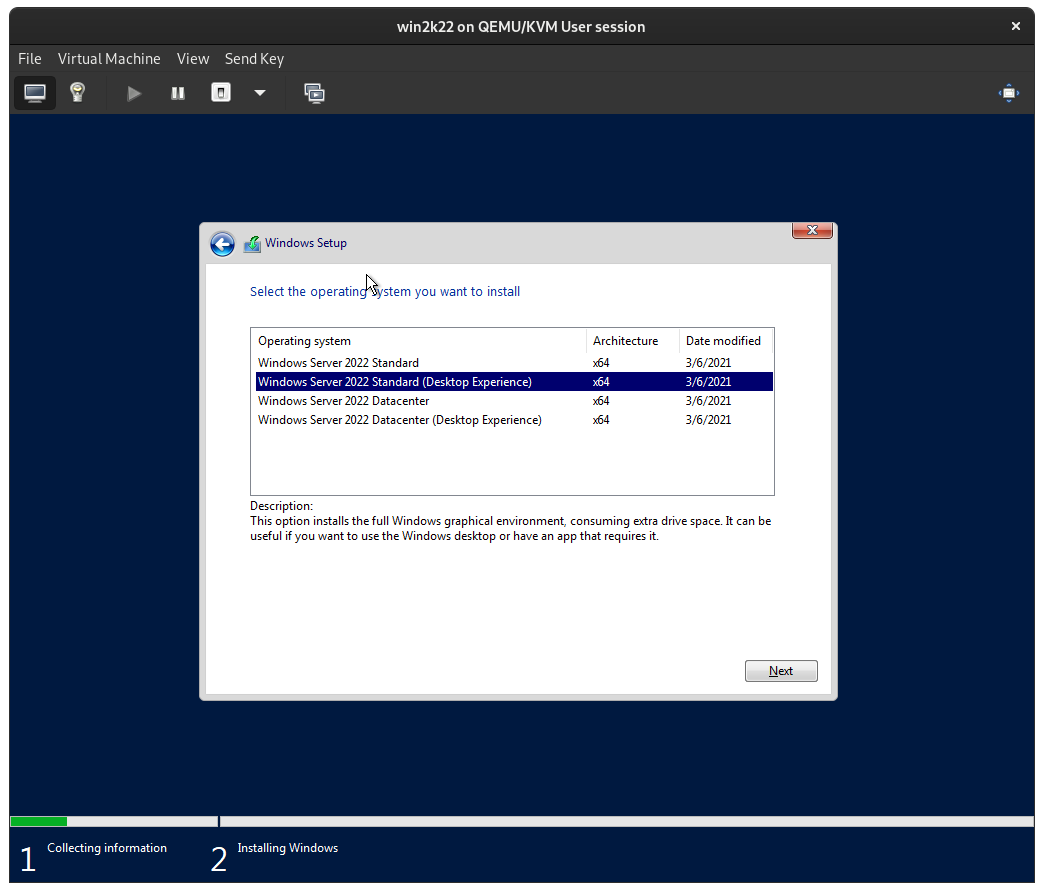
If you intend to use the Windows Server GUI, make sure you select Windows Server 2022 Standard (Desktop Experience) to install a GUI then click Next:
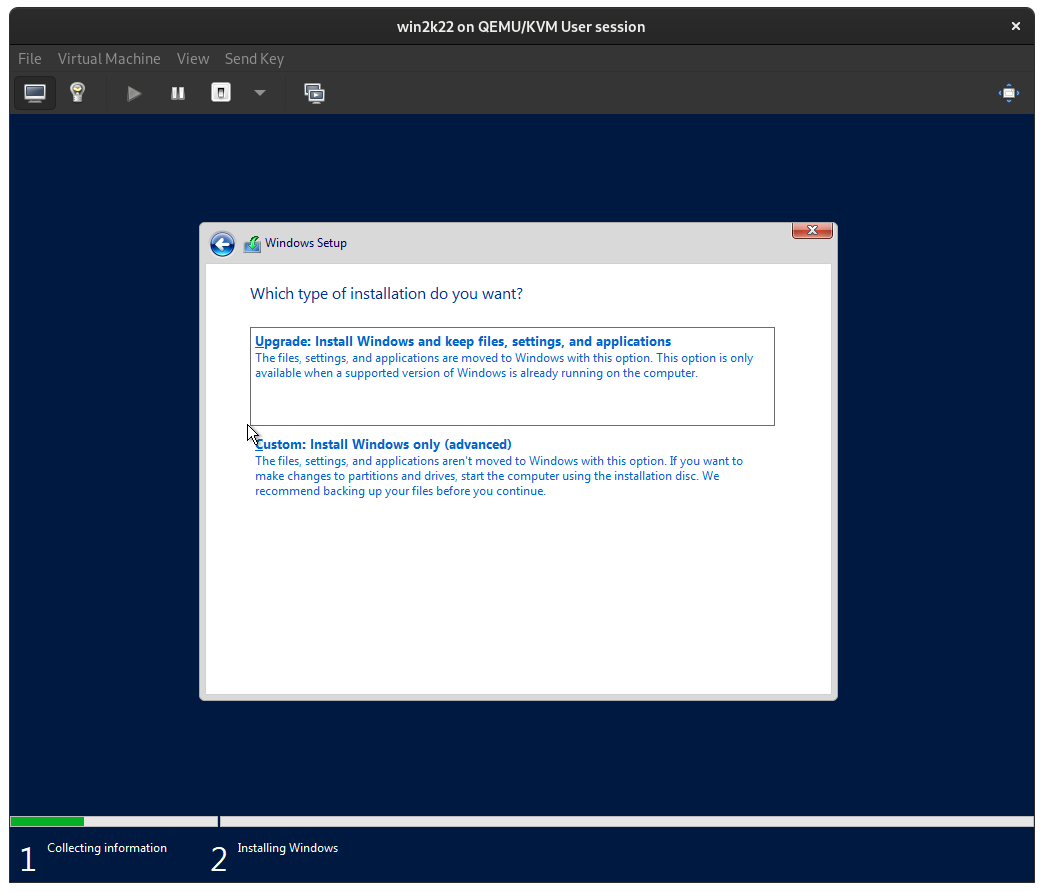
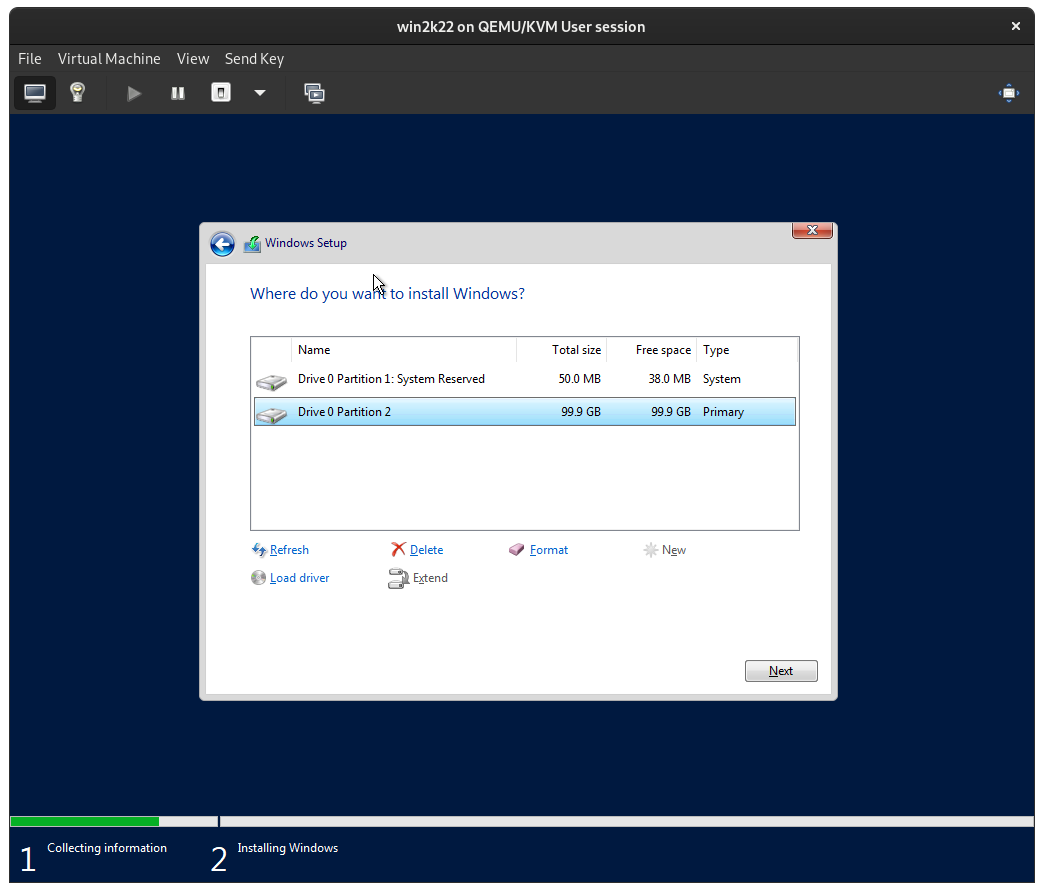
Chose a Custom installation and click New to create a Windows partition on the virtual disk then click Next.
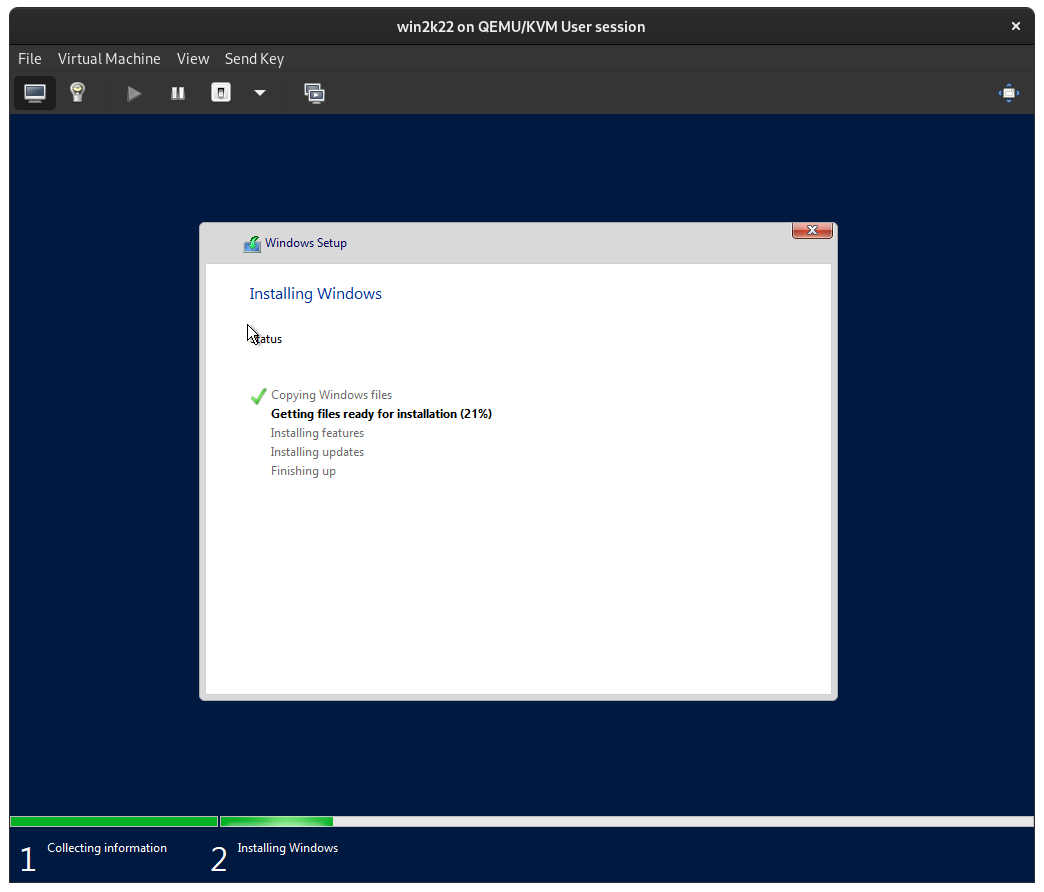
Let the Windows Server installation process complete:
After a reboot, pick an Administrator password, and click Finish:

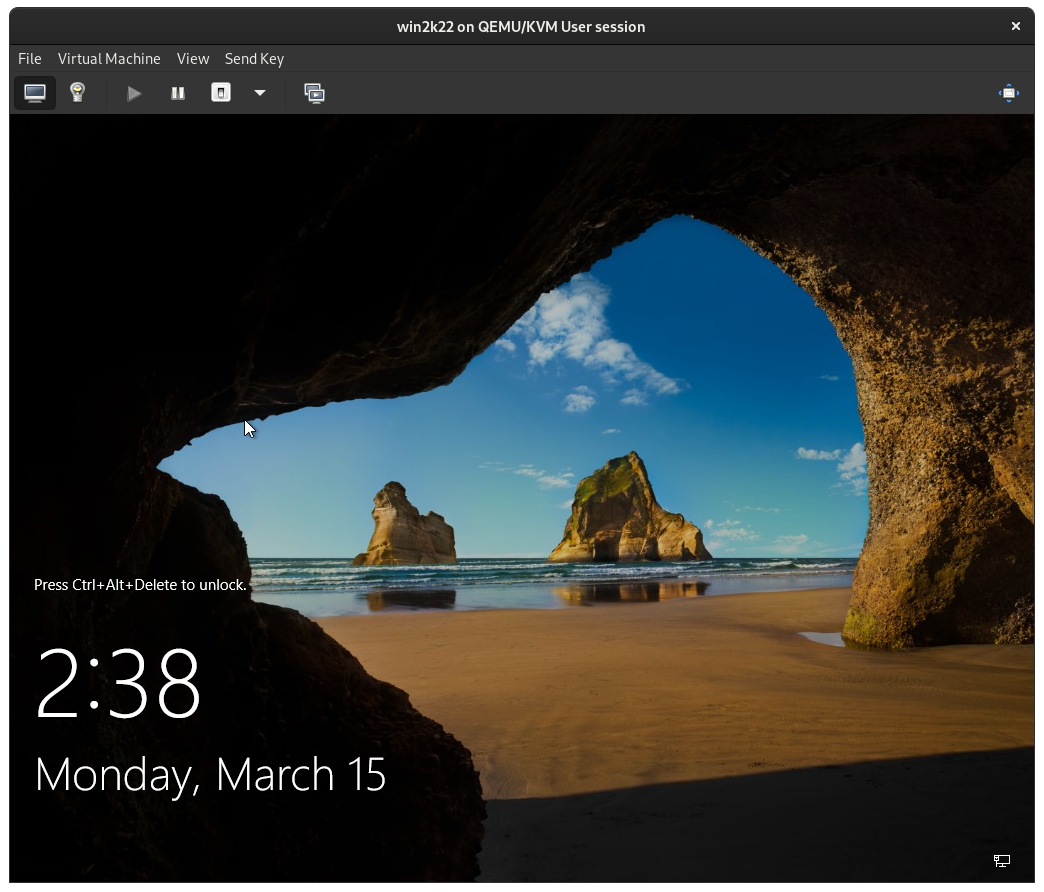
You will now find yourself at the Windows Server lock screen:
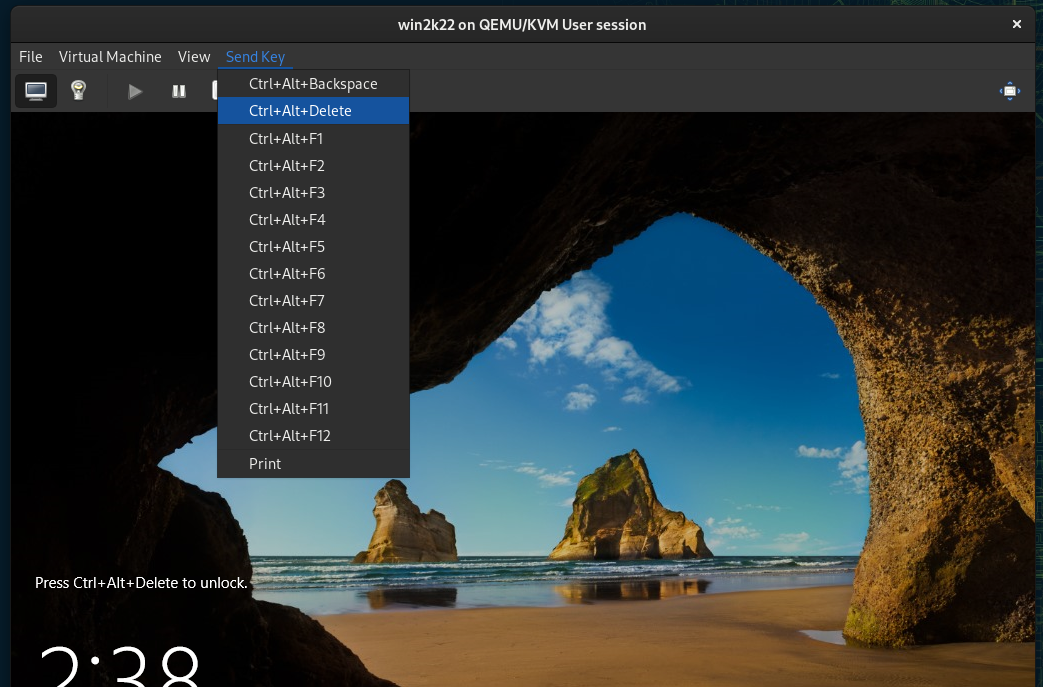
Use the 'Send Key' option in virt-manager to send Ctrl+Alt+Delete to the VM:
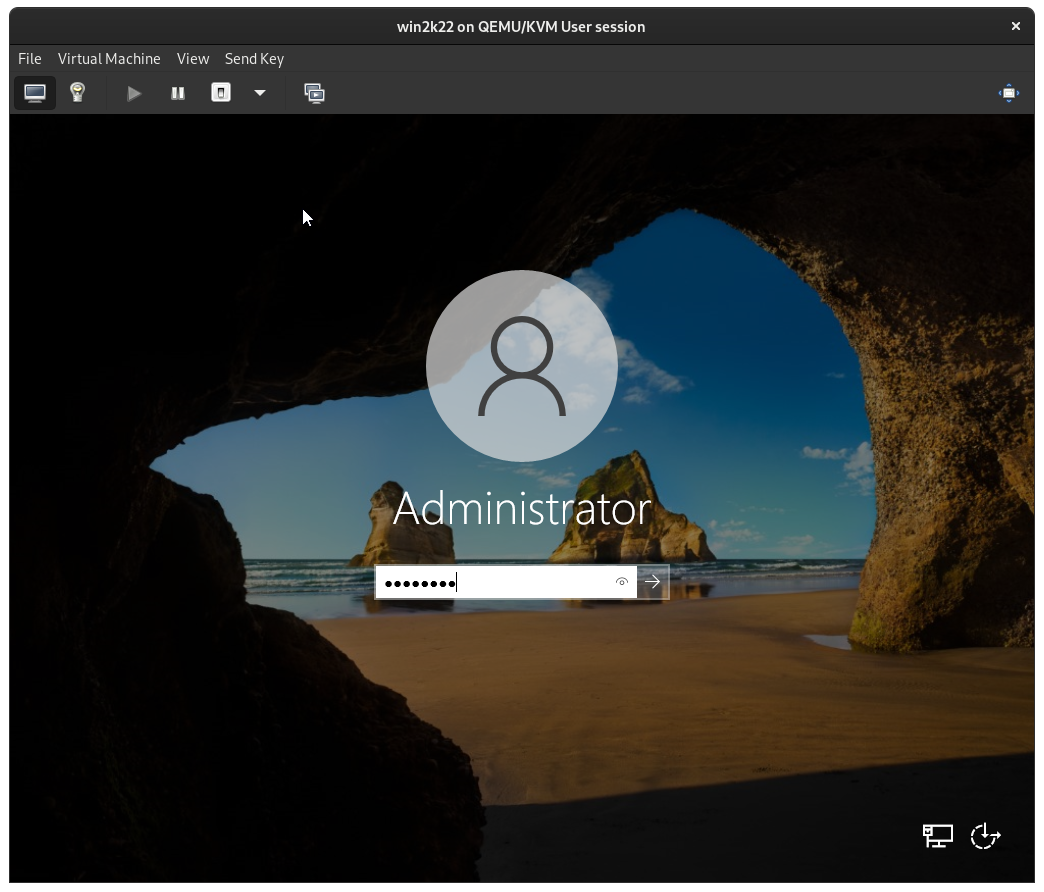
Enter your Administrator password:
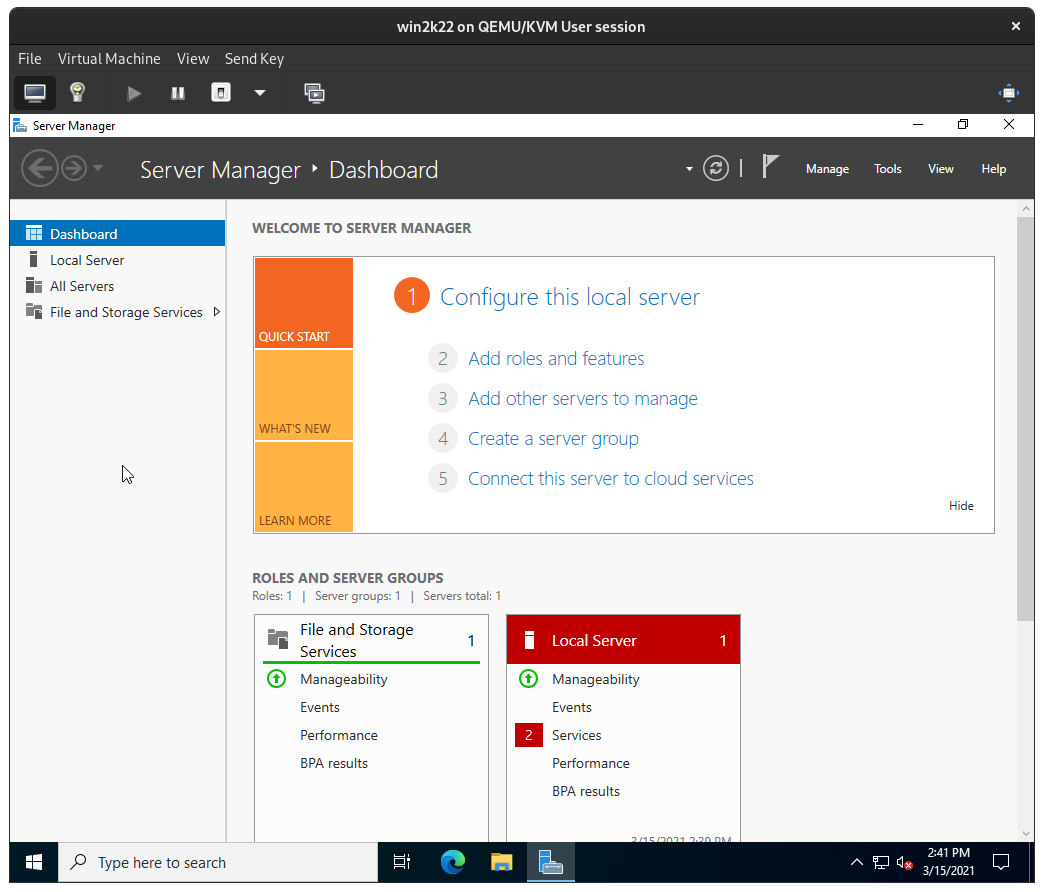
You will find yourself at the Windows Server desktop with Windows Server Manager:
On your openSUSE host, open a browser and navigate to the virtio drivers download page:
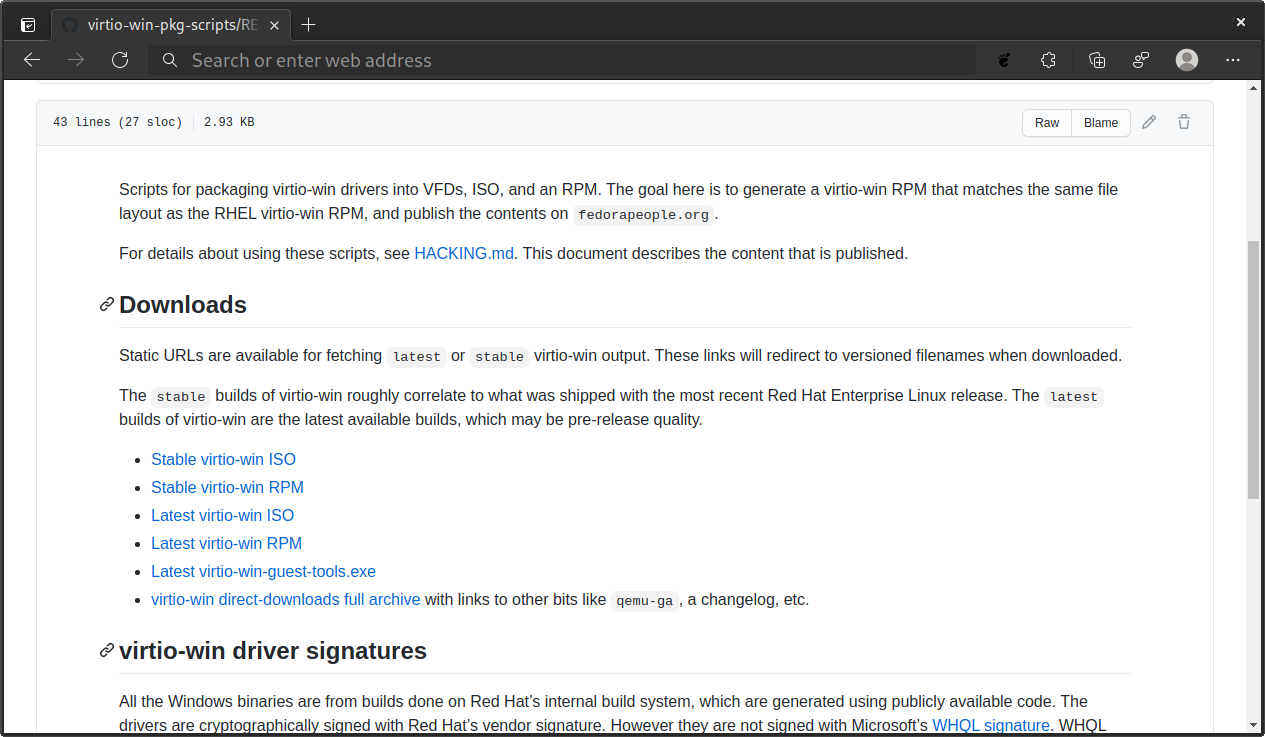
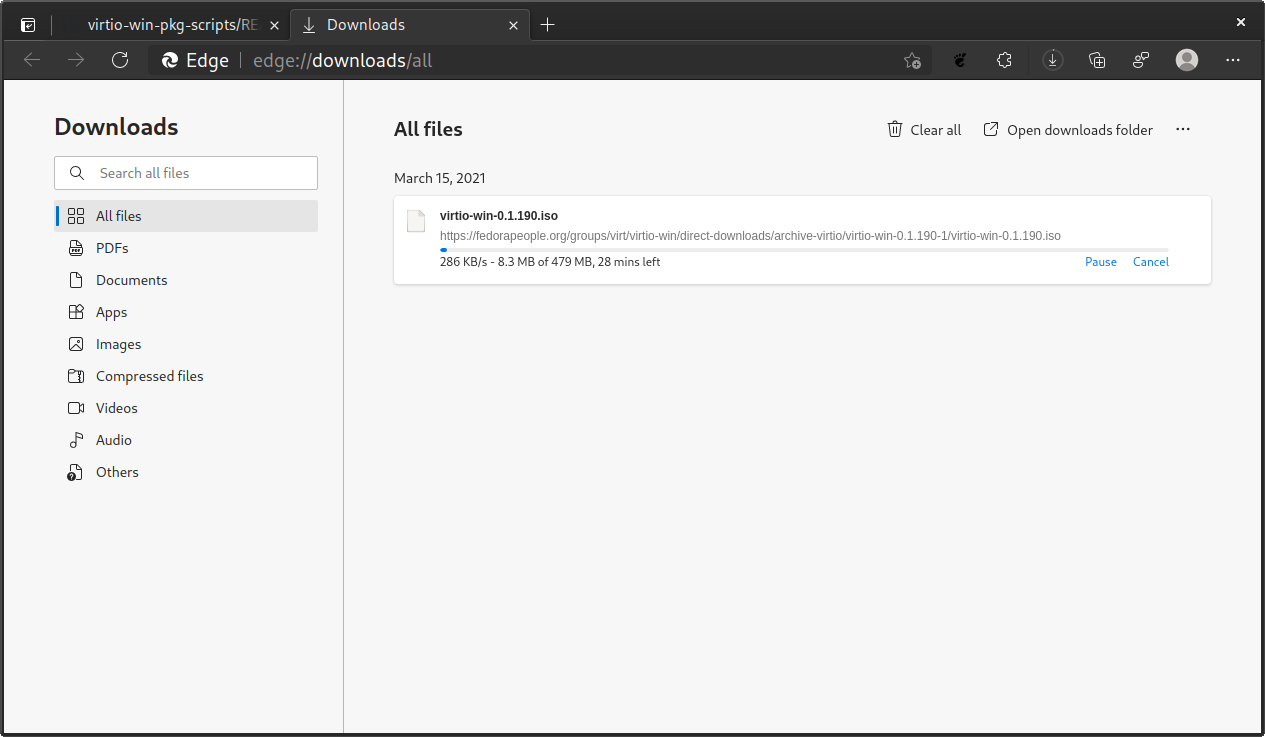
Download the Stable virtio-win ISO.
Note: Use the Latest virtio-win ISO at your own risk. Currently the Latest drivers may cause an issue with the QXL driver that causes graphical artifacts, see Errata at the end of this post.
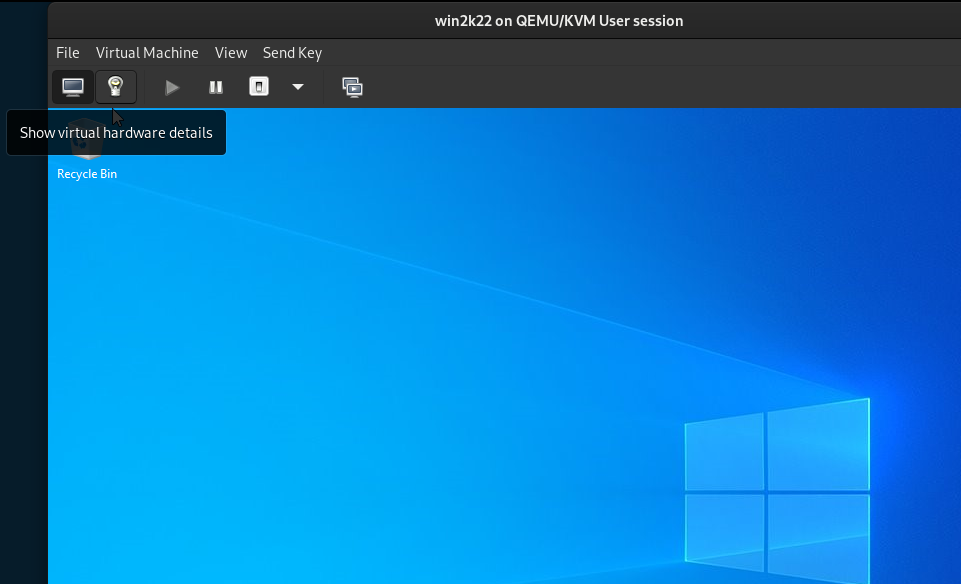
Once virtio-win ISO is downloaded, return to our VM in virt-manager. Click the light bulb 💡 icon to open our VM settings.
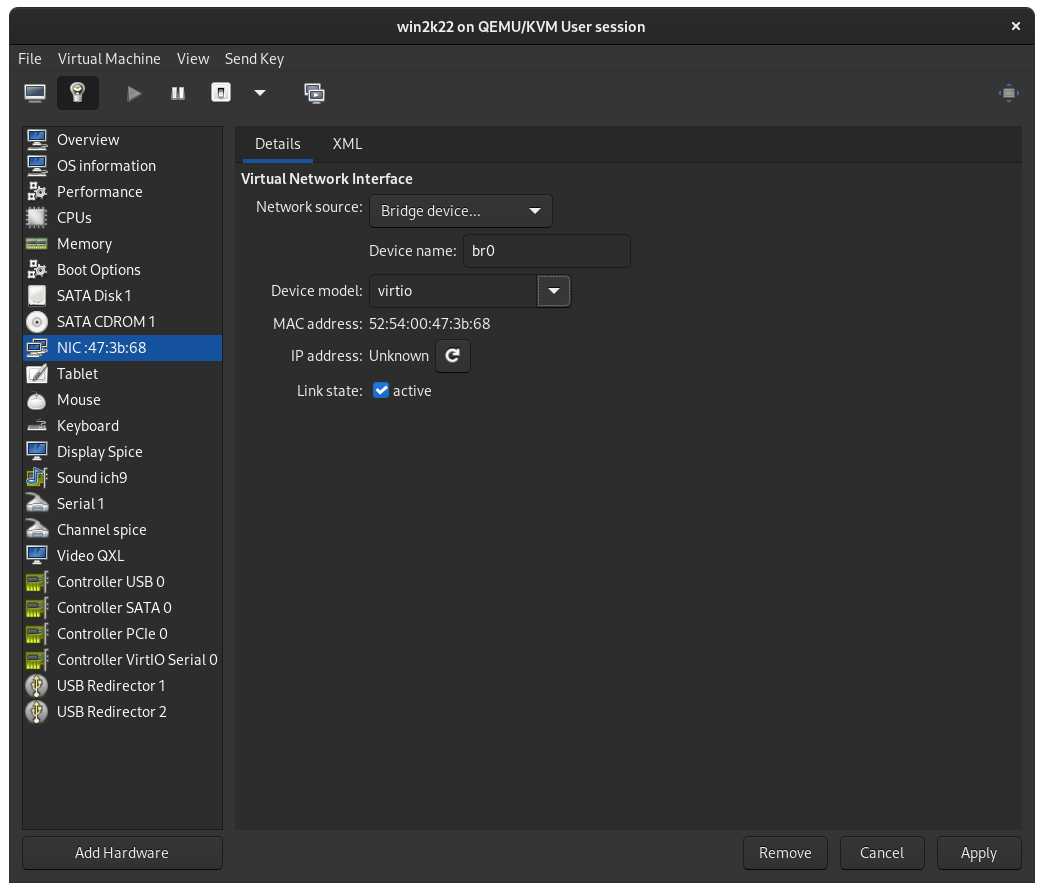
Navigate to the NIC panel, which is usually followed by some hex values. Beside Device model select virtio. Click Apply. These changes will not take effect until we restart the VM, that is okay.
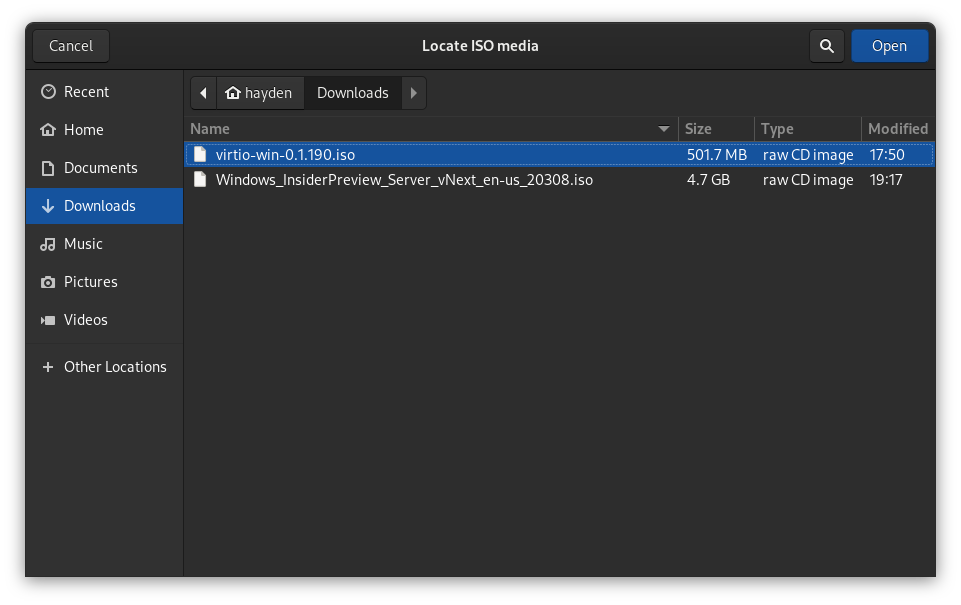
Then, navigate to the SATA CDROM 1 panel and beside Source path click Browse, Browse Local, and select the virtio-win ISO we just downloaded, and click Open.
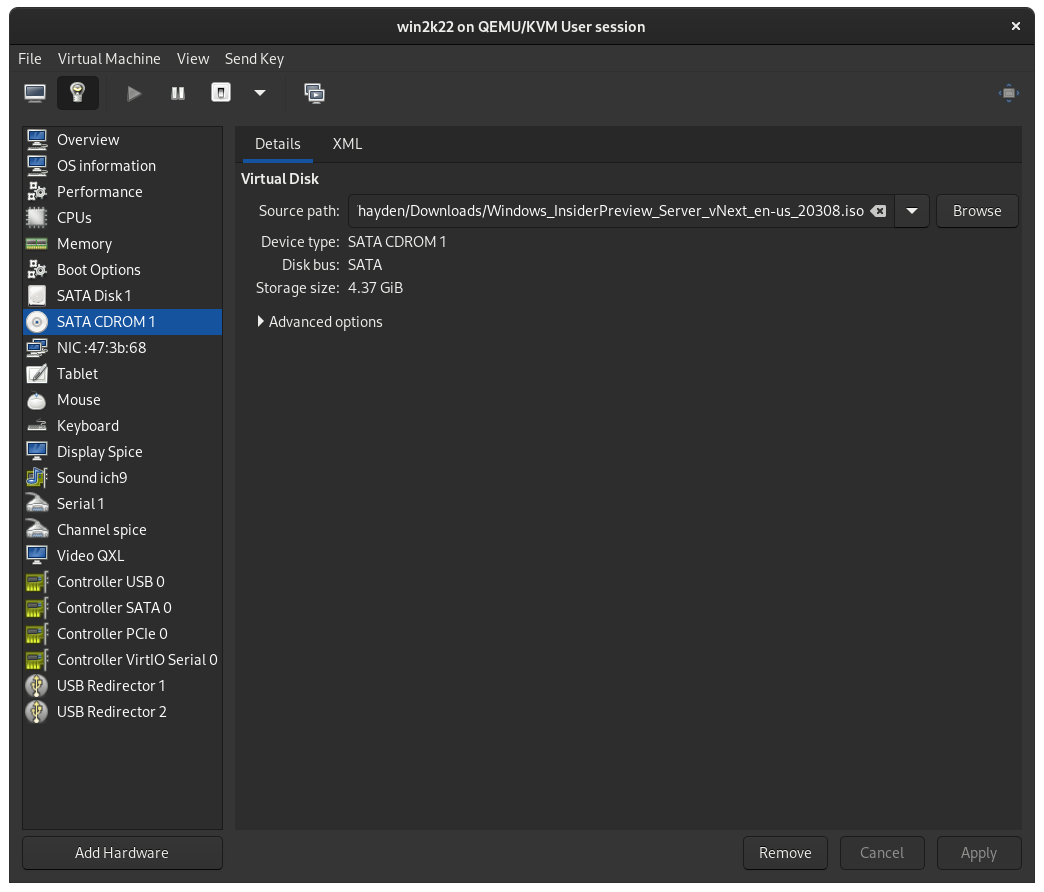
After opening the virtio-win ISO, click Apply and the virtio-win ISO will be mounted immediately as a CD in the Windows Server VM at D:. Click the computer display 📺 in the virt-manager menu bar to switch back to our VM console.
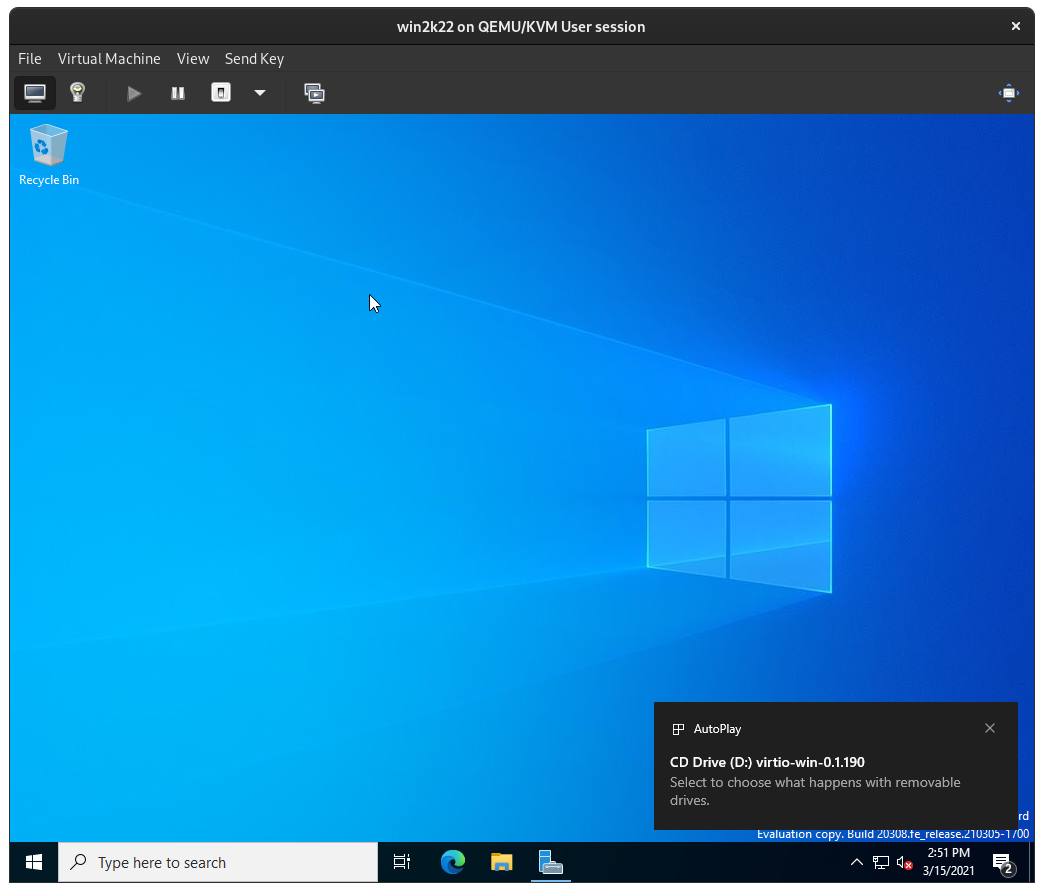
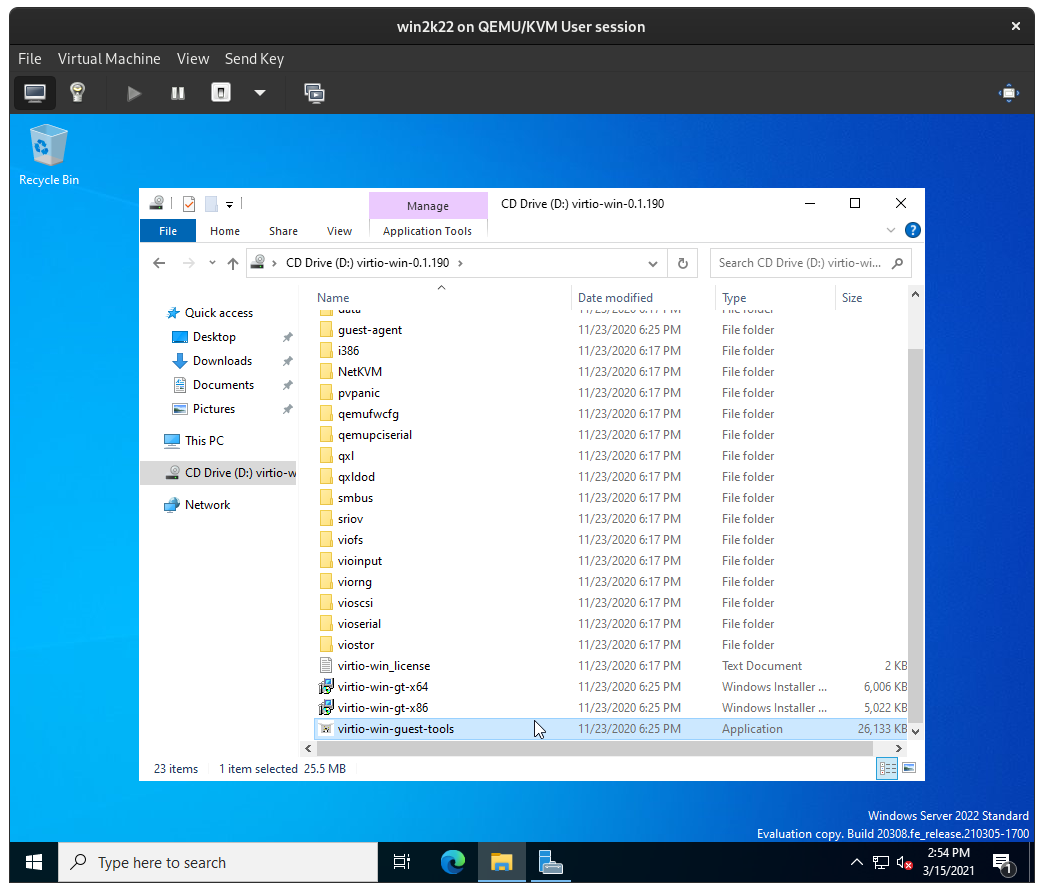
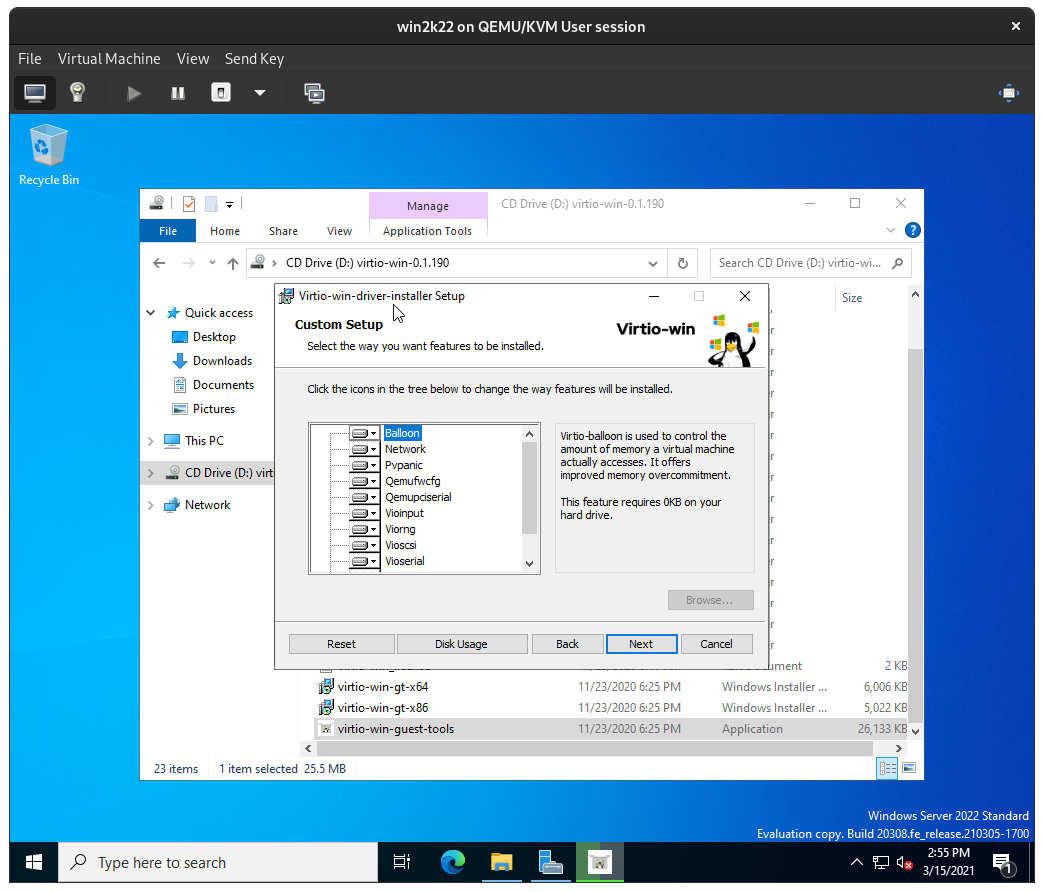
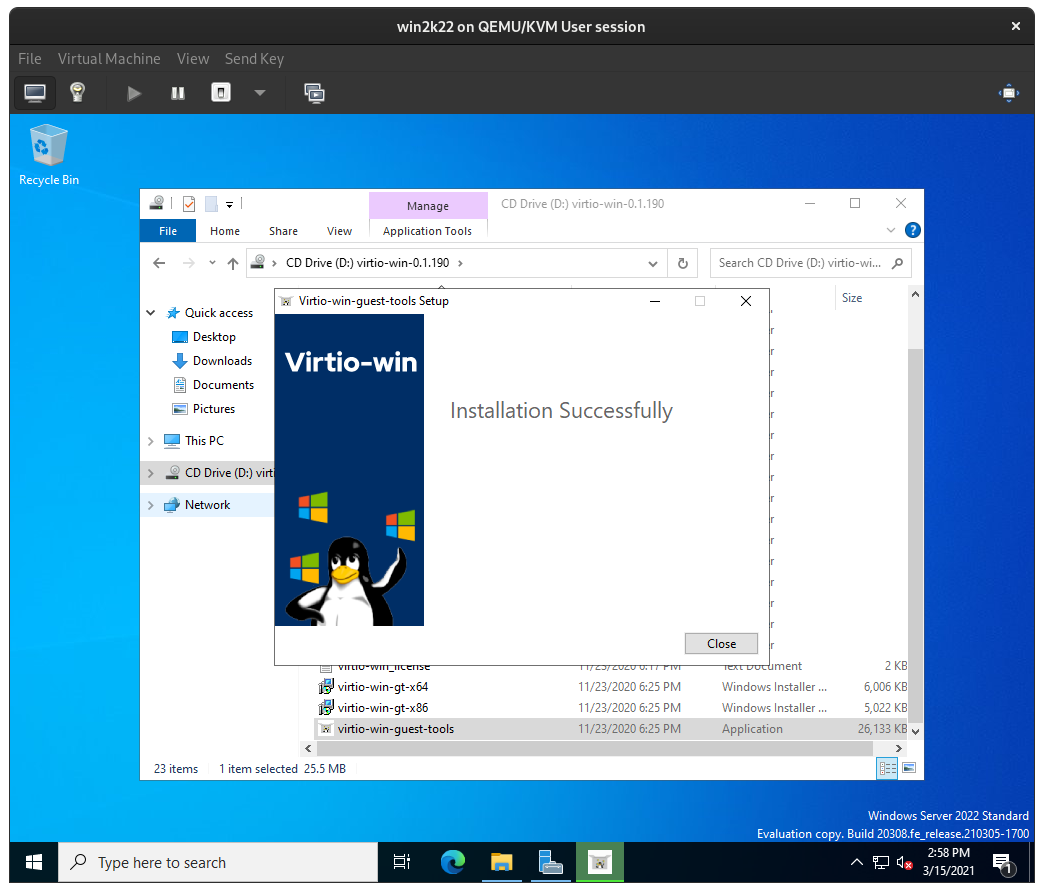
In the Windows Server VM, open the D: drive, run virtio-win-guest-tools.exe, and complete the virtio-win guest tools setup process:
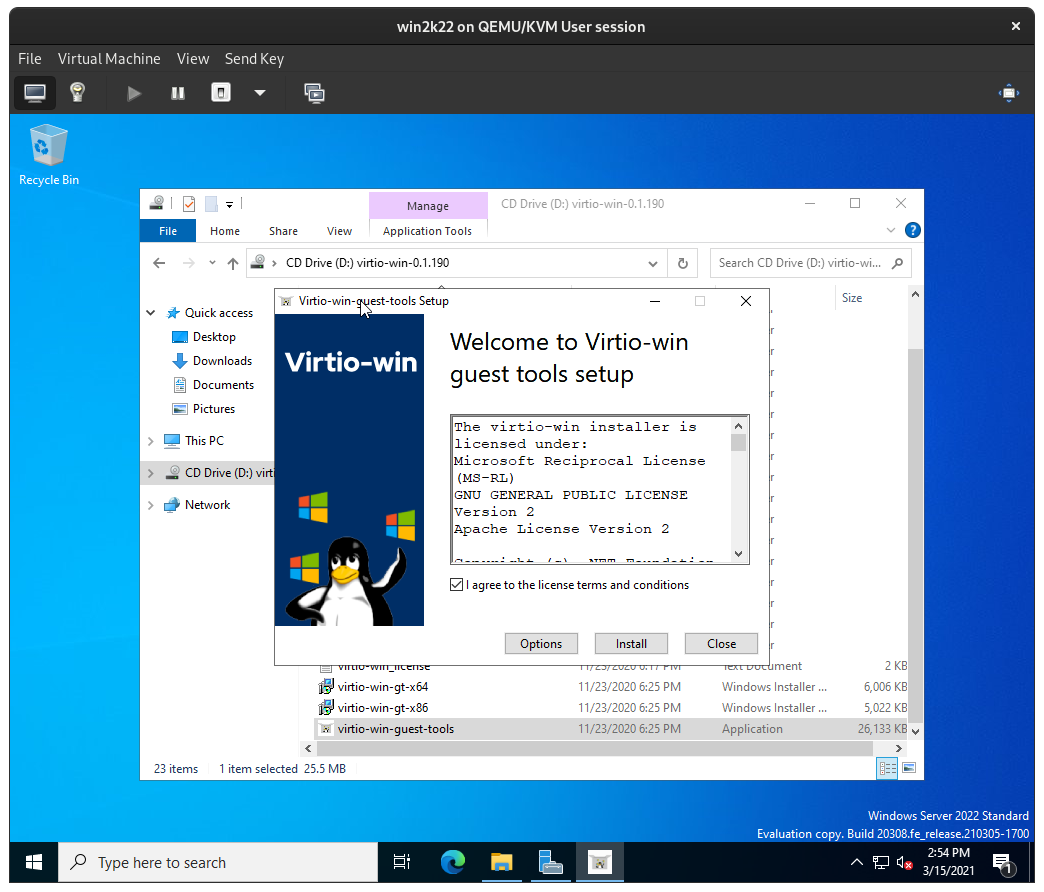
The virtio guest tool installer will automatically run the appropriate virtio driver installer as well, simply click through the installation:
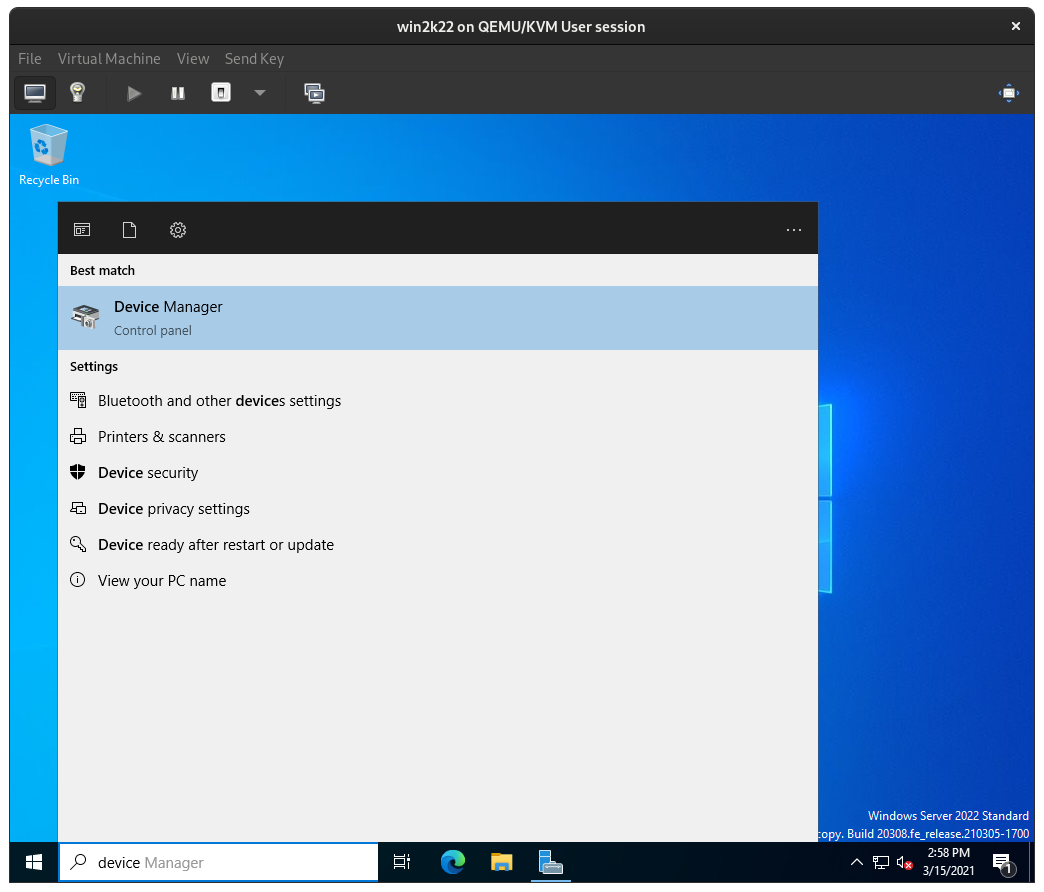
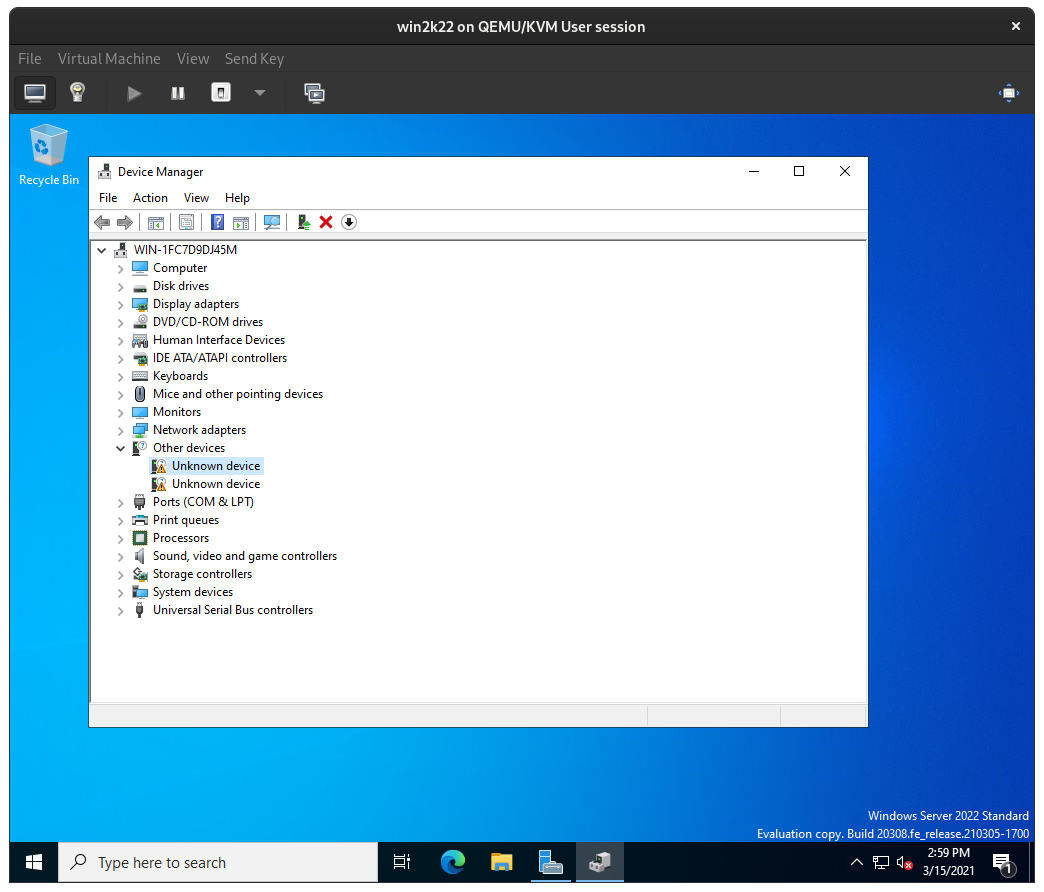
The virtio-win installer copies drivers into place but occasionally Windows does not detect and install them properly, so we can nudge it. Open Device Manager on the Windows Server VM from the Windows Search bar:
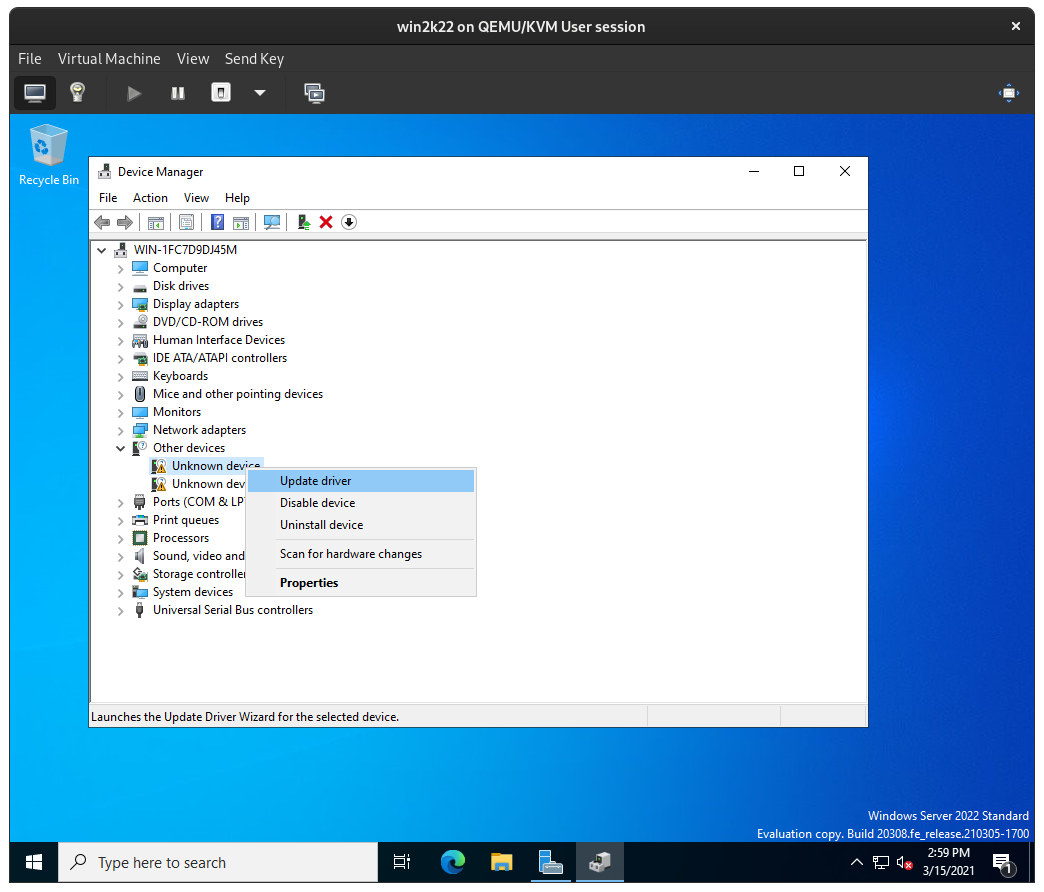
If you see an Unknown device in Device Manager, right-click on it, and then click Update Driver:
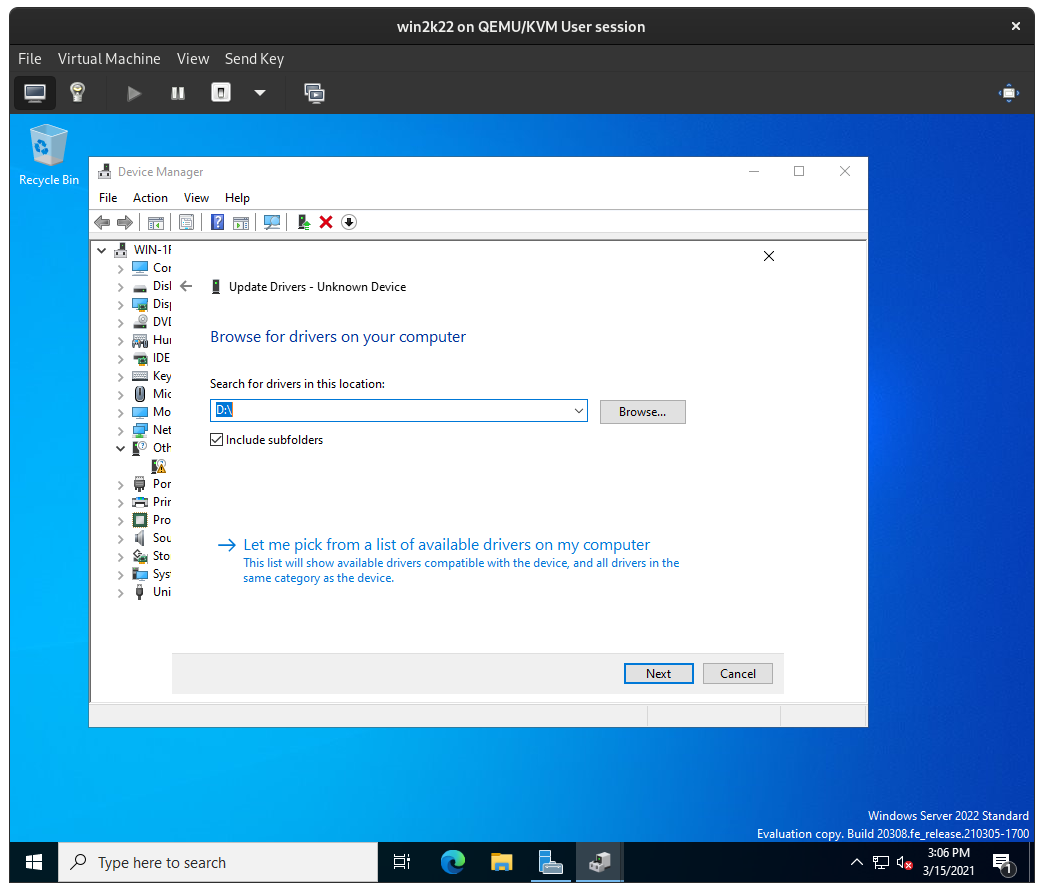
From there, click Browse my computer for drivers, click Browse, specify the D: drive, then click Next:
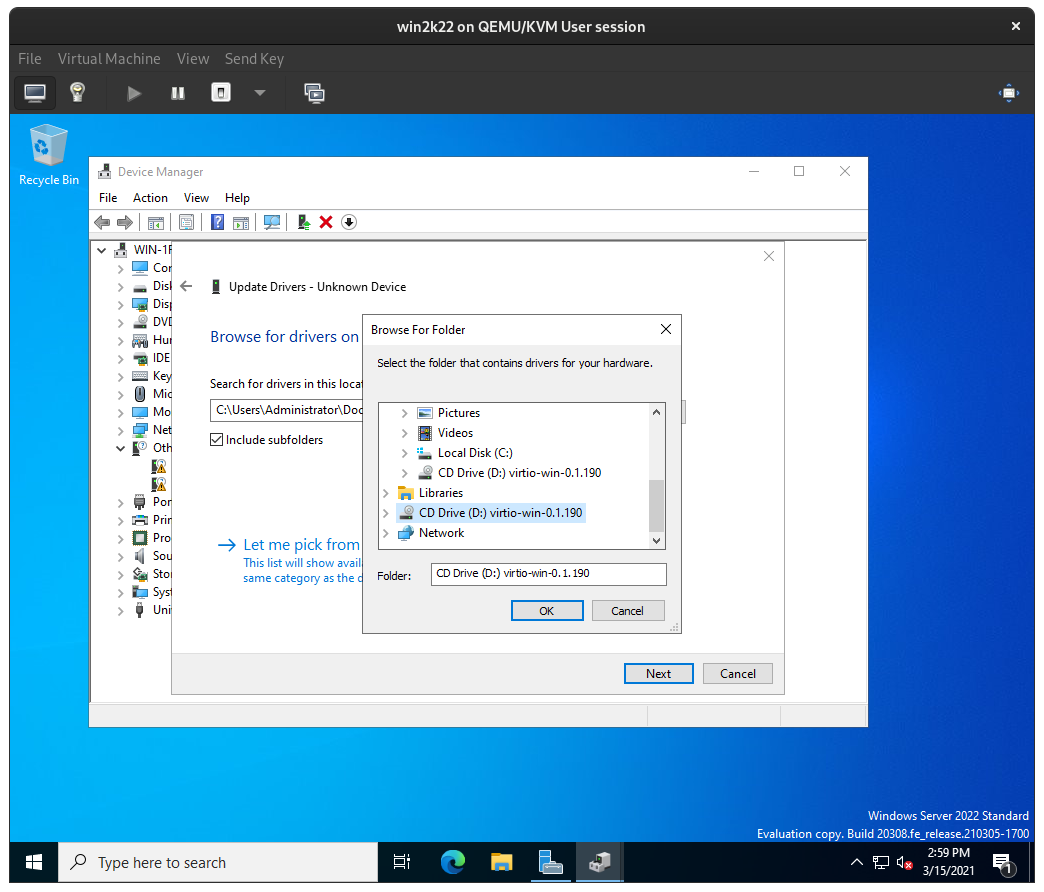
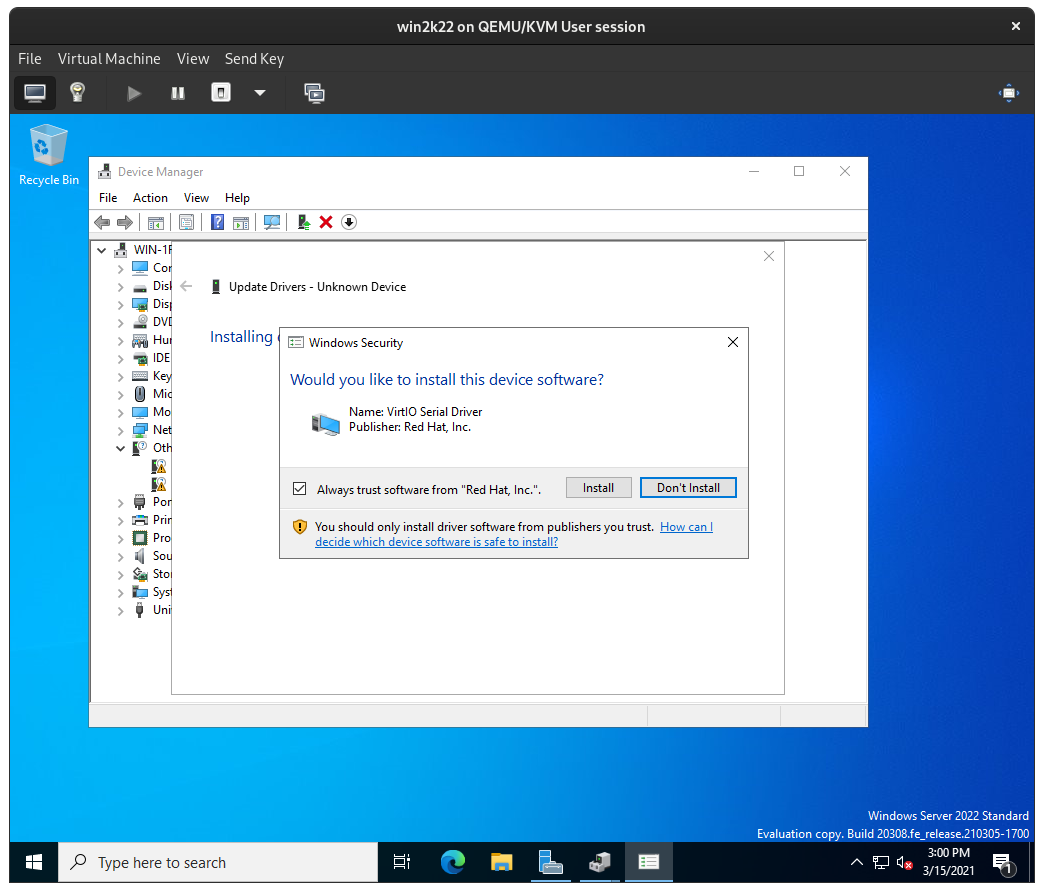
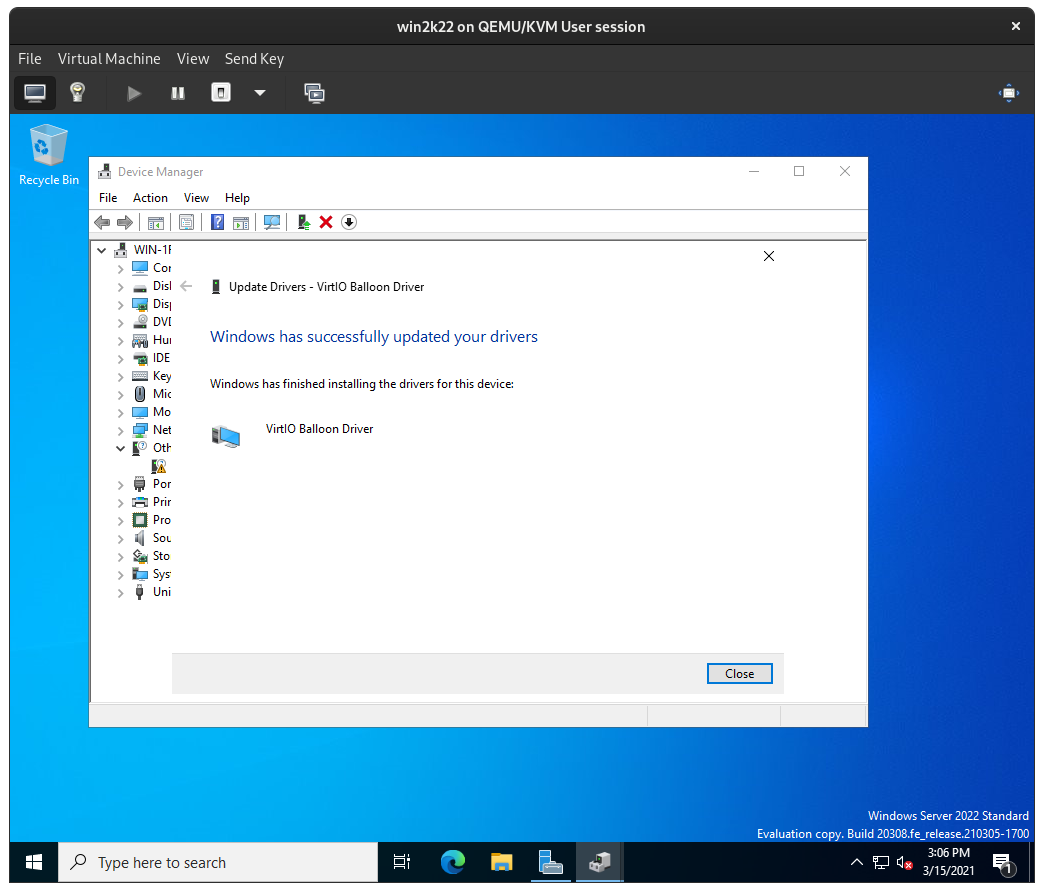
Windows will then locate the appropriate driver on D: (the win-virtio ISO) for the device and install them. Confirm installation of the driver:
Repeat this for any other Unknown device that appears in the Device Manager:
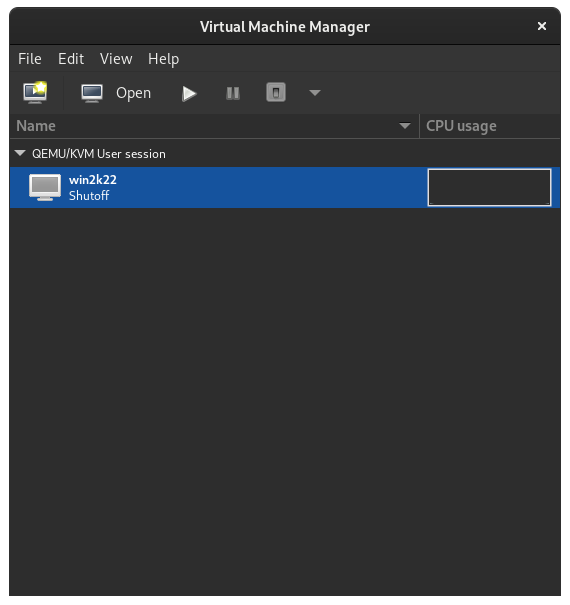
Shut down the Windows Server VM from the Windows Start Menu. You should then see it has been shut off in virt-manager:
Exit virt-manager. We are done with virt-manager for now. You could even uninstall if you don't want it around.
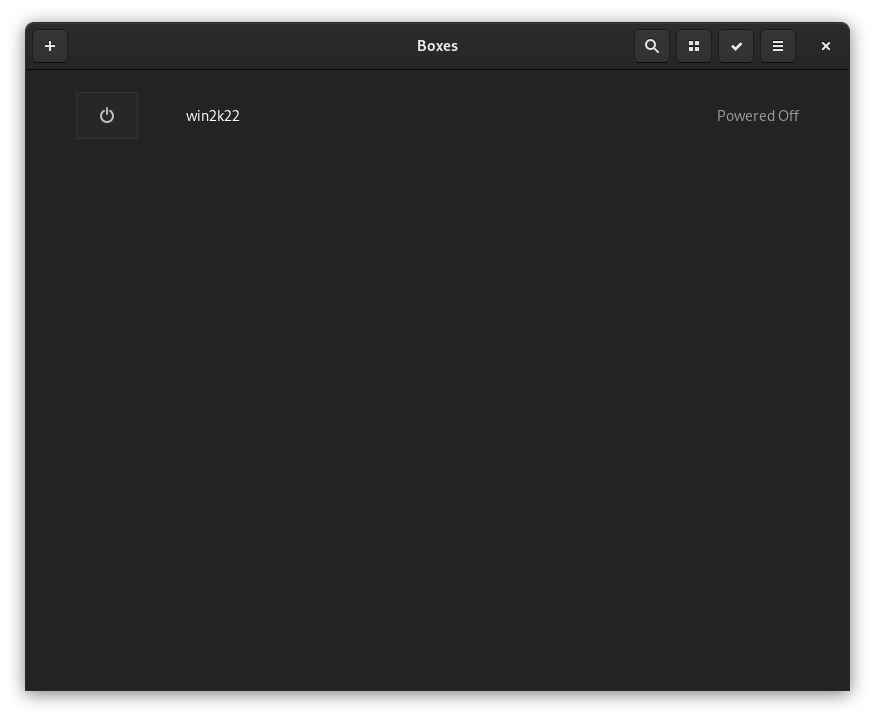
Enter GNOME Boxes
Open GNOME Boxes:
Click win2k22 to start our Windows Server VM:
Use the keyboard icon on the top right to send Ctrl+Alt+Del to log in to Windows Server VM:
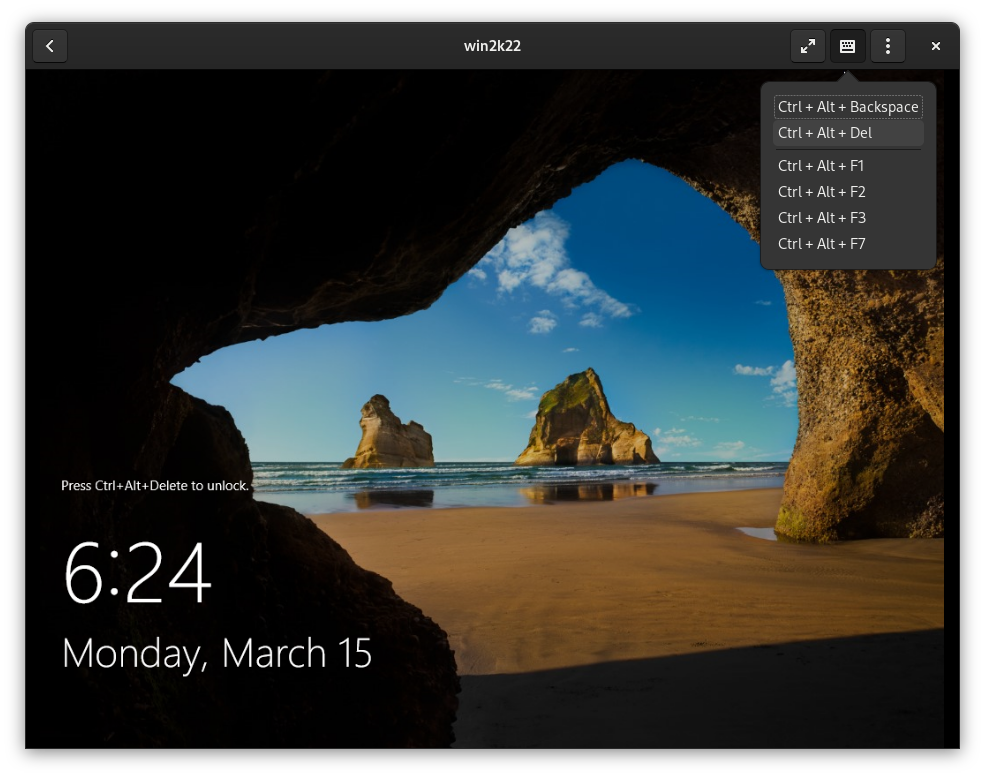
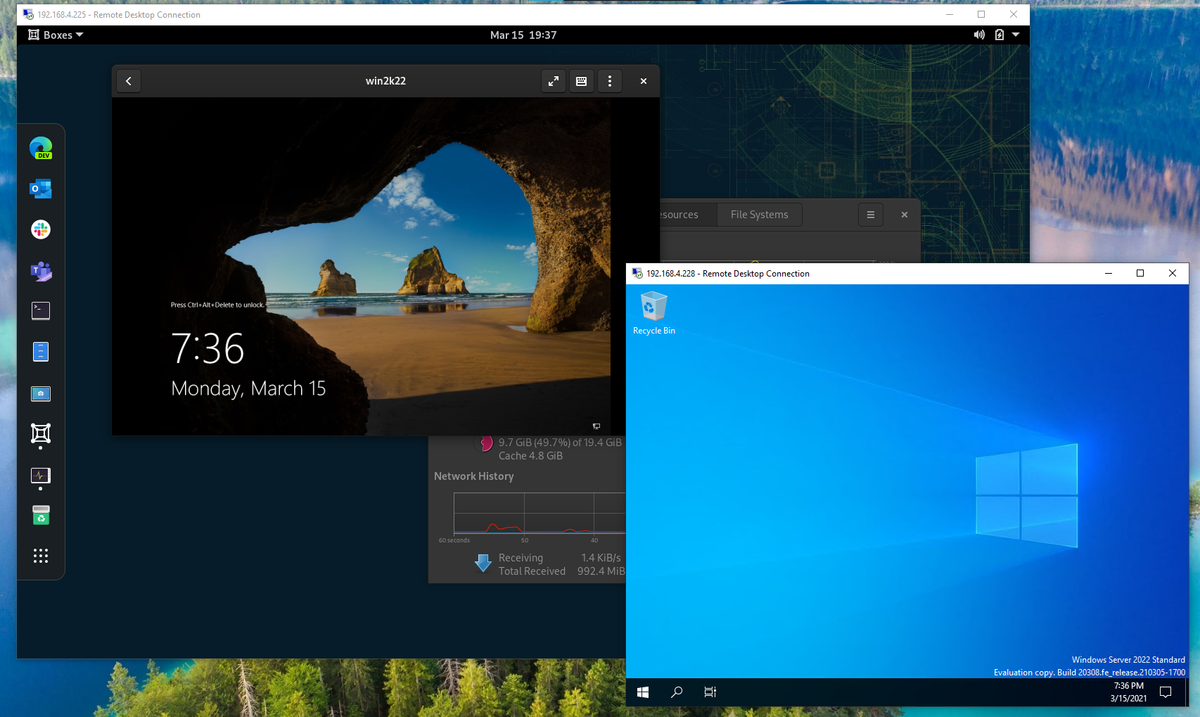
We now have a simple, minimal interface for accessing our Windows Server VM on our openSUSE Tumbleweed desktop.
IP Addresses
Our openSUSE host LAN IP is 192.168.4.225 on br0. br0 is the primary networking device and the ethernet device enp0s31f6 has no real IP address because it has been 'enslaved' to br0.
ip a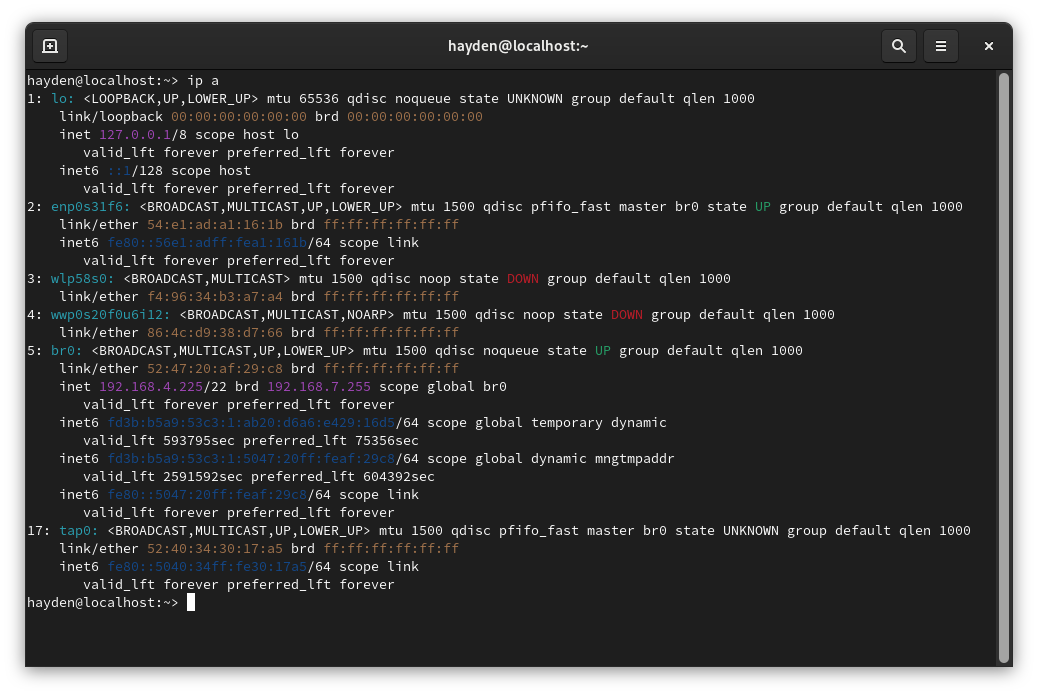
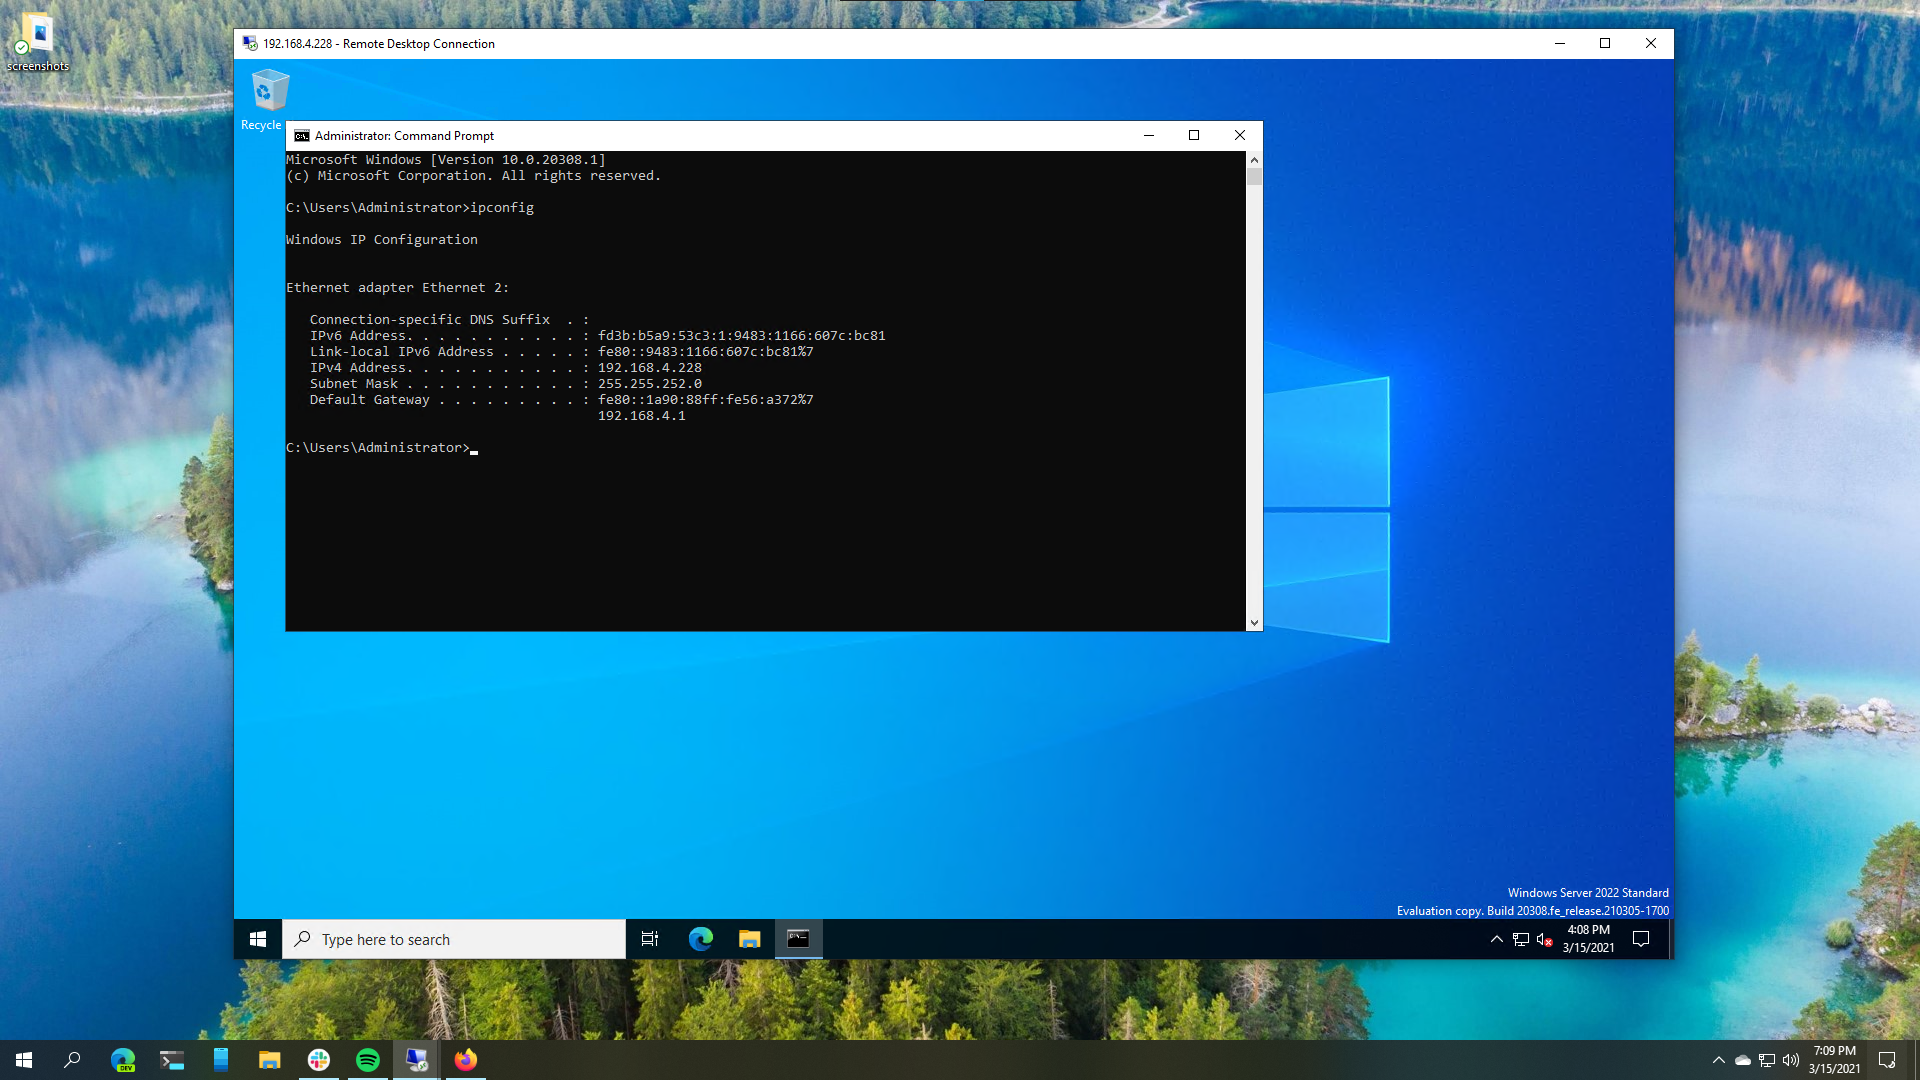
Our Windows Server VM LAN IP is 192.168.4.228 on the emulated ethernet adapter inside the VM.
ipconfig
We can access the Windows Server VM from other devices on the LAN using this IP. After enabling Remote Desktop services on the Windows Server VM, we can access the desktop over RDP from non-host devices:

More on GNOME Boxes
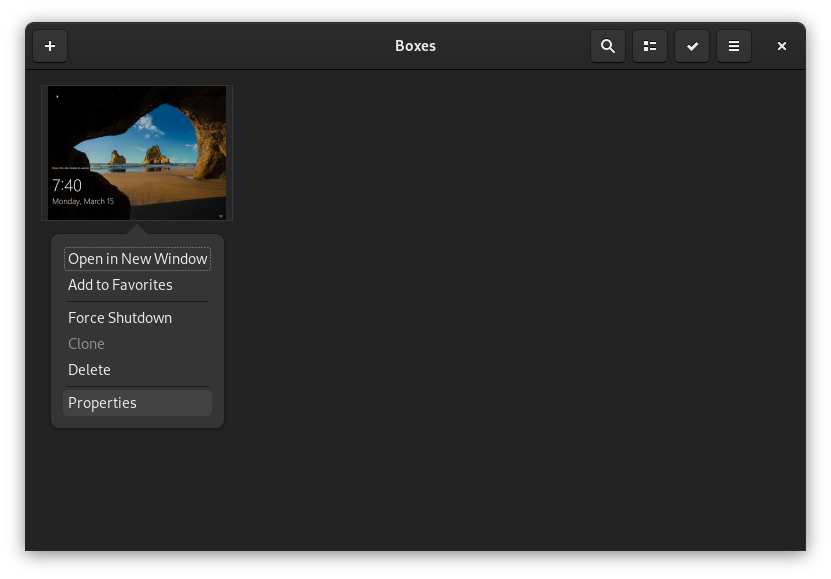
Right-click on our win2k22 VM and select Properties:
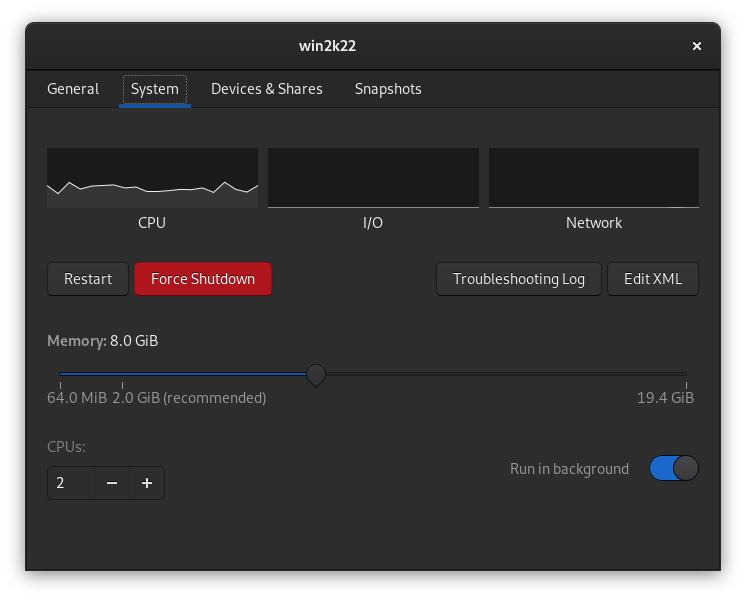
On the System tab you can adjust RAM and CPU settings. You can also set the VM to always run in the background:
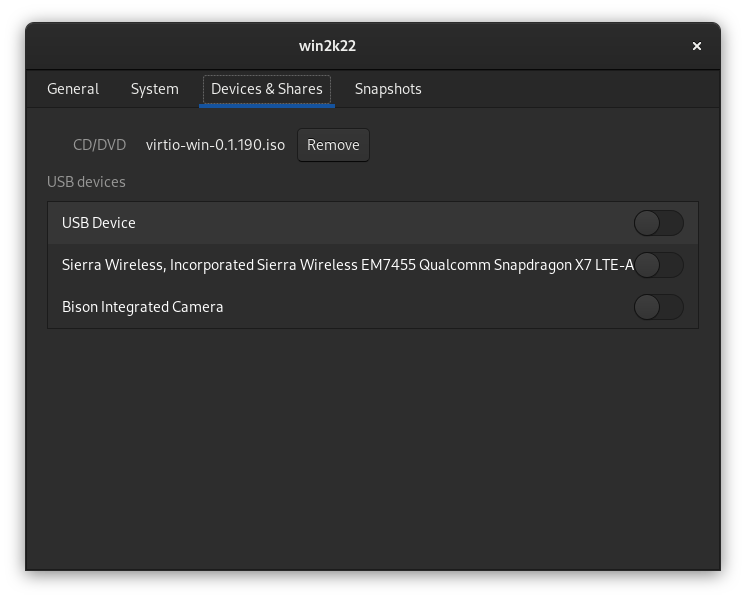
On the Devices & Shares tab you attach other ISO images and pass USB devices through to the VM:
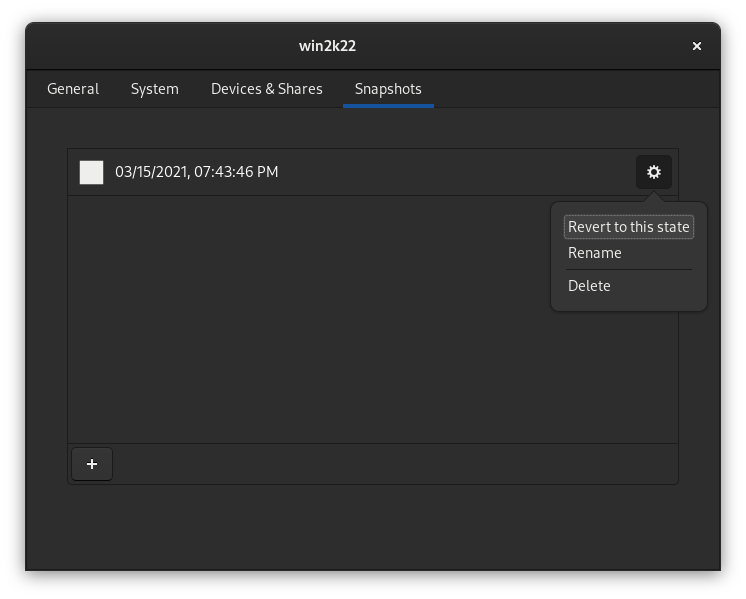
On the Snapshots tab you take manual snapshots of your VM, even when it is running, that you can then restore to if you break something:
Additional Reading
Errata
- Any custom host network configuration, like manually setting the IP address, must be done to the br0 network device in YaST.
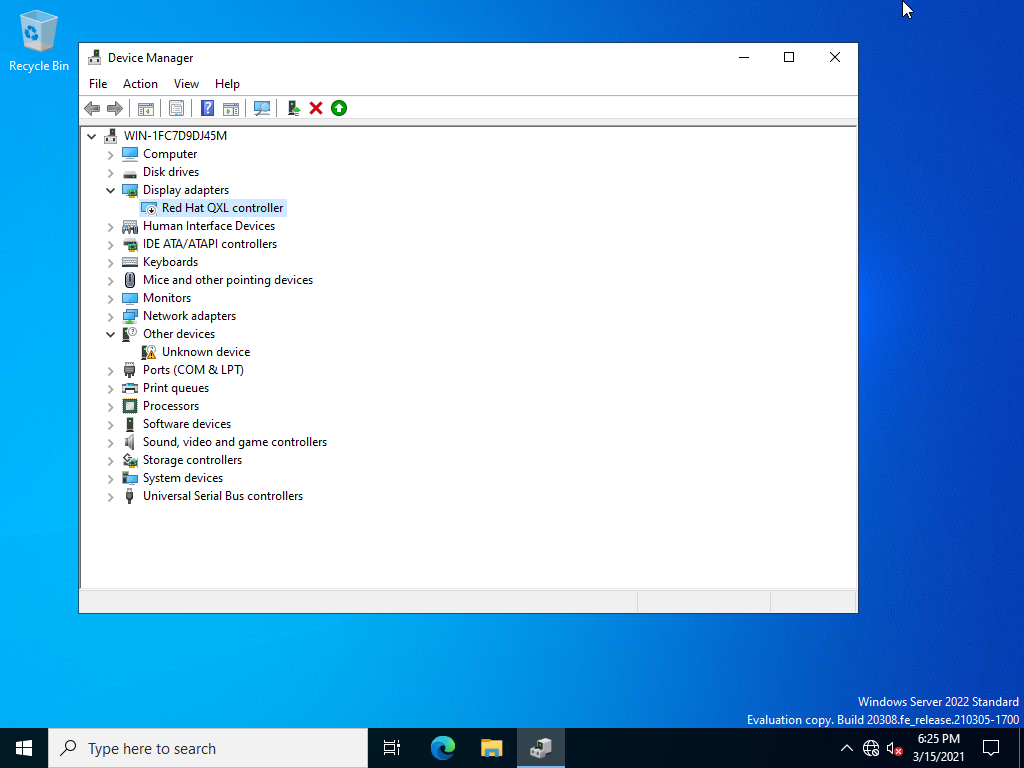
- If you encounter graphical artifacts, like color changes, disable the Red Hat QXL controller in Windows Device Manager, and then force shutdown:
- Plain text output of host networking:
hayden@localhost:~> ip a
1: lo: <LOOPBACK,UP,LOWER_UP> mtu 65536 qdisc noqueue state UNKNOWN group default qlen 1000
    link/loopback 00:00:00:00:00:00 brd 00:00:00:00:00:00
    inet 127.0.0.1/8 scope host lo
       valid_lft forever preferred_lft forever
    inet6 ::1/128 scope host
       valid_lft forever preferred_lft forever
2: enp0s31f6: <BROADCAST,MULTICAST,UP,LOWER_UP> mtu 1500 qdisc pfifo_fast master br0 state UP group default qlen 1000
    link/ether 54:e1:ad:a1:16:1b brd ff:ff:ff:ff:ff:ff
    inet6 fe80::56e1:adff:fea1:161b/64 scope link
       valid_lft forever preferred_lft forever
3: wlp58s0: <BROADCAST,MULTICAST> mtu 1500 qdisc noop state DOWN group default qlen 1000
    link/ether f4:96:34:b3:a7:a4 brd ff:ff:ff:ff:ff:ff
4: wwp0s20f0u6i12: <BROADCAST,MULTICAST,NOARP> mtu 1500 qdisc noop state DOWN group default qlen 1000
    link/ether 86:4c:d9:38:d7:66 brd ff:ff:ff:ff:ff:ff
5: br0: <BROADCAST,MULTICAST,UP,LOWER_UP> mtu 1500 qdisc noqueue state UP group default qlen 1000
    link/ether 52:47:20:af:29:c8 brd ff:ff:ff:ff:ff:ff
    inet 192.168.4.225/22 brd 192.168.7.255 scope global br0
       valid_lft forever preferred_lft forever
    inet6 fd3b:b5a9:53c3:1:ab20:d6a6:e429:16d5/64 scope global temporary dynamic
       valid_lft 593795sec preferred_lft 75356sec
    inet6 fd3b:b5a9:53c3:1:5047:20ff:feaf:29c8/64 scope global dynamic mngtmpaddr
       valid_lft 2591592sec preferred_lft 604392sec
    inet6 fe80::5047:20ff:feaf:29c8/64 scope link
       valid_lft forever preferred_lft forever
17: tap0: <BROADCAST,MULTICAST,UP,LOWER_UP> mtu 1500 qdisc pfifo_fast master br0 state UNKNOWN group default qlen 1000
    link/ether 52:40:34:30:17:a5 brd ff:ff:ff:ff:ff:ff
    inet6 fe80::5040:34ff:fe30:17a5/64 scope link
       valid_lft forever preferred_lft forever
hayden@localhost:~>