Deploying Rancher on k3s on WSL 2
Running k3s server on WSL2 and then installing Rancher on it.
Install Rancher on k3s on WSL
Prerequisites
- Windows 10 build 19041+
- Some familiarity with WSL and the Linux terminal
- WSL 2 enabled, if not, in PowerShell as Administrator run:
dism.exe /online /enable-feature /featurename:Microsoft-Windows-Subsystem-Linux /all /norestart

dism.exe /online /enable-feature /featurename:VirtualMachinePlatform /all /norestart

Invoke-WebRequest -Uri https://wslstorestorage.blob.core.windows.net/wslblob/wsl_update_x64.msi -OutFile wsl_update_x64.msi

.\wsl_update_x64.msi

Restart-Computer

wsl.exe --set-default-version 2
Create our WSL 2 environment
Download and install an Ubuntu Hirsute Hippo WSL image (hirsute-server-cloudimg-amd64-wsl.rootfs.tar.gz) from the Ubuntu cloud images server and manually import into WSL 2:
wsl.exe --import Ubuntu-k3s C:\WSL\Ubuntu-k3s\ 'C:\Users\Hayden\Downloads\hirsute-server-cloudimg-amd64-wsl.rootfs.tar.gz' --version 2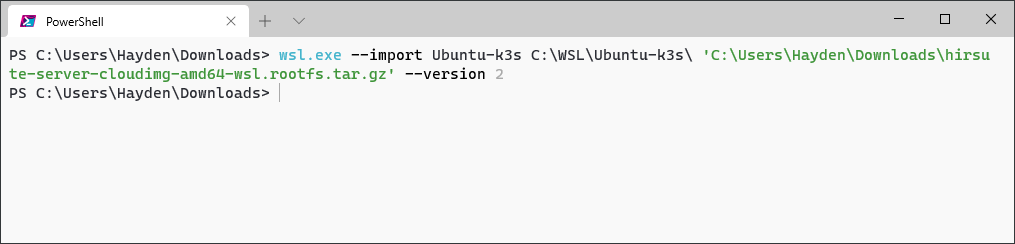
Launch our newly imported WSL 2 distro and switch to our home folder:
wsl.exe -d Ubuntu-k3s
cd ~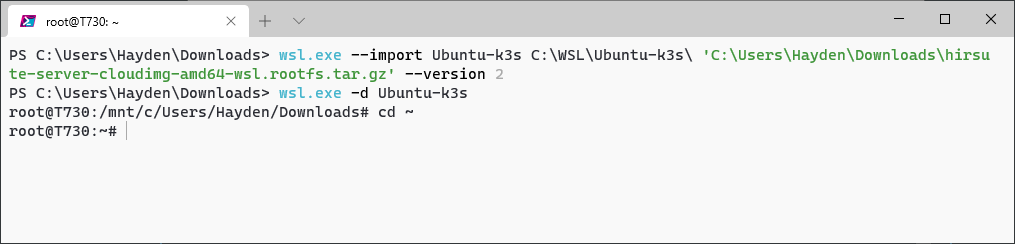
Install k3s on our WSL 2 distro
Download the latest k3s release from GitHub, copy it to /usr/local/bin/, mark it executable, and check that it runs:
wget https://github.com/k3s-io/k3s/releases/download/<latest release binary>

mv k3s /usr/local/bin/

chmod u+x /usr/local/bin/k3s

k3s --version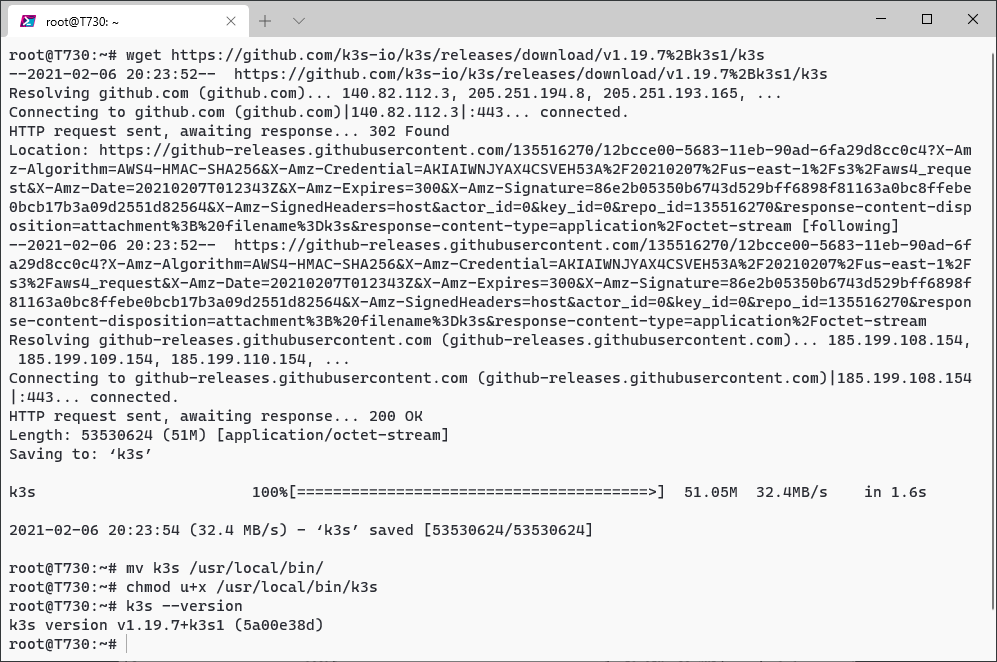
Install helm in our WSL 2 distro
Download and run the Helm install script, then check that it runs:
curl https://raw.githubusercontent.com/helm/helm/master/scripts/get-helm-3 | bash

helm version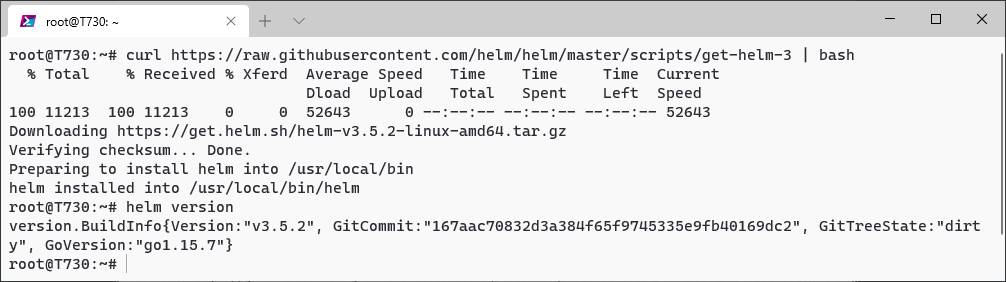
Kubernetes does not play well with nftables, which is now the default on Ubuntu, so lets revert to iptables legacy mode:
sudo update-alternatives --set iptables /usr/sbin/iptables-legacy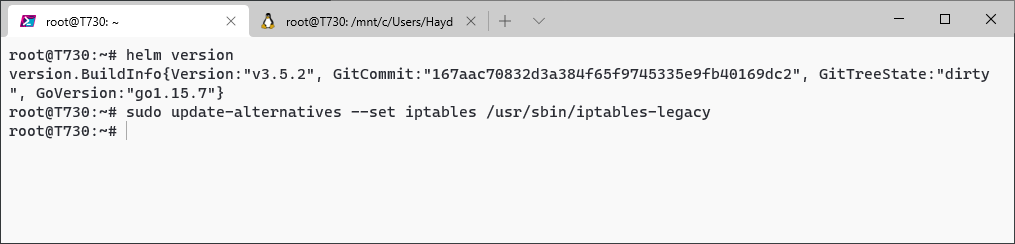
You can now run a k3s pre-check to make sure we are ready to go:
k3s check-config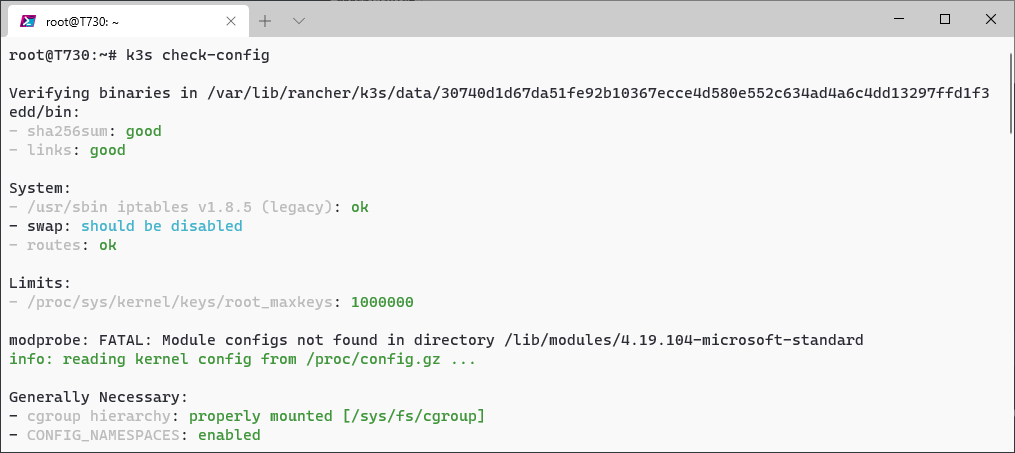
Start k3s Server
Run k3s server in the background using screen, saving the log output to /var/log/k3s.log.
screen -d -m -L -Logfile /var/log/k3s.log /usr/local/bin/k3s serverIf you want to monitor the output of k3s server, you can either lookup the screen and re-attach:
 screen -ls
 screen -r #
or live tail the log file:
tail -F /var/log/k3s.log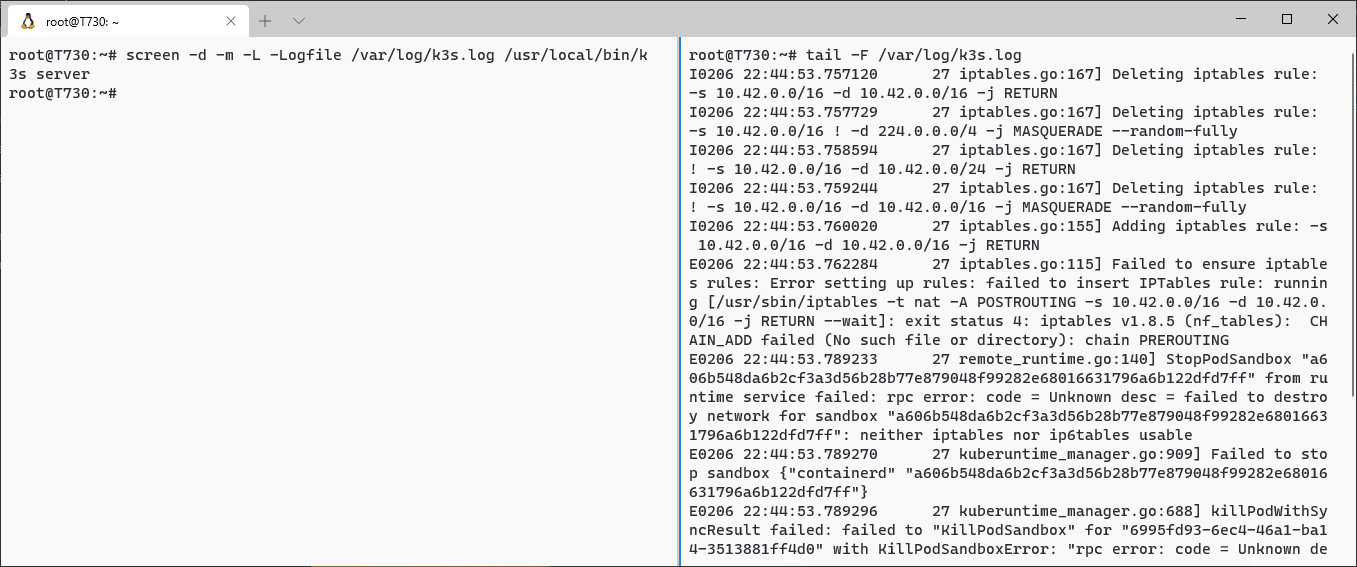
(Open new panes in Windows Terminal by holding down Alt and then selecting your environment from the drop-down)
Wait a few moments and then check in our cluster:
k3s kubectl cluster-info && k3s kubectl get nodes && k3s kubectl get pods --all-namespaces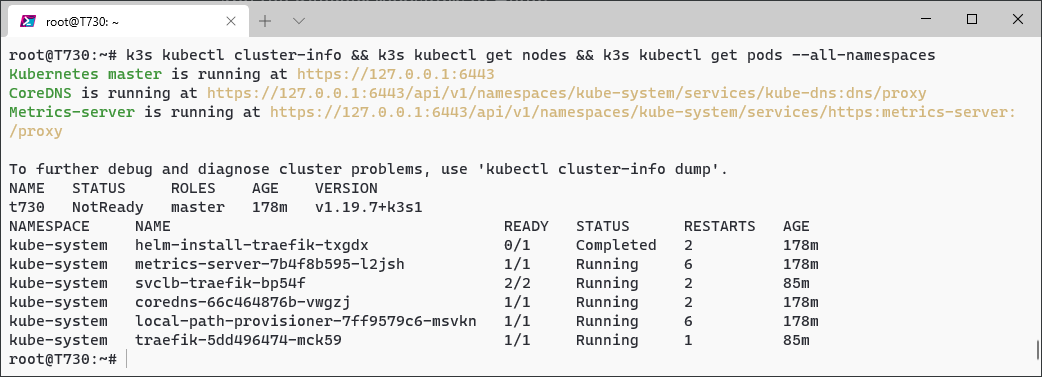
Add Helm repositories
Add the Rancher repository to Helm:
helm repo add rancher-latest https://releases.rancher.com/server-charts/latestAdd the Jetstack repository to Helm (needed for cert-manager):
helm repo add jetstack https://charts.jetstack.ioYou could also manually set ~/.config/helm/repositories.yaml:
nano ~/.config/helm/repositories.yamlPaste in:
apiVersion: ""
generated: "0001-01-01T00:00:00Z"
repositories:
- caFile: ""
  certFile: ""
  insecure_skip_tls_verify: false
  keyFile: ""
  name: rancher-latest
  password: ""
  url: https://releases.rancher.com/server-charts/latest
  username: ""
- caFile: ""
  certFile: ""
  insecure_skip_tls_verify: false
  keyFile: ""
  name: jetstack
  password: ""
  url: https://charts.jetstack.io
  username: ""
Refresh the Helm chart repository metadata:
helm repo update
Configure Environmental Variables
Set KUBERNETES_MASTER and KUBE_CONFIG environmental variables and then store a script in ~/.bashrc to set each in the future:
export KUBERNETES_MASTER=$( grep server: /etc/rancher/k3s/k3s.yaml | cut -c13-)
export KUBECONFIG=/etc/rancher/k3s/k3s.yaml
echo "export KUBERNETES_MASTER=$( grep server: /etc/rancher/k3s/k3s.yaml | cut -c13-)" >> ~/.bashrc
echo "export KUBECONFIG=/etc/rancher/k3s/k3s.yaml" >> ~/.bashrc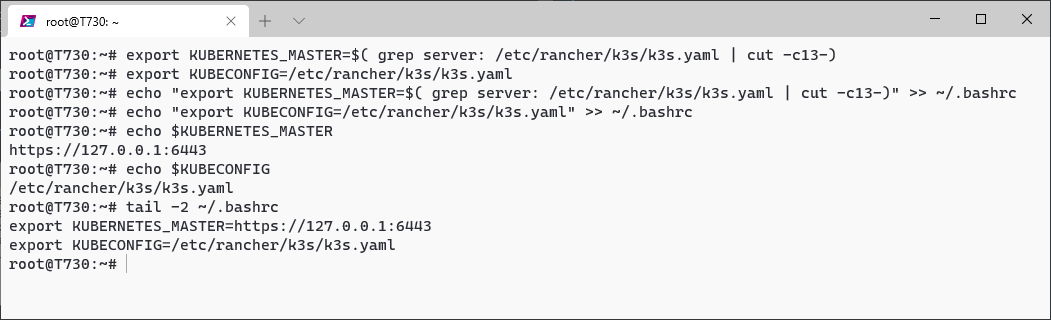
or, alternatively, simply echo the export commands to ~/.bashrc and then source the file:
echo "export KUBERNETES_MASTER=$( grep server: /etc/rancher/k3s/k3s.yaml | cut -c13-)" >> ~/.bashrc
echo "export KUBECONFIG=/etc/rancher/k3s/k3s.yaml" >> ~/.bashrc
source ~/.bashrc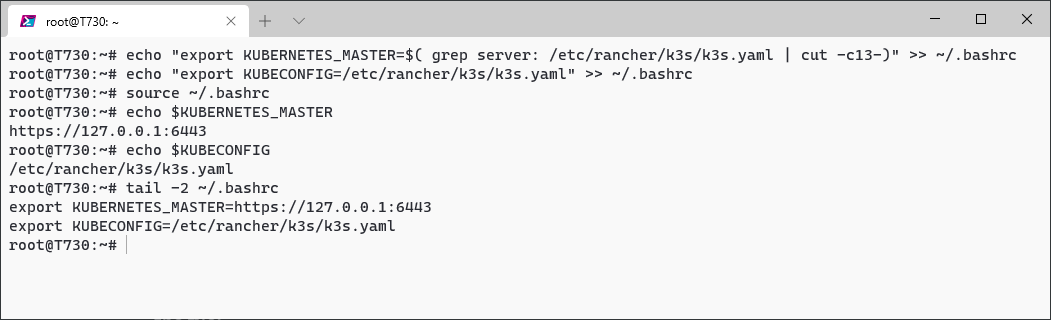
Optional: kubectl alias
In the commands below, we call k3s kubectl often. If you do not have kubectl separately installed, you can alias kubectl to avoid having to prefix it with k3s each time and set it in ~/.bashrc:
alias kubectl="k3s kubectl"
echo 'alias kubectl="k3s kubectl"' >> ~/.bashrc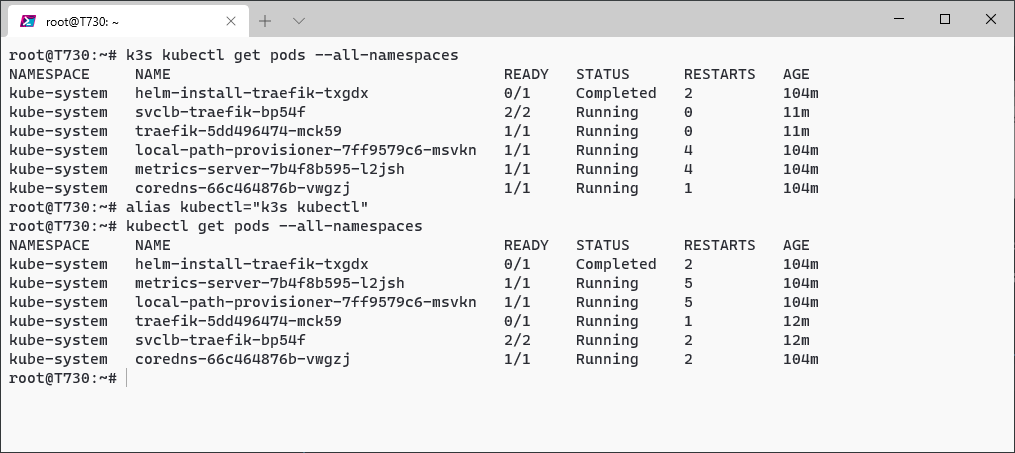
Create Kubernetes Namespaces
Create a namespace for Rancher and cert-manager:
k3s kubectl create namespace cattle-system
k3s kubectl create namespace cert-manager
Install cert-manager
Install the cert-manager custom resource definitions:
k3s kubectl apply --validate=false -f https://github.com/jetstack/cert-manager/releases/download/v1.2.0-alpha.2/cert-manager.crds.yaml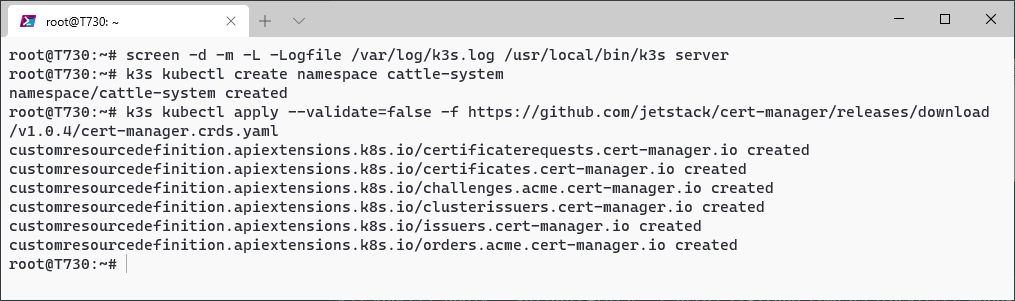
Install cert-manager using helm:
helm install \
  cert-manager jetstack/cert-manager \
  --namespace cert-manager
After a moment, check to see if cert-manager is running:
k3s kubectl get pods --namespace cert-manager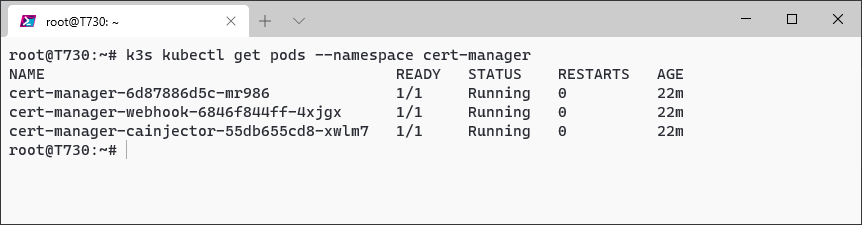
This guide does not cover certificate management with cert-manager. We will be using Rancher's self-signed certificate function, which your browser will complaint about but is fine for testing. You can also use Let's Encrypt or bring your own certificates.
Install Rancher
Install rancher-latest using helm:
helm install rancher rancher-latest/rancher \
  --namespace cattle-system \
  --set hostname=rancher.local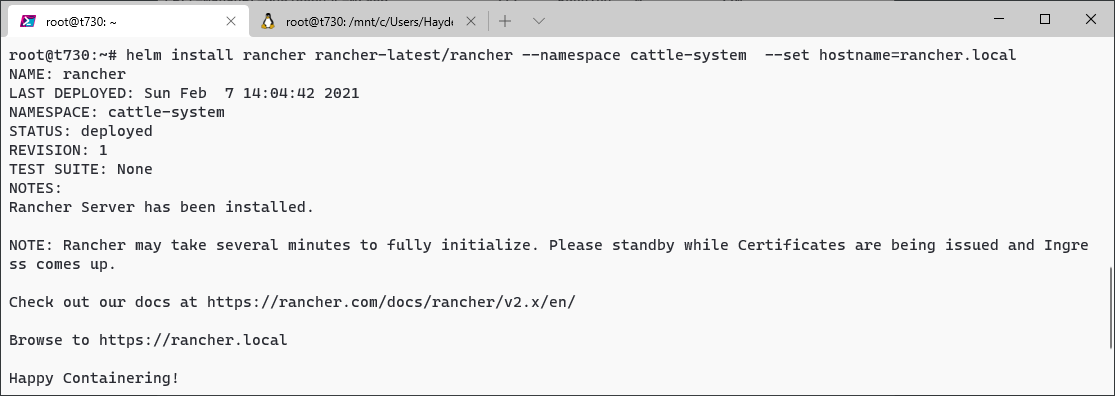
Wait and bit and then verify the deployment:
kubectl -n cattle-system get deploy rancher
Configure Networking
Add our 'domain name' to /etc/hosts on our WSL 2 distro:
echo "127.0.0.1 rancher.local" >> /etc/hosts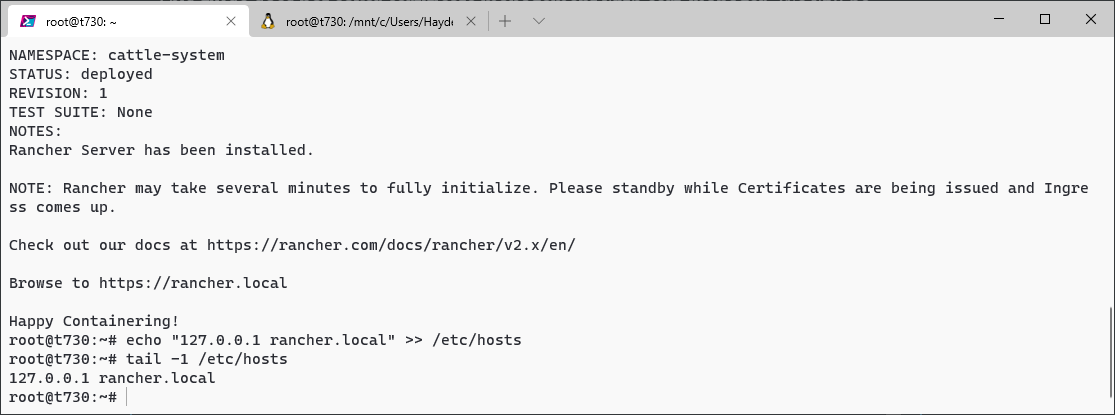
Get your WSL 2 distro IP address. This resets every time you restart the container, so this next step will need to be repeated every time your WSL distro is reset. There is a way to automate this, but that is for another post.
ip addr show eth0 | grep -oP '(?<=inet\s)\d+(\.\d+){3}'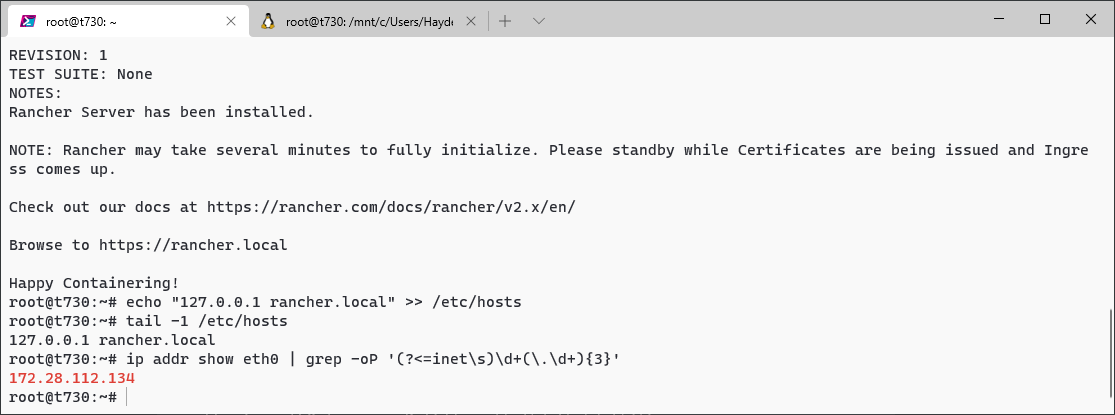
Open your Windows hosts file as Administrator:
powershell.exe Start-Process notepad.exe 'c:\Windows\System32\Drivers\etc\hosts' -Verb runAsAppend to your Windows hosts file:
<WSL 2 IP address> rancher.local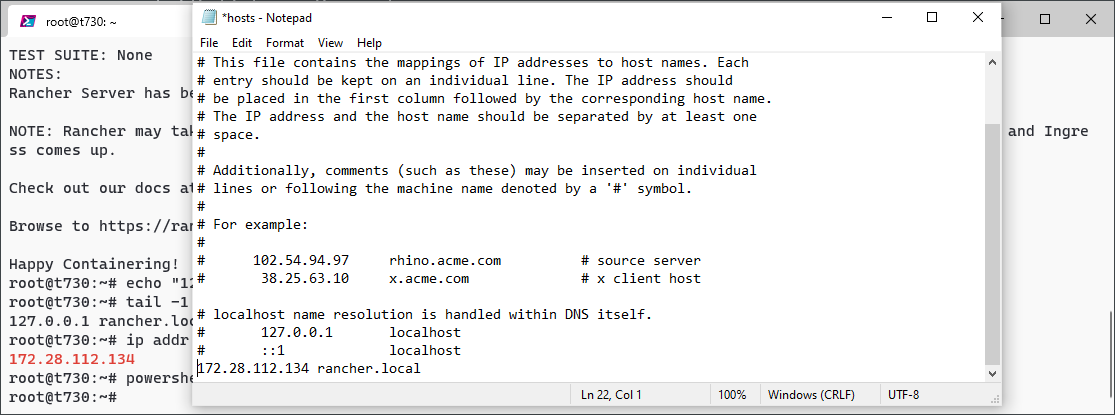
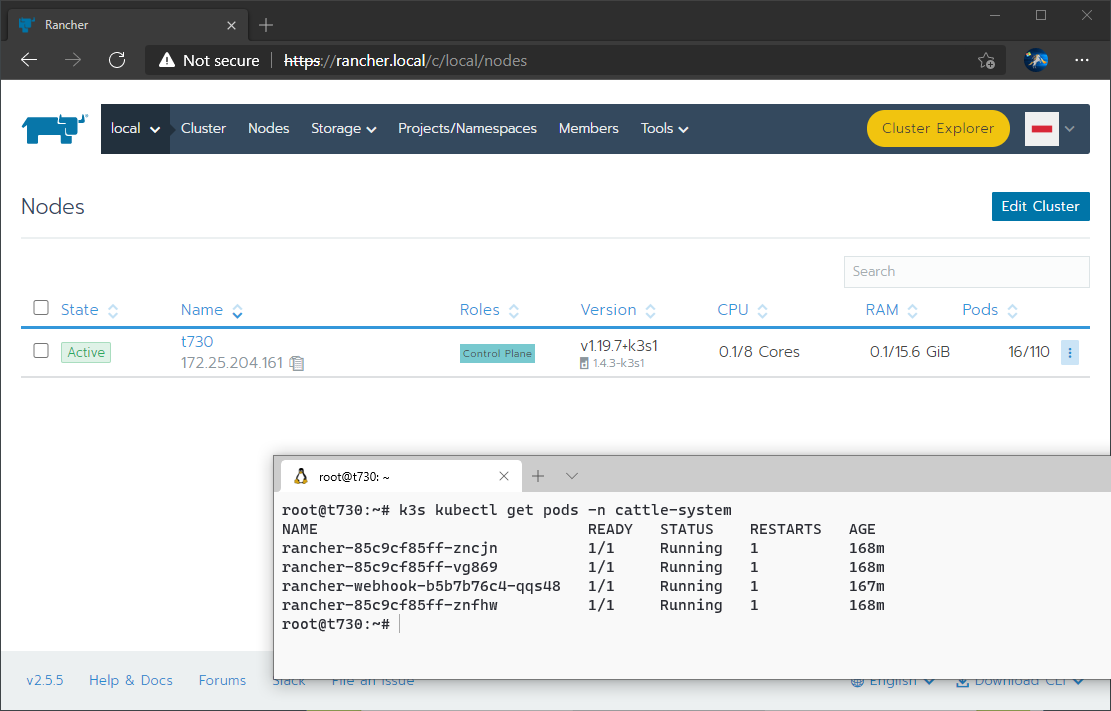
Open Rancher
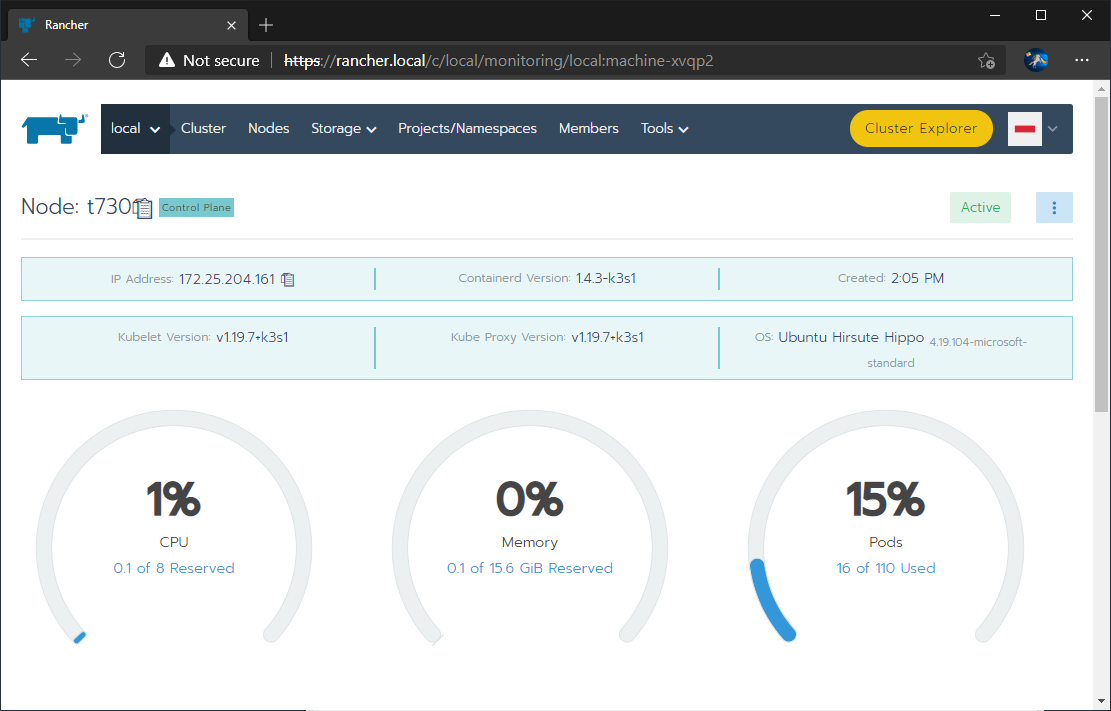
You should now be able to open rancher.local from a Windows (or WSL) browser and configure.
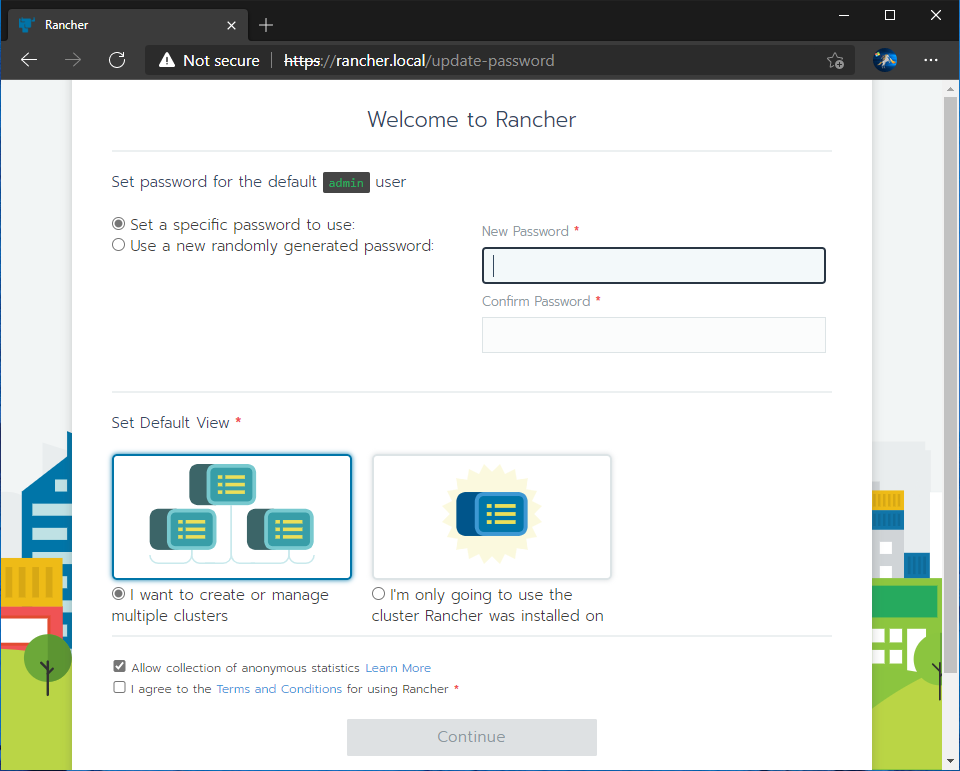
For now, set the IP address of your WSL distro as the server URL.
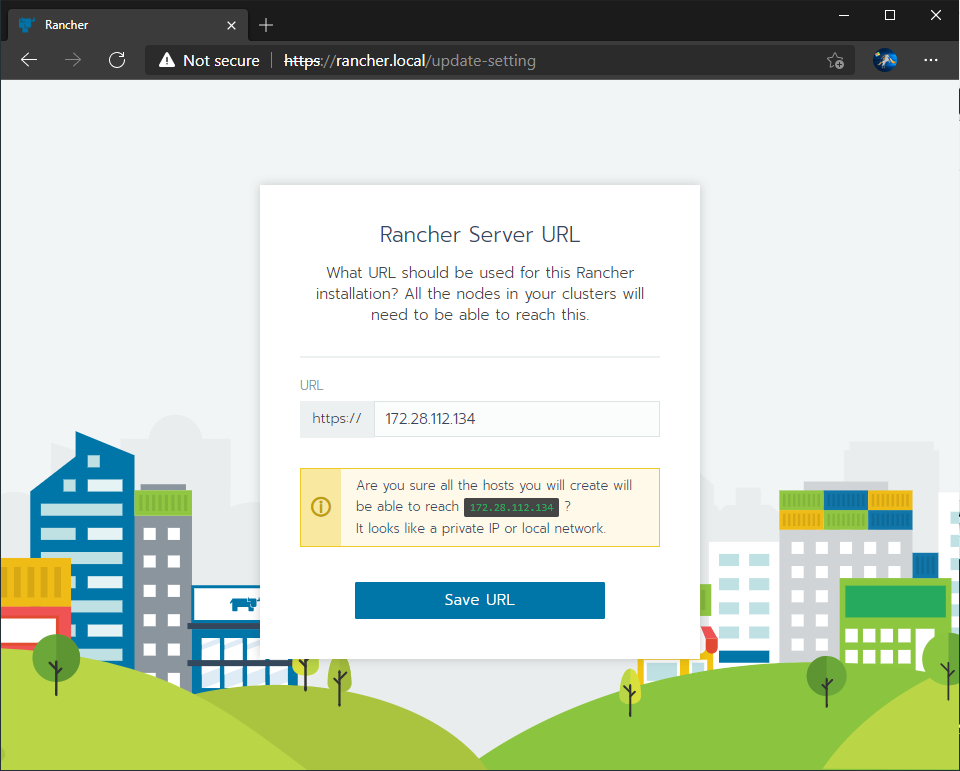
You will need to update this IP address in Rancher settings when your WSL distro resets and gets a different IP address.
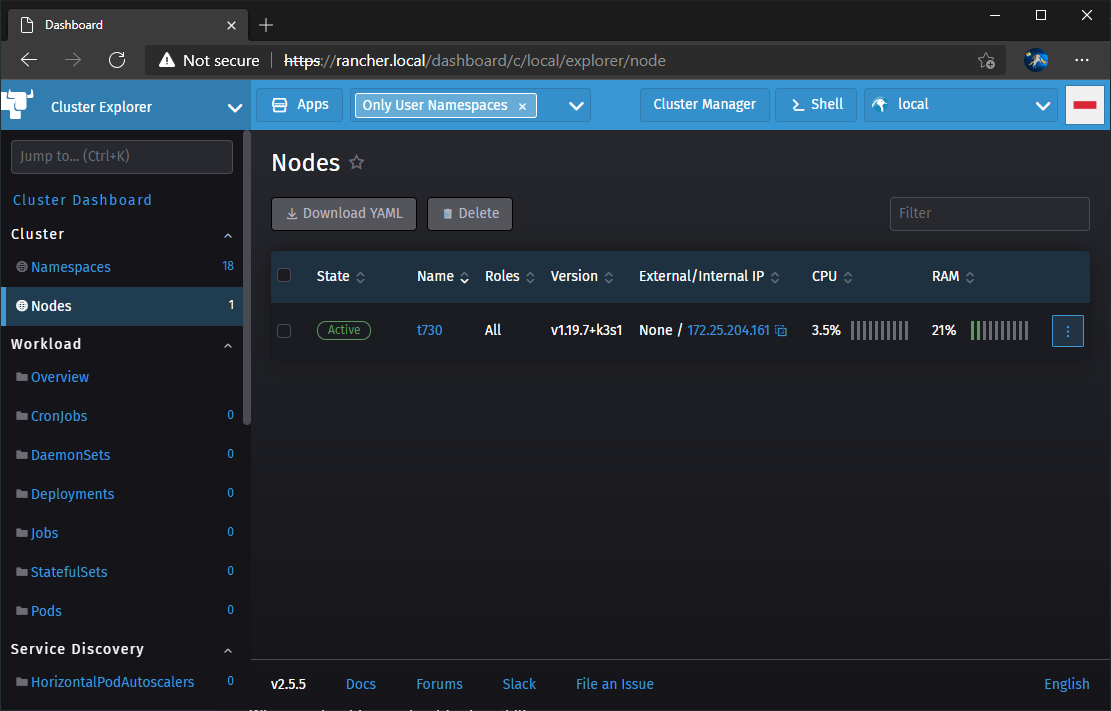
Now, you can explore Rancher:
Follow-Up Posts
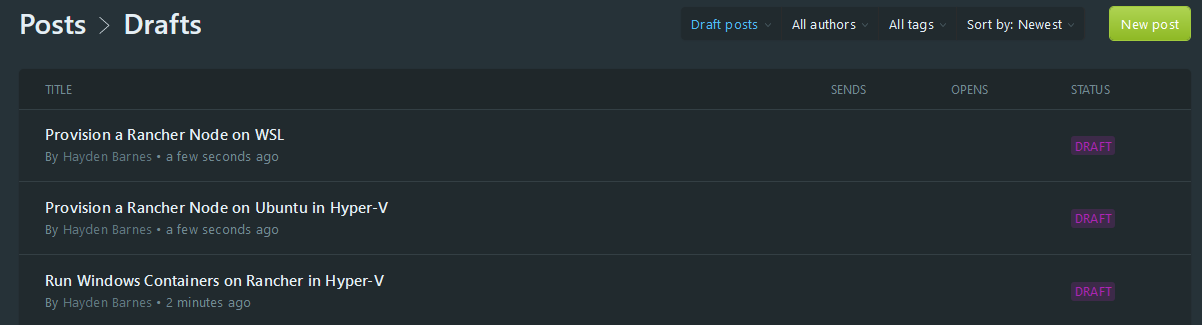
Now that we have Rancher running on WSL 2, we can use it to build clusters. Here are some follow-up articles I have in various stages of draft form that I hope to finish and post building on the above:
- Run Windows Containers on Rancher on Windows Server in Hyper-V
- Provision a Rancher Worker Node on Ubuntu in Hyper-V
- Provision Rancher Nodes on WSL
Misc Scripts
To quickly reset k3s:
rm -rf /etc/rancher/k3s
rm -rf /var/lib/rancher/k3s
Quick setup if you need to start from scratch:
screen -d -m -L -Logfile /var/log/k3s.log /usr/local/bin/k3s server
k3s kubectl create namespace cattle-system
k3s kubectl create namespace cert-manager
k3s kubectl apply --validate=false -f https://github.com/jetstack/cert-manager/releases/download/v1.2.0-alpha.2/cert-manager.crds.yaml
helm install cert-manager jetstack/cert-manager --namespace cert-manager


