Running a massively scalable CUDA-accelerated AI/ML lab on WSL 2 with Determined
Getting a scalable AI/ML model training environment set up and running on WSL 2, with Docker Desktop and CUDA GPU compute.


Determined is an open source platform for AI/ML model development and training at scale.
Determined handles the provisioning of machines, networking, data loading, and provides fault tolerance.

It allows AI/ML engineers to pool and share computing resources, track experiments, and supports deep learning frameworks like PyTorch, TensorFlow, and Keras.
I am still learning about AI/ML. My interest was piqued after GPU compute arrived on Windows Subsystem for Linux (WSL), starting with CUDA.
Determined seems like a very cool and easy to use platform to learn more on, it offers a web-based dashboard and includes a built-in AI/ML IDE.
There are several ways to deploy Determined, including pip , and to use Determined, like a terminal cli tool, det.
My preference is a more cloud native approach deploying with containers and interacting through the web-based dashboard.
This guide will cover setting up a local Determined deployment on WSL 2 with Docker Desktop.
We will:
- Verify a working GPU setup on WSL
- Deploy a database backend container
- Deploy a Determined master node container connected to the database
- Deploy and connect a Determined agent node container to the Determined master node
- Launch the JupyterLab IDE in the Determined web interface
Requirements for this tutorial:
- Windows 11 (recommended) or Windows 10 21H2
- Windows Subsystem for Linux Preview from the Microsoft Store (recommended) or the standard Windows Subsystem for Linux feature but run
wsl.exe --updateto make sure you have the latest WSL kernel - The latest NVIDIA GPU drivers directly from NVIDIA, not just Windows Update drivers
- Any WSL distro
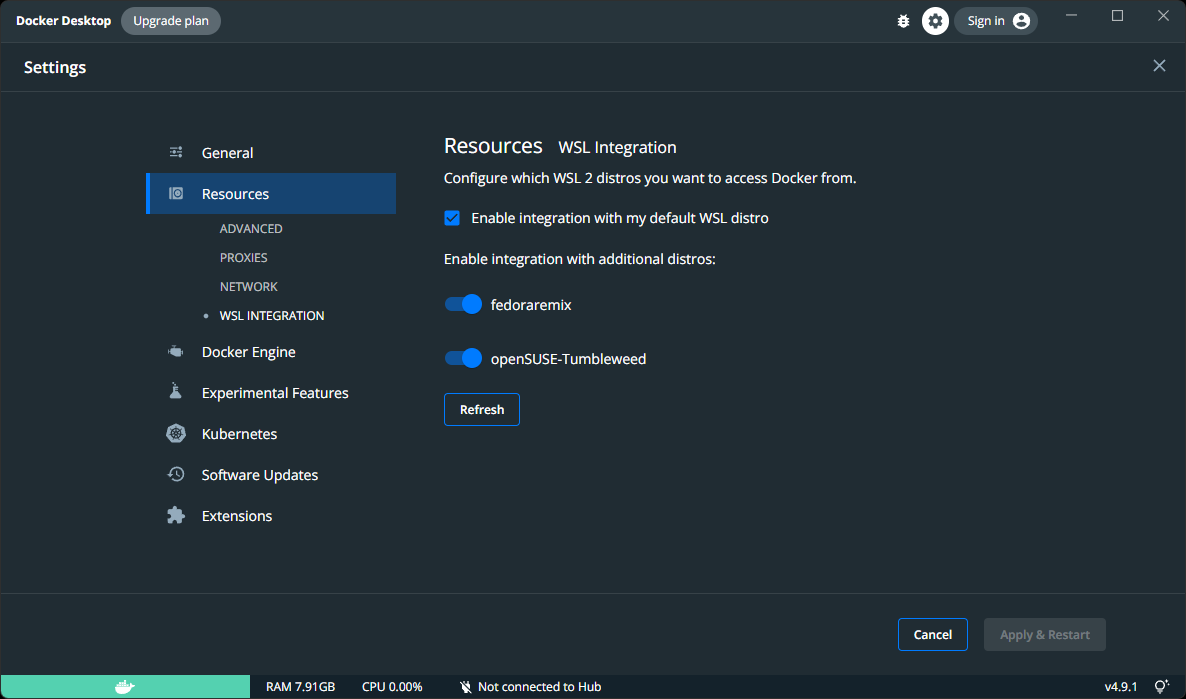
- Docker Desktop 4.9+ installed with WSL integration enabled for the WSL distro you are going to be working in
- A CUDA-enabled NVIDIA GPU, e.g. GeForce RTX 1080 or higher*
*This workflow does work without a CUDA-enabled NVDIA GPU but will default to CPU-only if no GPU is available.
Links
- Determined.AI
- Determined Docs
- Enable NVIDIA CUDA on WSL (Microsoft Docs)
Basics
Verify that Docker Desktop is accessible from WSL 2:
docker --version
This should not be docker-ce or an equivalent installed in WSL, but the aliases Docker Desktop places using WSL integration:
Verify that GPU support is working in Docker and WSL 2:
docker run --rm --gpus all nvidia/cuda:11.0.3-base-ubuntu20.04 nvidia-smi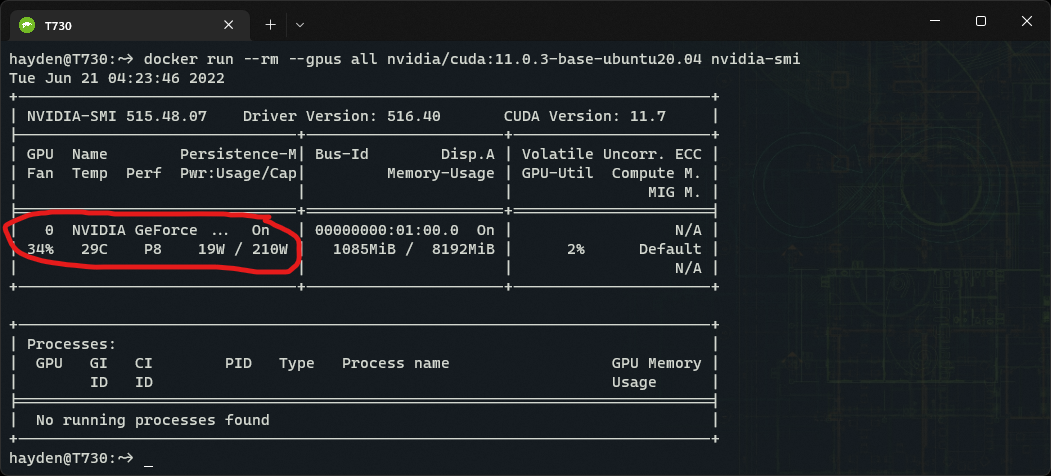
Note my NVIDIA GeForce 2070 Super is visible in nvidia-smi output.
Set up PostgreSQL
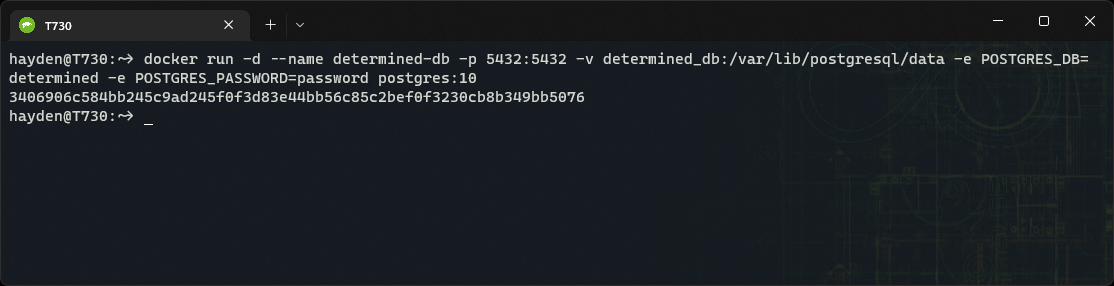
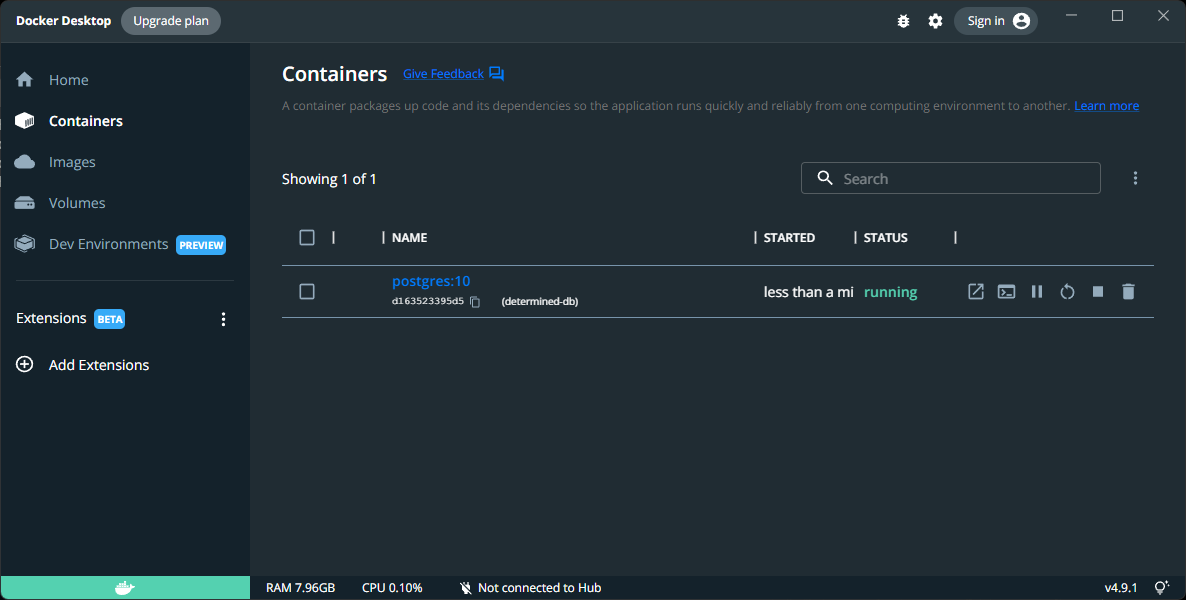
Start an instance of PostgreSQL:
docker run -d --name determined-db -p 5432:5432 -v determined_db:/var/lib/postgresql/data -e POSTGRES_DB=determined -e POSTGRES_PASSWORD=password postgres:10I recommend changing your password to anything besides password.
Get your WSL IP address
Grab your WSL instance's eth0 IP address from ip, parse it using sed, and stash it as an environmental variable $WSLIP:
WSLIP=$(ip -f inet addr show eth0 | sed -En -e 's/.*inet ([0-9.]+).*/\1/p')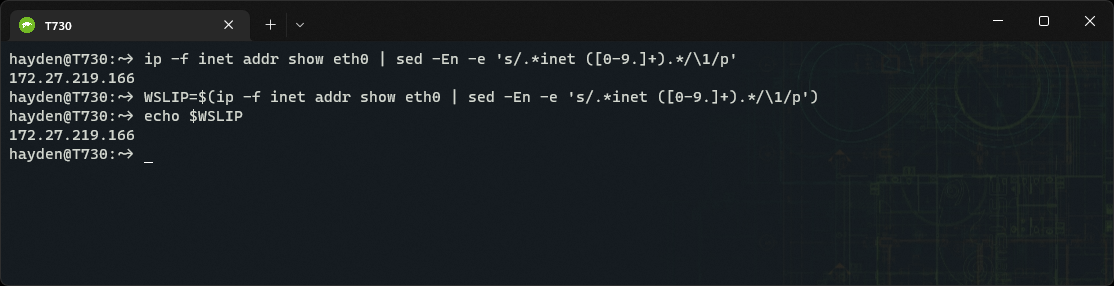
Start the Determined Master Node
Start up an instance of the determined-master image, connected to the PostgreSQL determined database we spun up on port 5432:
docker run -d --name determined-master -p 8080:8080 -e DET_DB_HOST=$WSLIP -e DET_DB_NAME=determined -e DET_DB_PORT=5432 -e DET_DB_USER=postgres -e DET_DB_PASSWORD=password determinedai/determined-master:latest 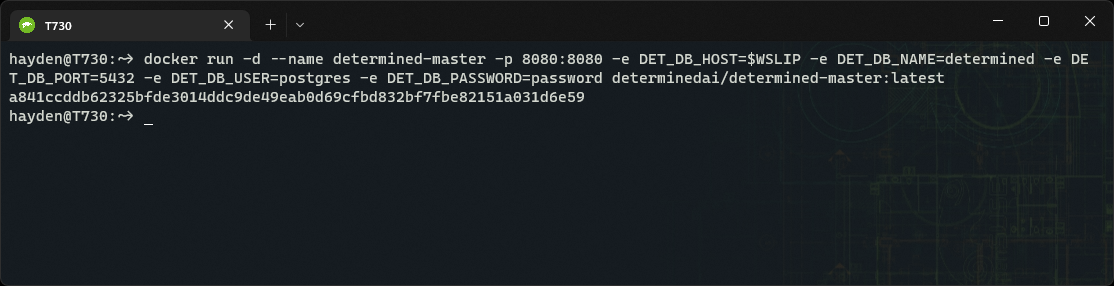

Launch the Determined Master Node web dashboard:
powershell.exe /c start http://$WSLIP:8080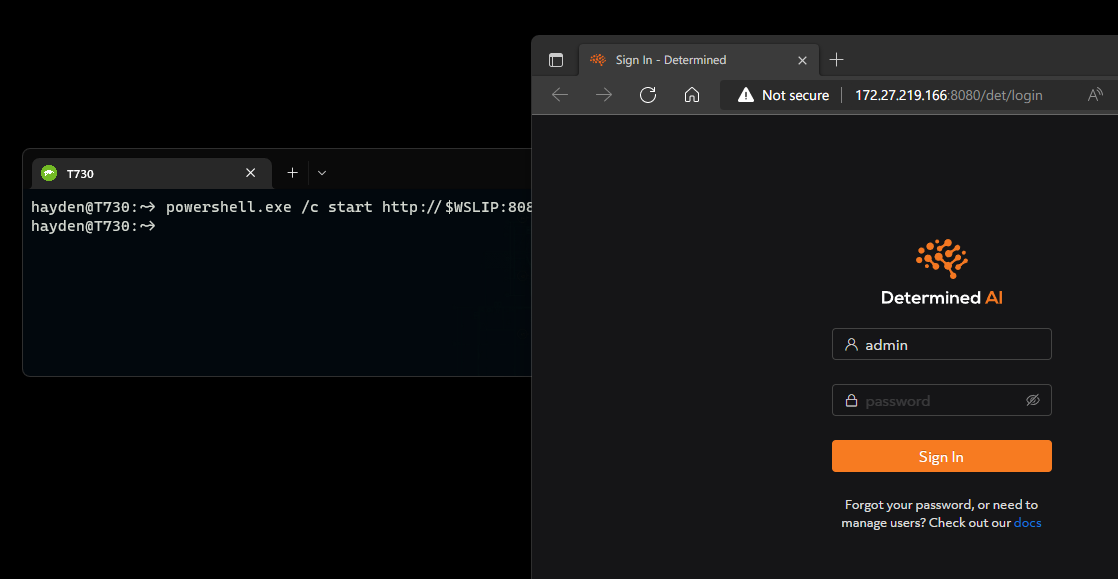
Use the default admin account, no password, to log in.
Now you have access to the Determined dashboard.
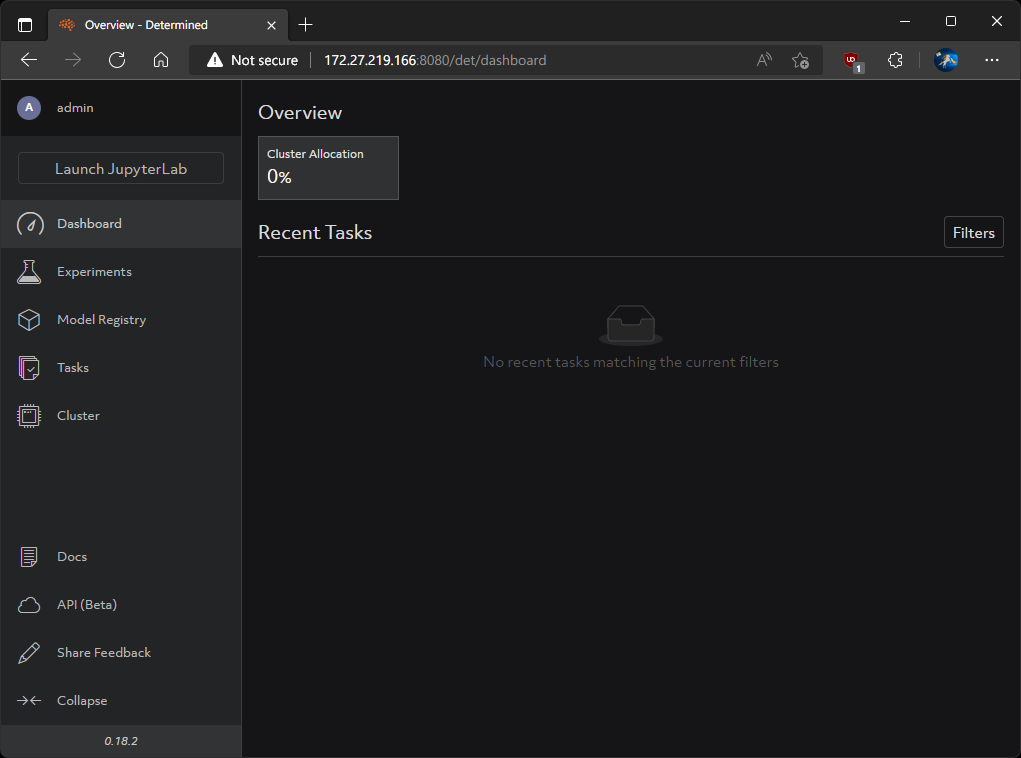
But we do not have any agents connected to run experiments on.
Attach a Determined Agent Node
Start up an instance of the determined-agent image, pointed at our Determined Master host IP ($WSLIP) and port (8080):
docker run -d --gpus all -v /var/run/docker.sock:/var/run/docker.sock --name determined-agent -e DET_MASTER_HOST=$WSLIP -e DET_MASTER_PORT=8080 -e NVIDIA_DRIVER_CAPABILITIES=compute,utility determinedai/determined-agent:latest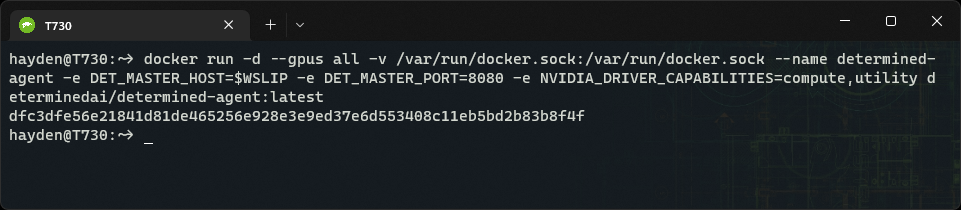
Note:
- Include
--gpus allis to pass-through our NVIDIA GPU to the determined-agent container. - Set
NVIDIA_DRIVER_CAPABILITIESto also includecompute, overriding the determined-agent default of justutility. This enables the agent to detect the pass-through CUDA GPU. This issue was documented and I submitted a PR. - If you do not have an CUDA-enabled GPU and wish to use CPU only, use:
docker run -d -v /var/run/docker.sock:/var/run/docker.sock --name determined-agent -e DET_MASTER_HOST=$WSLIP -e DET_MASTER_PORT=8080 determinedai/determined-agent:latest
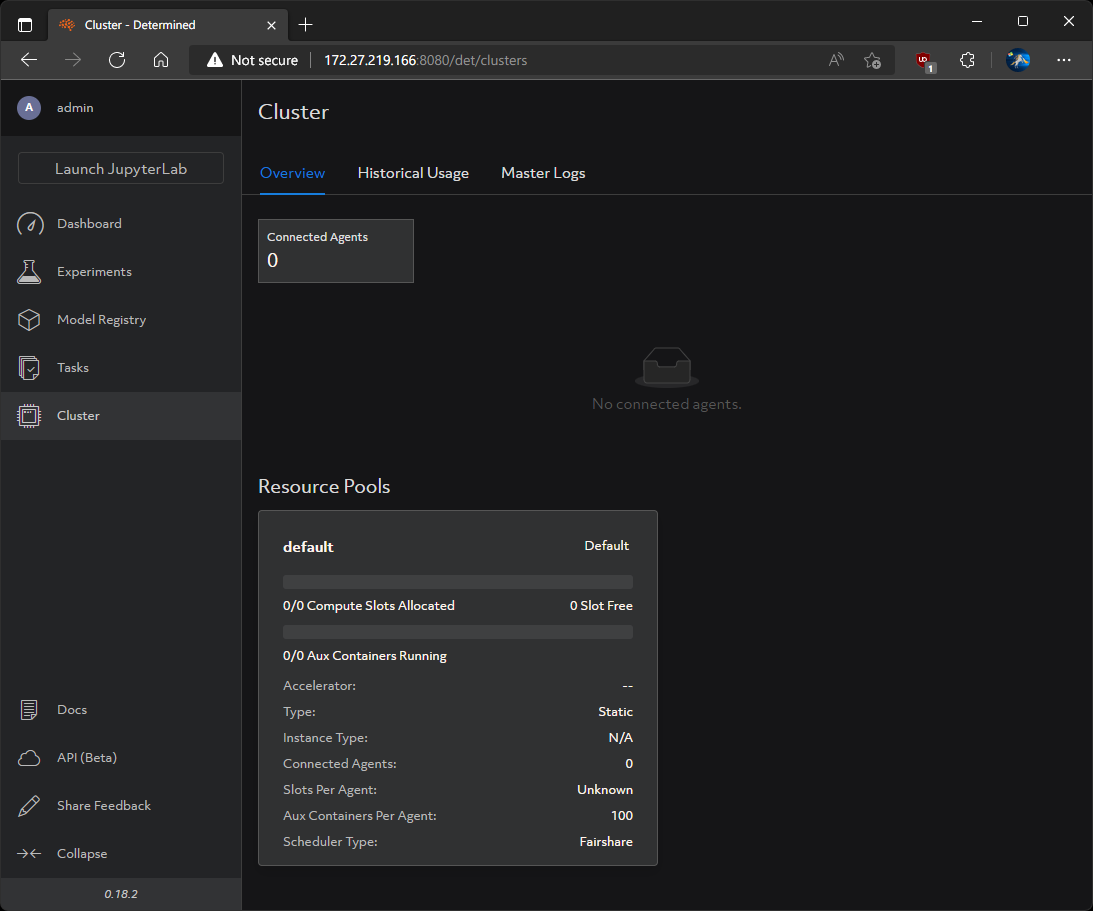
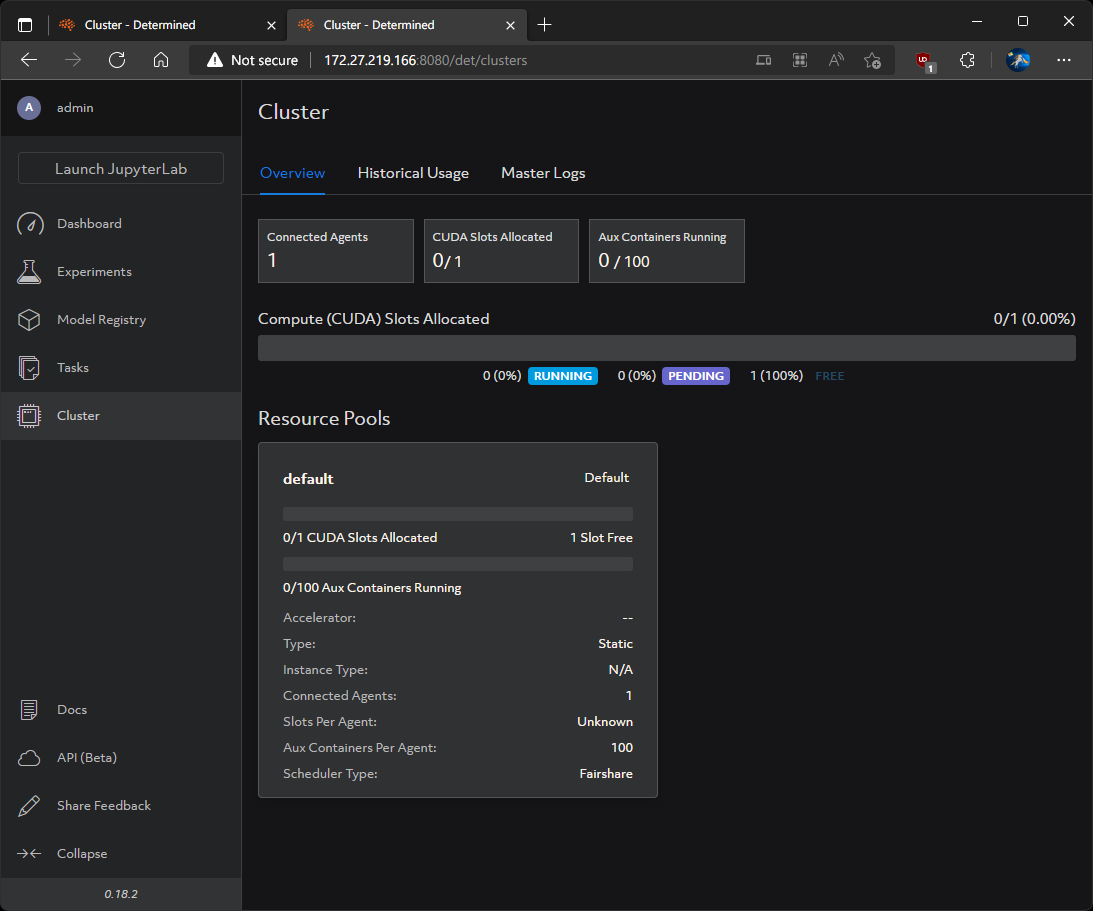
Return to the Determined dashboard, to see our clusters:
powershell.exe /c start http://$WSLIP:8080/det/clustersWe can now see 1 connected agent and 0/1 CUDA slots allocated, ready for training deep learning models:
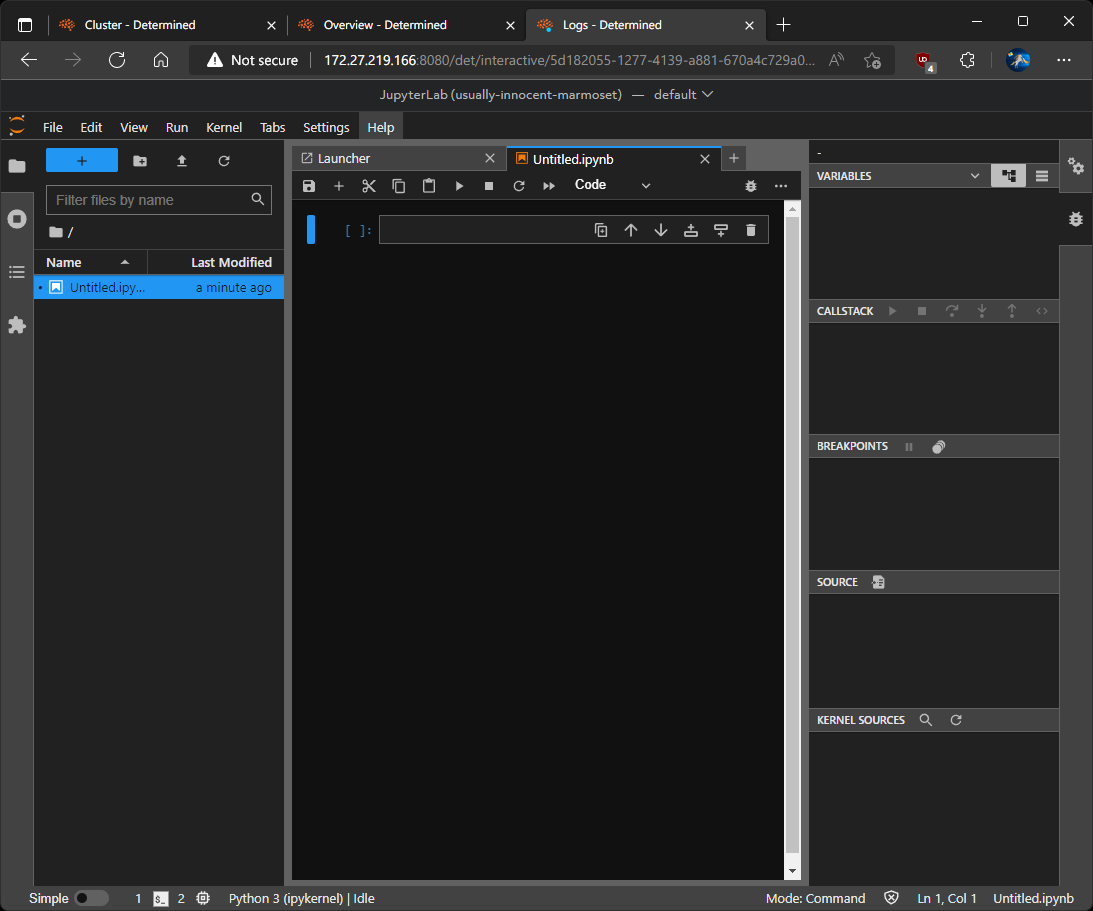
Click Launch JupyterLab to spin up a web-based Python IDE for notebooks, code, and data:

And our available CUDA GPU will be automatically assigned. You can see how it is provisioned and visible in the Determined dashboard:

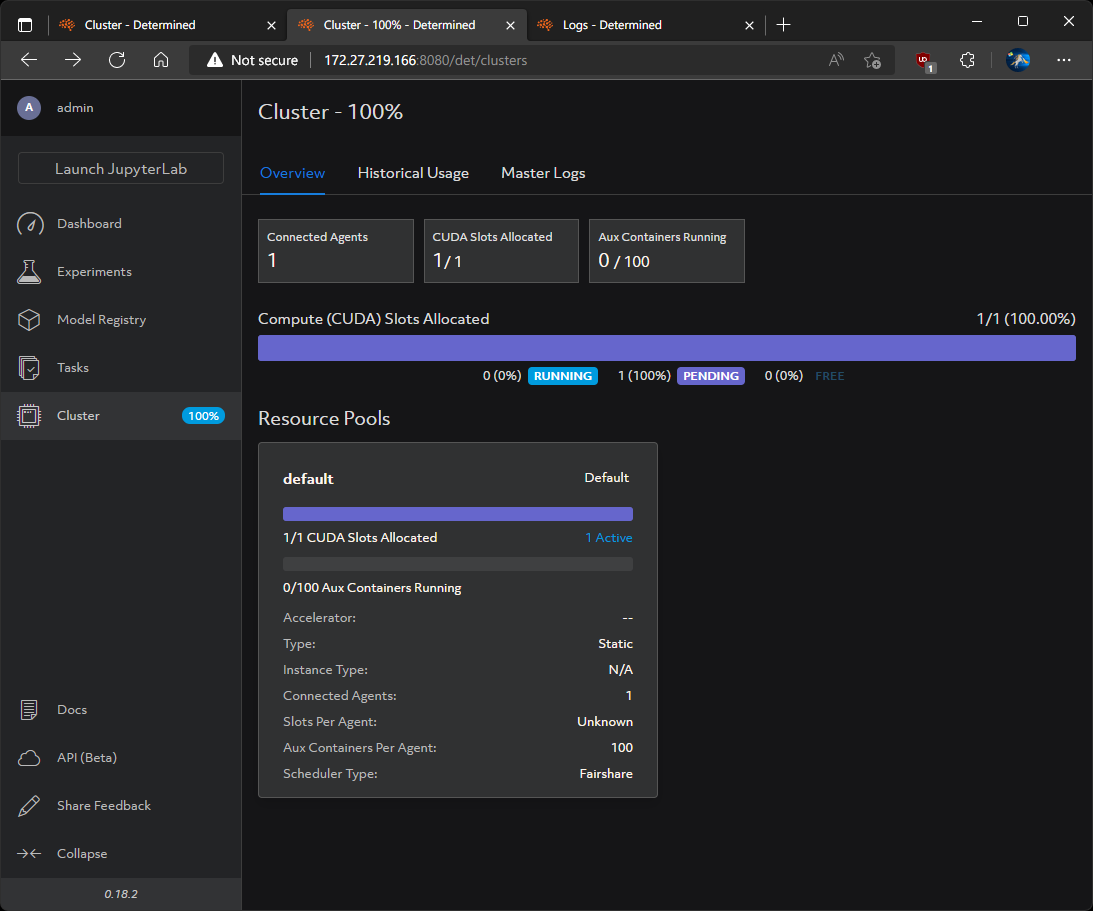

And now we have a CUDA-accelerated JupyterLab Python AI/ML IDE:
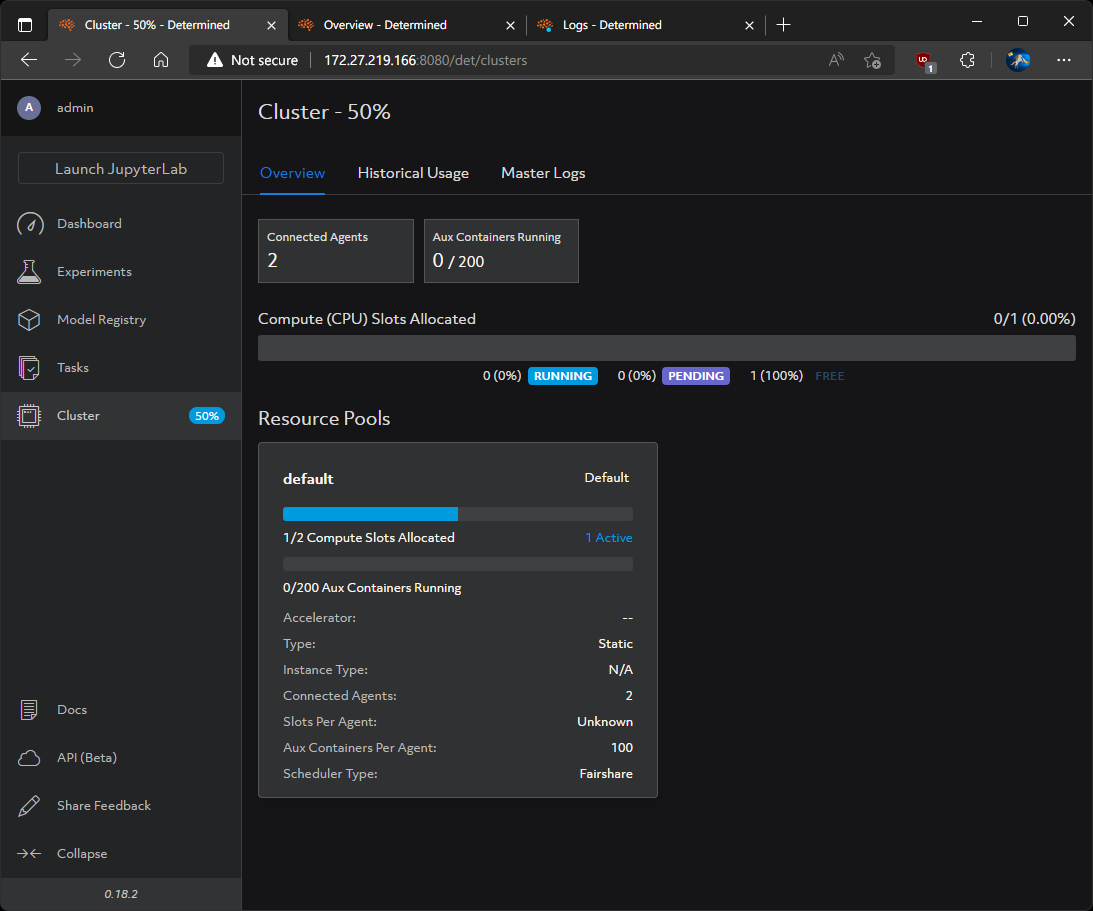
We can even start up additional CPU-only Determined worker agents:
docker run -d -v /var/run/docker.sock:/var/run/docker.sock --name determined-agent-2 -e DET_MASTER_HOST=$WSLIP -e DET_MASTER_PORT=8080 determinedai/determined-agent:latestNote the tweaked the name of the image to determined-agent-2.
And see those resources available in the Determined web dashboard:
Notes
- When stopping determined-agent, be sure to stop determined-fluent too.