Building custom WSL distro images with Podman
Use Podman on Windows to build custom WSL distro images.
Podman is a daemonless container engine for developing, managing, and running OCI Containers on Linux, but it now has support on Windows and macOS as well.
Podman is a drop-in replacement for the Docker client. If you know the Docker CLI syntax and Dockerfile format, you know Podman.
Like Docker, it is possible to generate WSL distro images with Podman. Podman is also available for your favorite Linux distribution on WSL and for Windows, using a custom WSL backend.
This guide will walk you through the process
In PowerShell:
Enable WSL
wsl.exe --installInstall Scoop
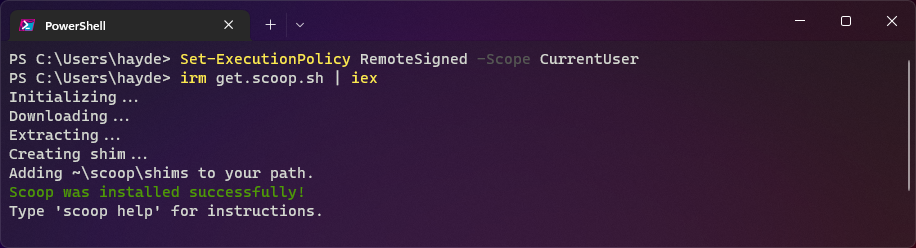
Set-ExecutionPolicy RemoteSigned -Scope CurrentUser
irm get.scoop.sh | iex
Install Podman
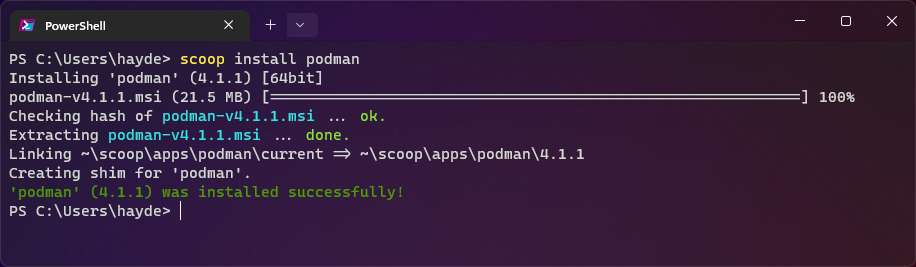
scoop install podmanInitiate Podman
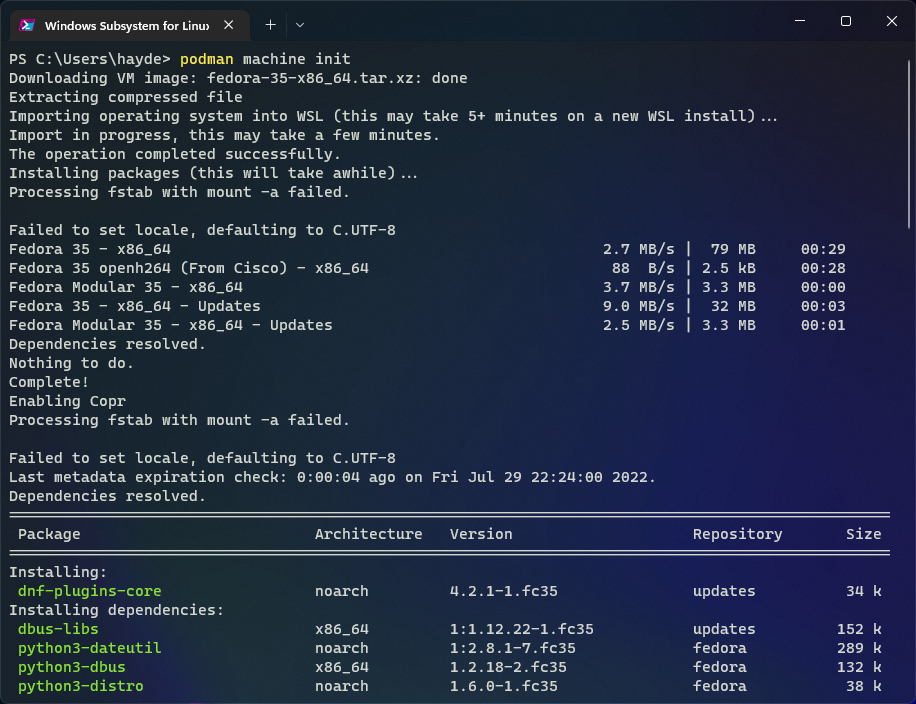
podman machine initStart Podman
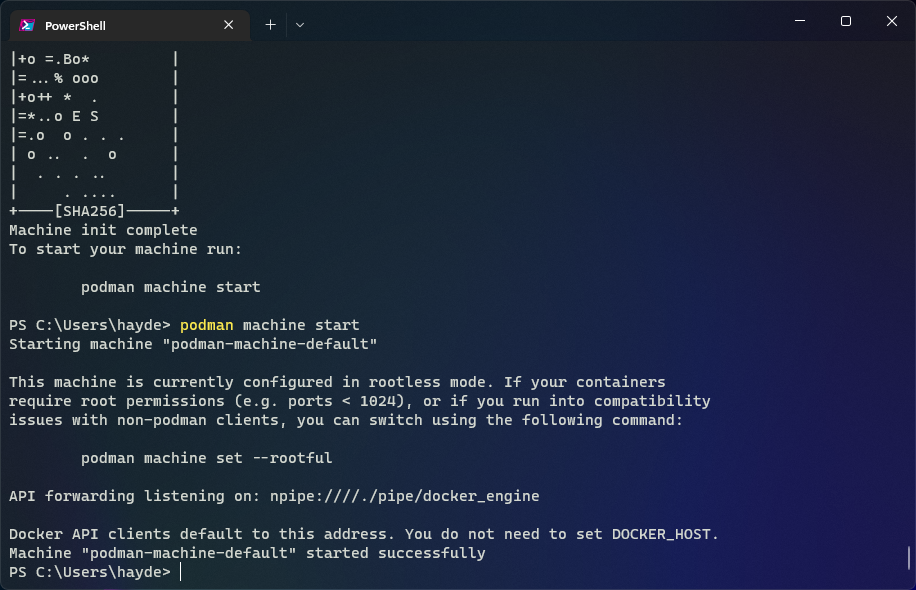
podman machine startCreate a base Containerfile
Containerfile is the successor to the Dockerfile. The syntax is the same and has become a standard, called the OCI container format.
We are going to create a very simple container image from an upstream container image of Ubuntu 22.04, ubuntu:jammy, add some useful packages-like Podman, and save it as Containerfile:
FROM ubuntu:jammy
RUN apt update && apt upgrade -y && apt install ca-certificates podman -y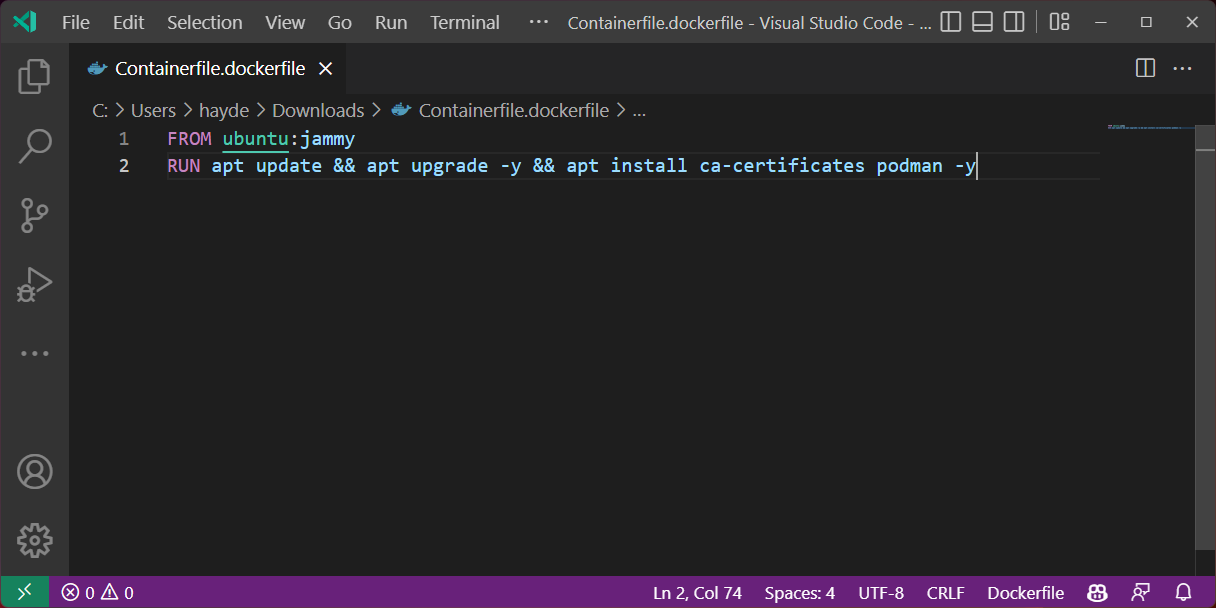
Build the Container
Back in Terminal, let's build our ContainerFile with Podman:
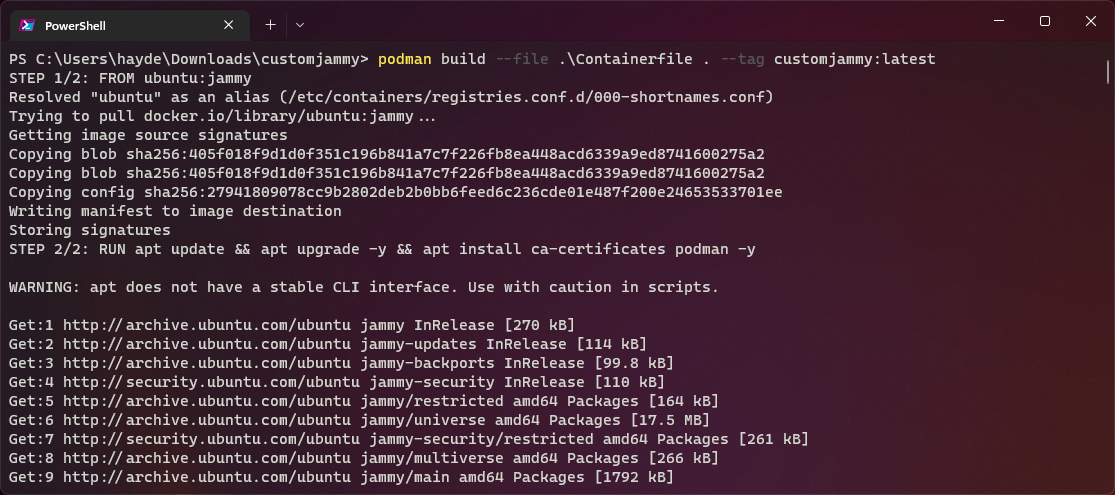
podman build --file .\Containerfile . --tag customjammy:latestInitiate the Container
We need to run our new container, customjammy, one time to initiate it:
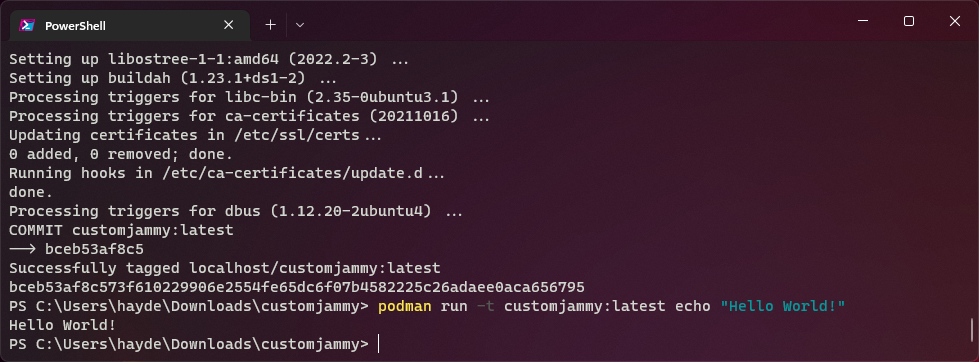
podman run -t customjammy:latest echo "Hello World!"Export the Container as a .Tar File
Now we can export the container a .tar file to import into WSL:
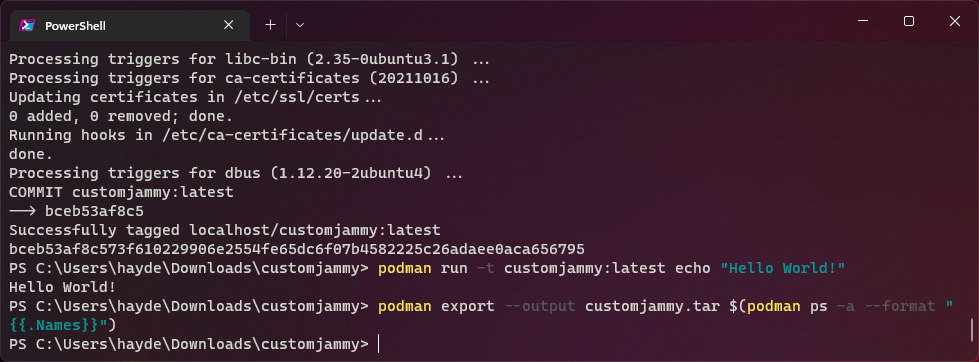
podman export --output customjammy.tar $(podman ps -a --format "{{.Names}}")Import .Tar file into WSL
First we create a directory to store our imported distro:
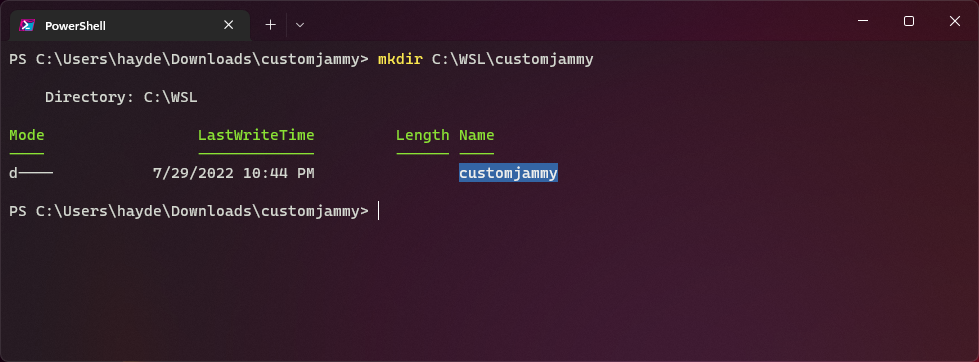
mkdir C:\WSL\customjammyNext we import our distro, now bundled into a .tar file, into WSL:
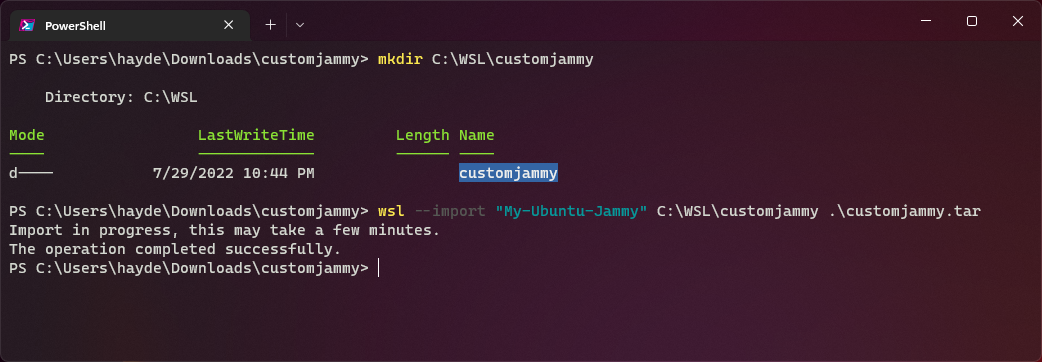
wsl --import "My-Ubuntu-Jammy" C:\WSL\customjammy .\customjammy.tarRun Imported WSL Distro
Finally, we can run our imported distro with the wsl.exe -d command:
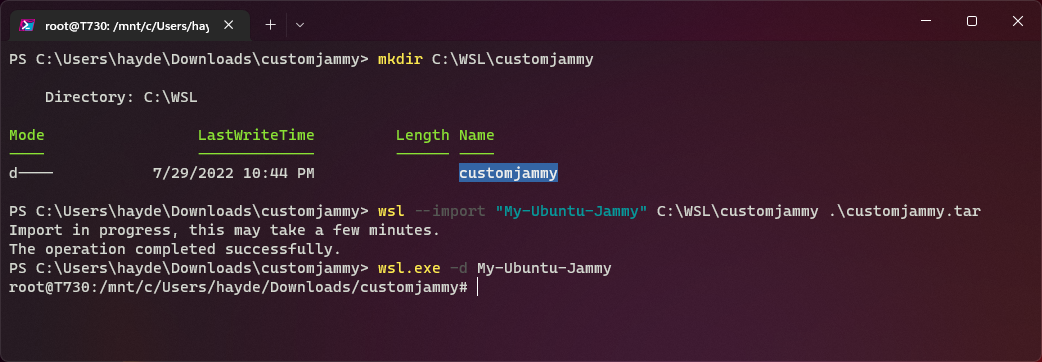
wsl.exe -d My-Ubuntu-Jammy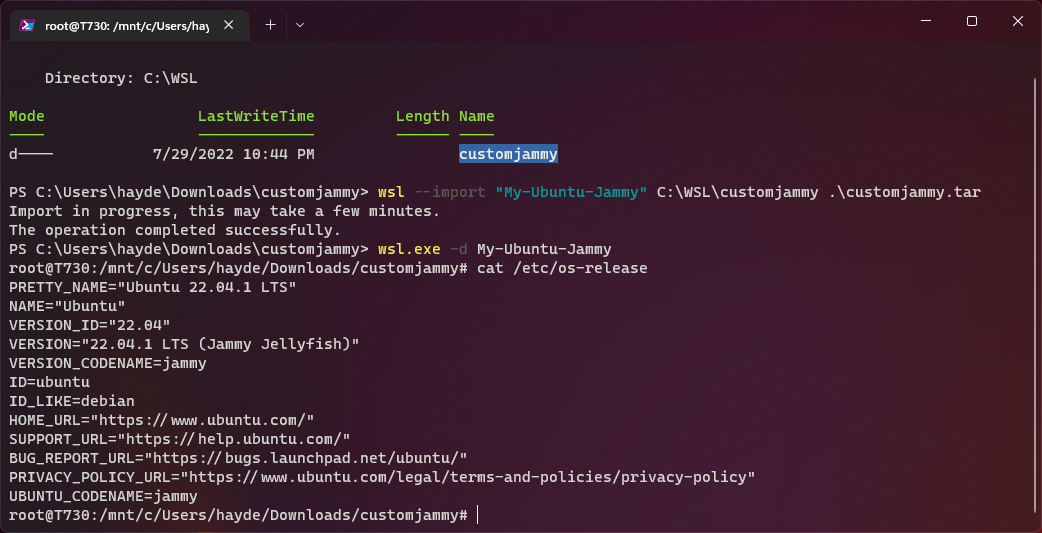
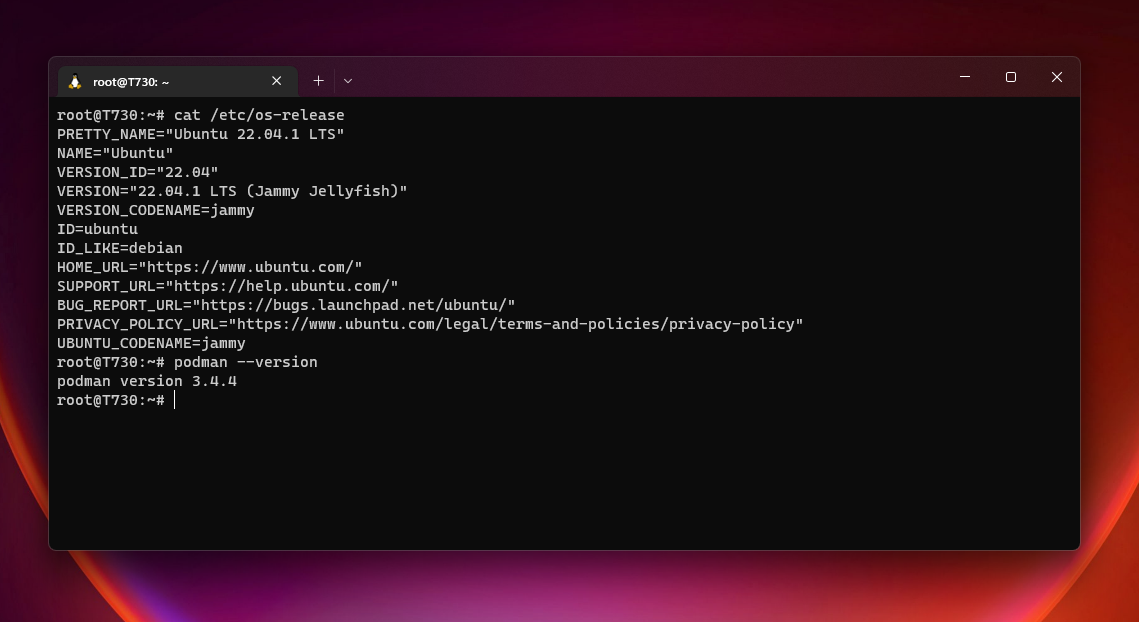
We can cat the /etc/os-release file to verify we are running Ubuntu 22.04 Jammy Jellyfish:
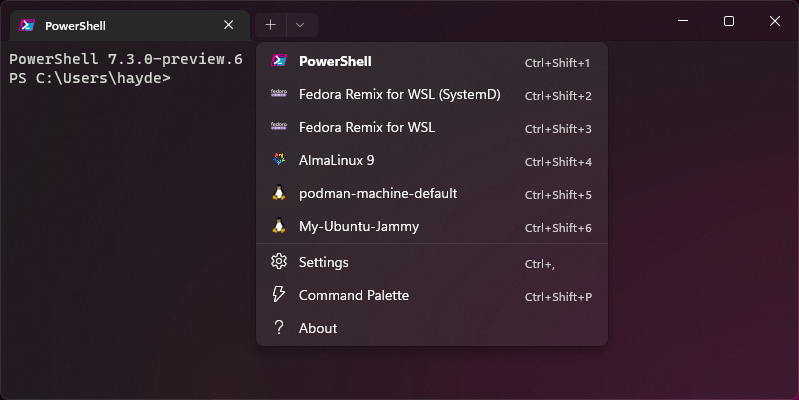
cat /etc/os-releaseWhen you restart Windows Terminal you should be able to see My-Ubuntu-Jammy in the drop-down menu:
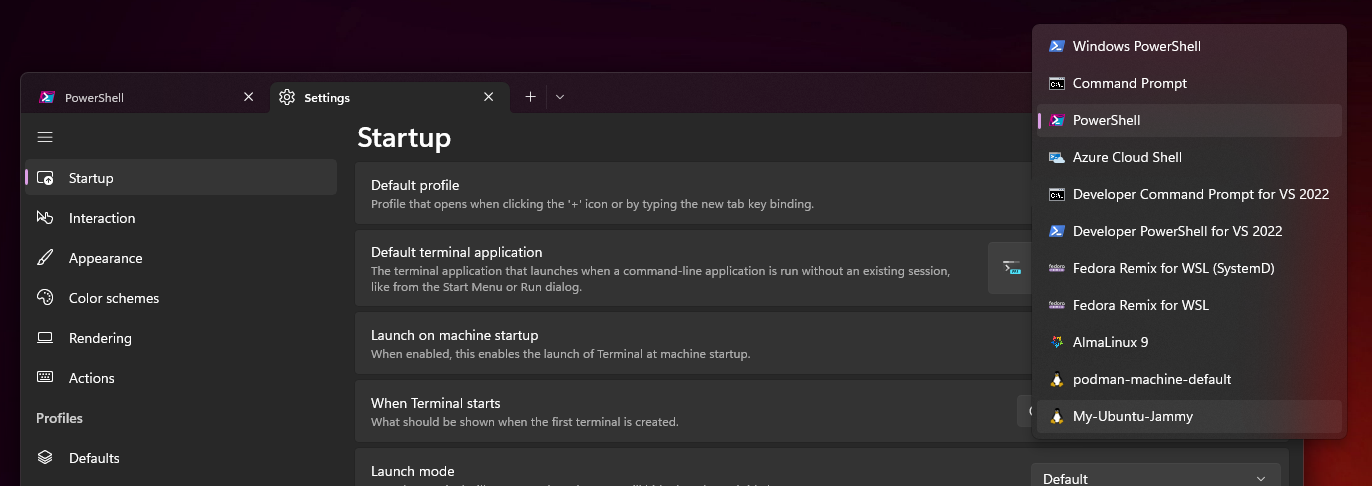
You can also set your new distro as the default profile in Windows Terminal settings:
This process can be done with any upstream image available on Dockerhub, Quay, or other Linux container registry.
You can further customize your image using standard OCI commands, like pre-installing packages and setting custom settings.


