How to test Ubuntu Focal Fossa on WSL: Upgrade an existing installation
Backup your Bionic working environment and then upgrade to Focal.

There are two primary ways to try Ubuntu Focal Fossa, the codename for the release which will become Ubuntu 20.04 LTS (long term support). You can make a copy of your existing installation and upgrade it or you can download and side-load a fresh image from Canonical's daily builds. Both methods need testing and we welcome feedback on.
Upgrade an existing installation
We do not want to upgrade your existing working Ubuntu 16.04 or 18.04 installation at this time, not while testing. We will make a backup of your working installation, import it under a new name, and then upgrade it to Focal Fossa. This will give you the ability to switch back and forth between your working Ubuntu installation and your upgraded Focal image.
Open Command Prompt and run the following to find your WSL distro:
wsl.exe --list --all --verbose
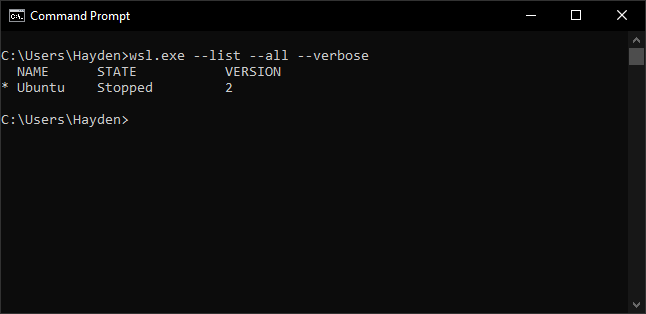
You can see above we have Ubuntu installed as our WSL distro and and it is running on WSL 2. Don't worry if you do not have WSL 2 yet.
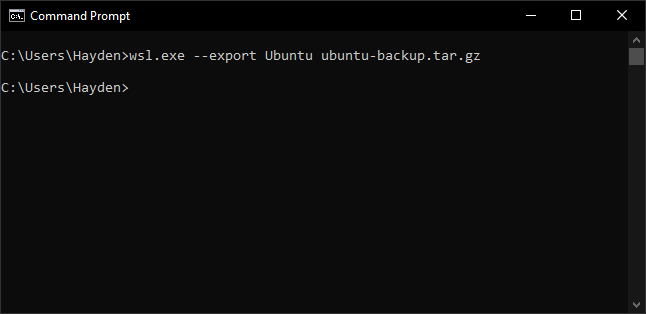
Export our working installation of Ubuntu installation as a backup:
wsl.exe --export Ubuntu ubuntu-backup.tar.gz
Import our working installation of Ubuntu as our test installation:
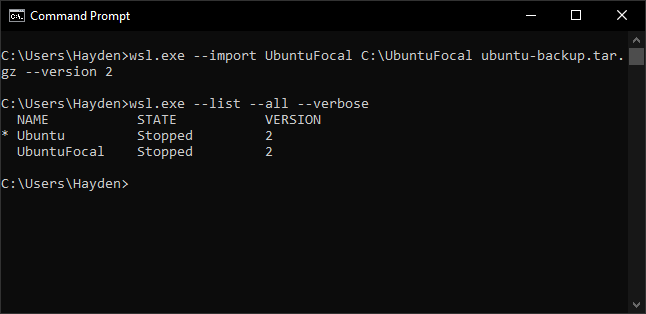
wsl.exe --import UbuntuFocal C:\UbuntuFocal ubuntu-backup.tar.gz
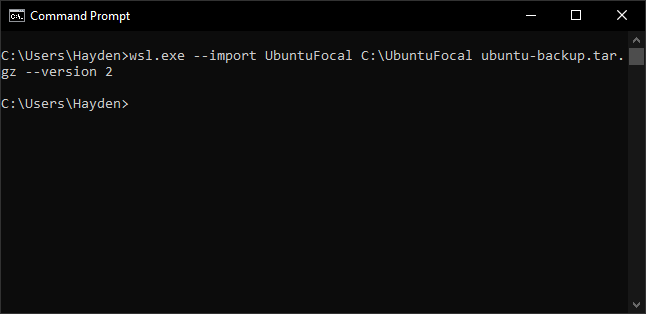
If you have WSL2 enabled, instead run:
wsl.exe --import UbuntuFocal C:\UbuntuFocal ubuntu-backup.tar.gz --version 2
Explanation:
wsl.exe --import <name of your new distro> <path to store the file system> <path to tar.gz file>
And on systems with WSL 2 you can add --version 2 to ensure it is imported as WSL 2 if you have not set wsl.exe --set-default-version 2.
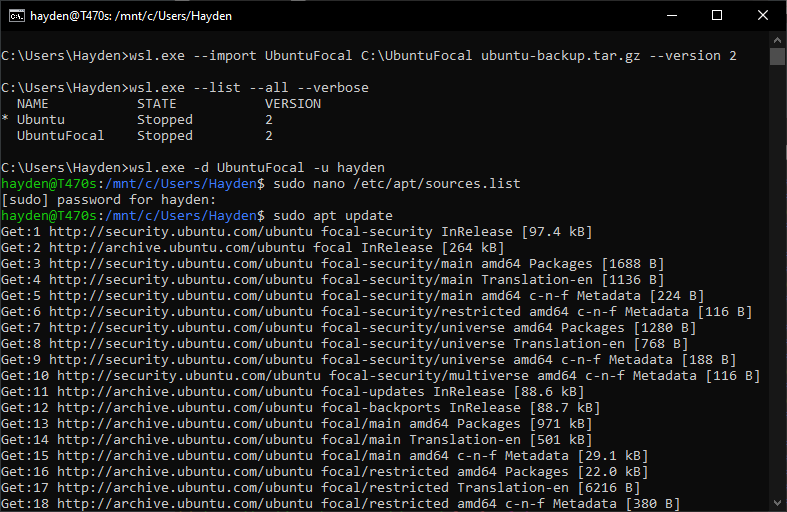
If you re-run the following you will see all of your WSL distros:
wsl.exe --list --all --verbose
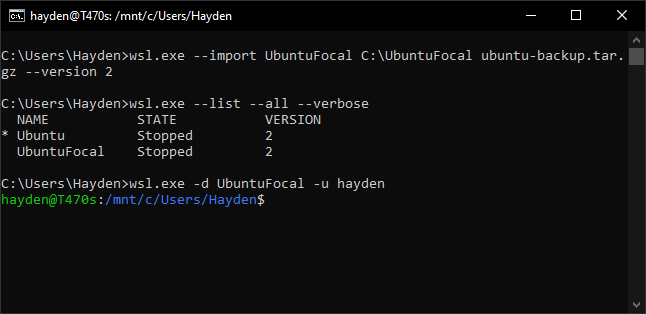
You can run our test installation as follows:
wsl.exe -d UbuntuFocal -u <username>
Method 1: Edit /etc/apt/sources.list with nano
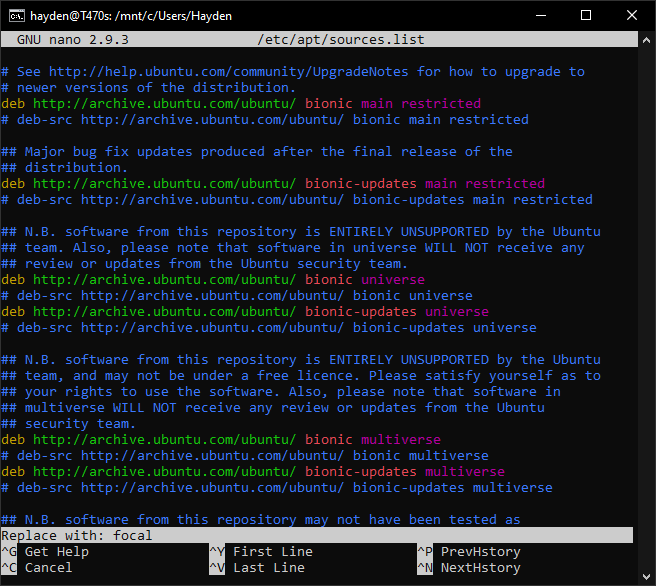
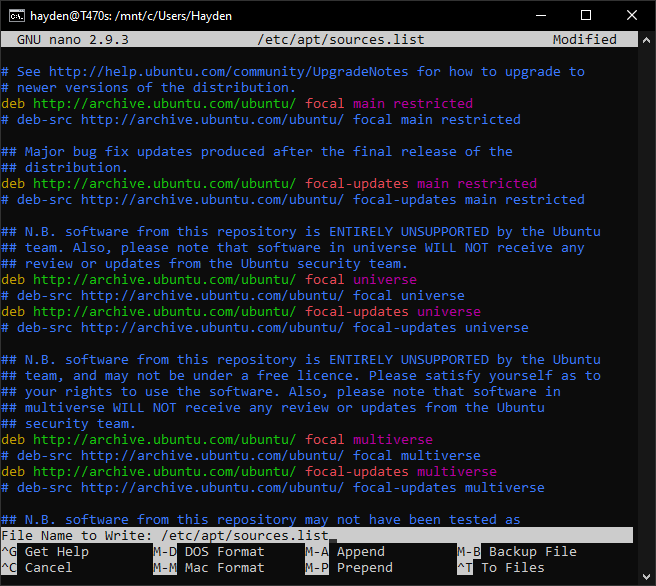
We upgrade this Ubuntu distro to Focal by editing /etc/apt/sources.list with nano:
$ sudo nano /etc/apt/sources.list
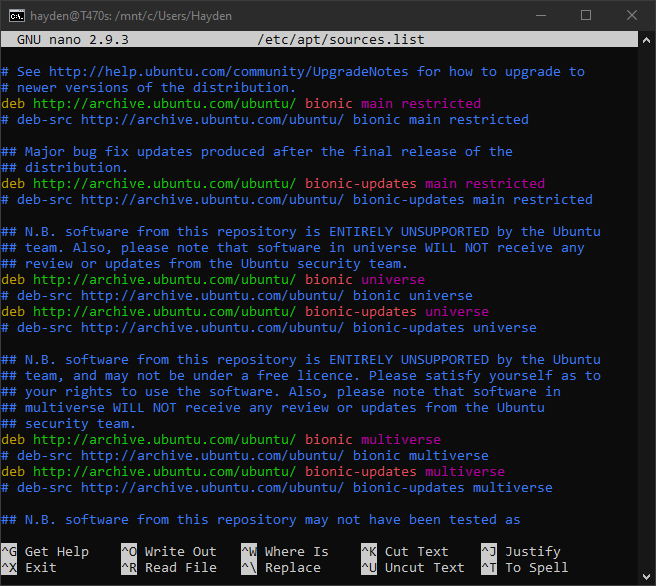
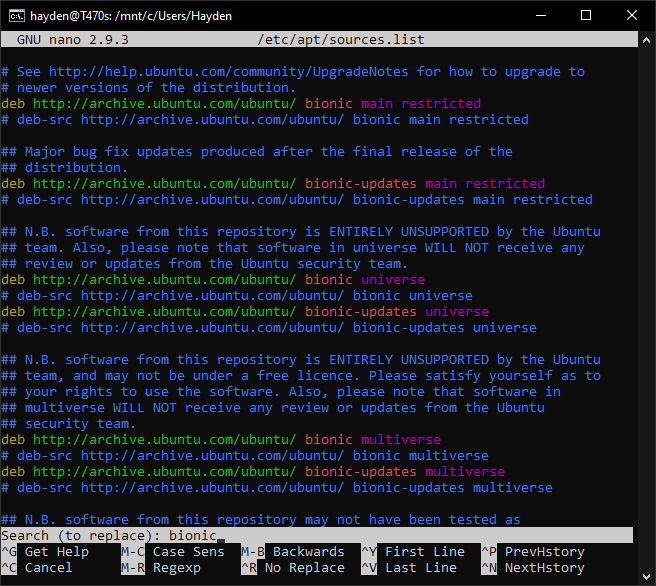
We want to replace all instances of 'bionic' with 'focal' so press Control [Ctrl] and backslash \ [\]
At "Search (to replace)" type: bionic
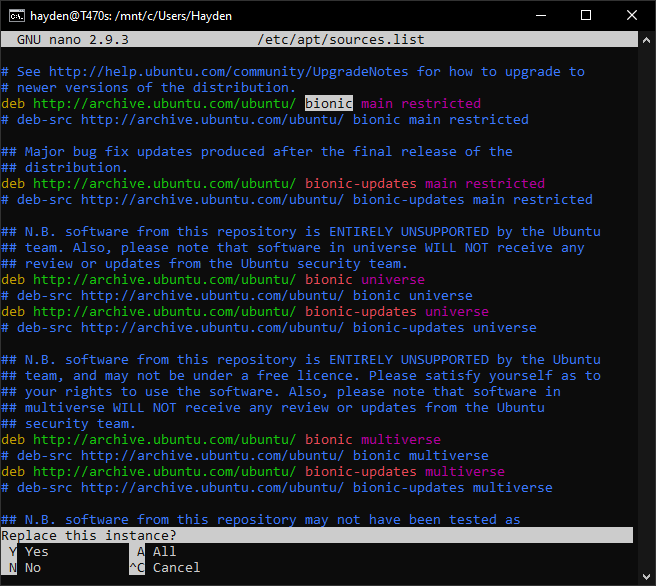
At "Replace with" type: focal
At "Replace this instance?" type: A
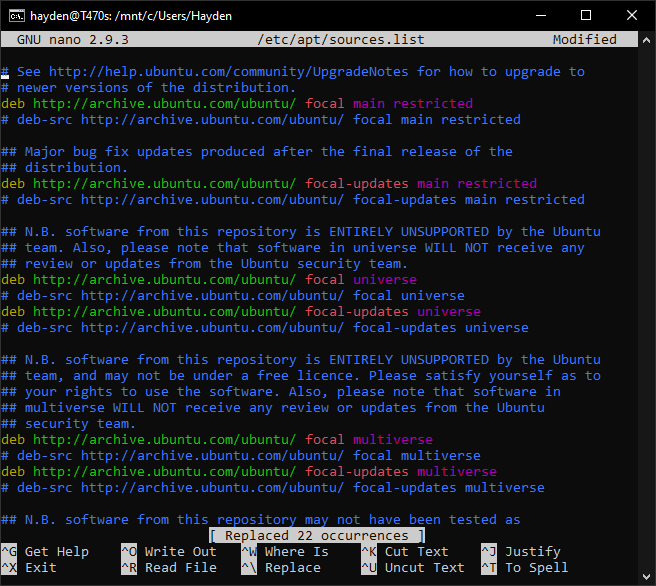
Then all instances of bionic in the text should be converted to focal:
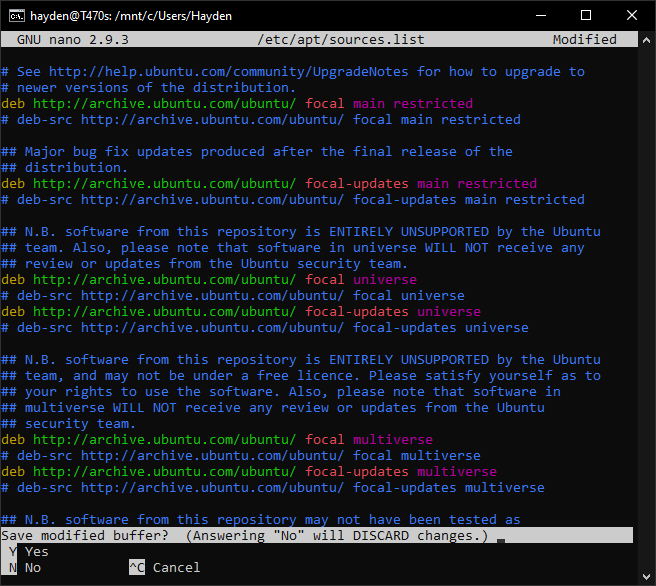
Exit nano with Control + X then Y:
Method 2: sed
In lieu of nano you can also use the UNIX sed tool to search and replace strings within files:
$ sudo sed -i 's/bionic/focal/g' /etc/apt/sources.list
Updating After Methods 1 and 2
Now that sources.list is updated, we update apt to fetch the latest package listings from the focal repository:
$ sudo apt update
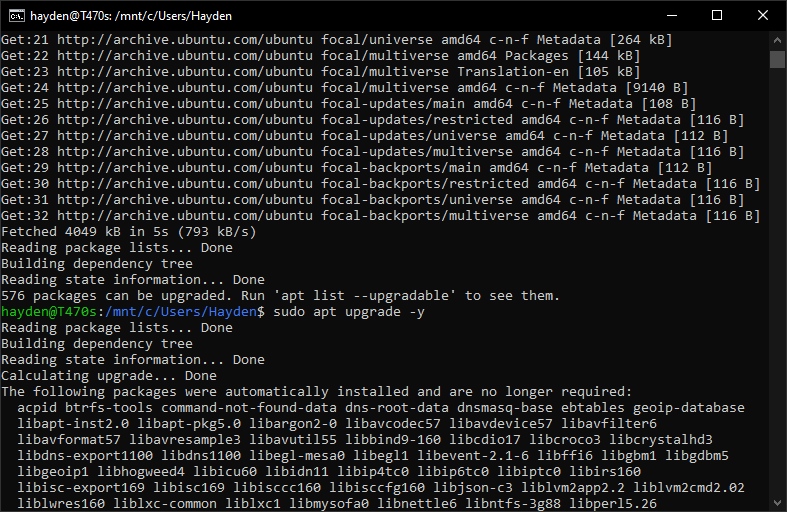
Then we upgrade installed packages:
$ sudo apt upgrade -y
This will take some time and is likely where some errors may occur.
Method 3: do-release-upgrade
You can use the do-release-upgrade tool:
$ sudo do-release-upgrade -d
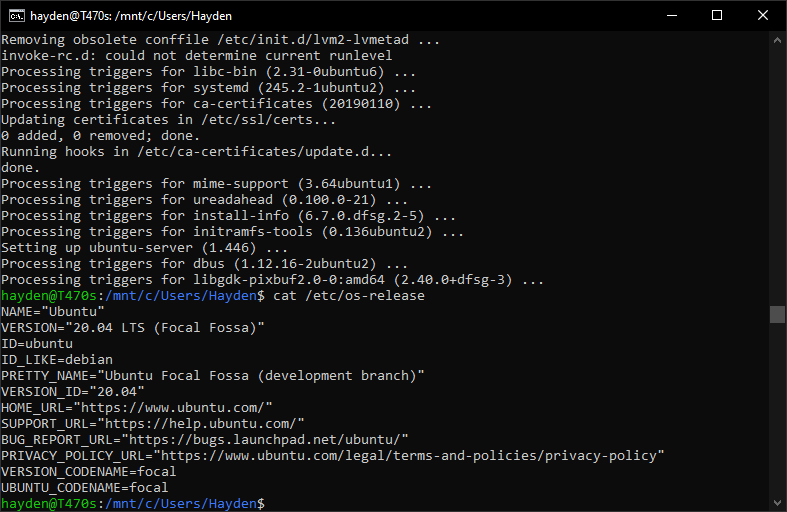
Confirmation
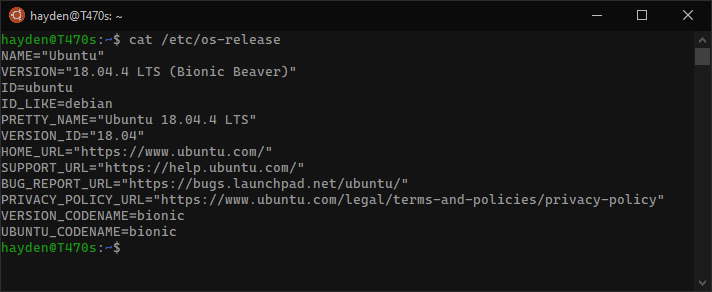
To confirm the upgrade took place:
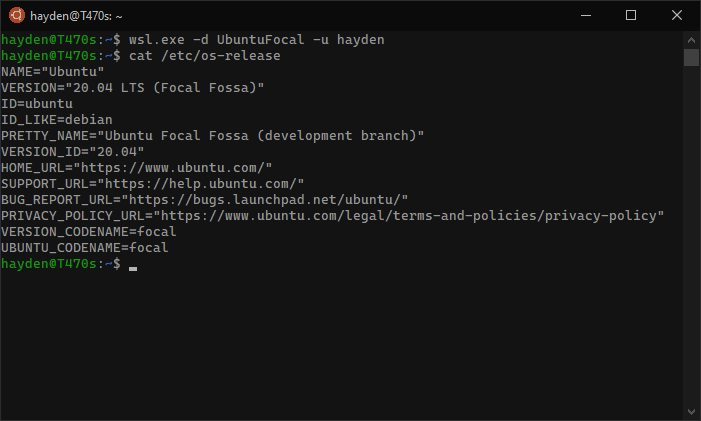
$ sudo cat /etc/os-release
When you run your working installation of Ubuntu you can switch into your test installation of Ubuntu with:
$ wsl.exe -d UbuntuFocal -u hayden
Did you encounter issues? How to test Ubuntu Focal Fossa on WSL: Reporting Bugs
Would you prefer to side-load a freshly built cloud image? How to test Ubuntu Focal Fossa on WSL: Sideload a fresh build


