Getting Started Creating a Linux Desktop App in Visual Studio using Avalonia and WSL
Build cross-platform GUI apps for WIndows and Linux using C# and .NET using Avalonia in Visual Studio.
Pre-requisites:
- WSL 2 enabled
- Visual Studio 2022 installed
Install the Avalonia Extension in Visual Studio.
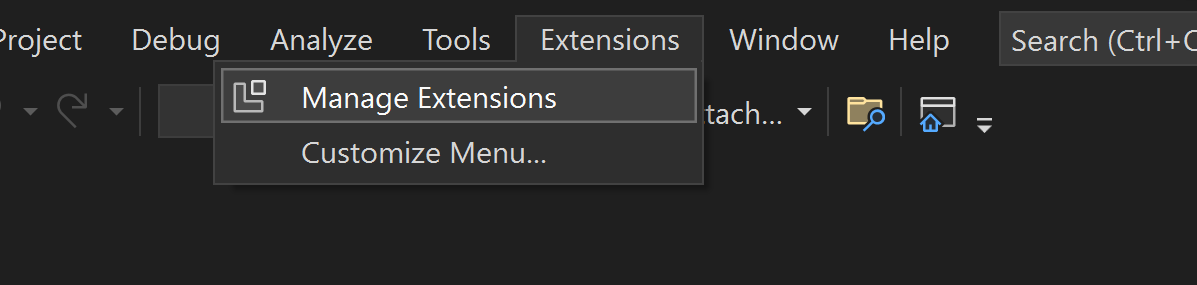
Go to "Manage Extensions" in Visual Studio. To get there quickly, open Visual Studio start without code and look for the "Extensions" menu option:
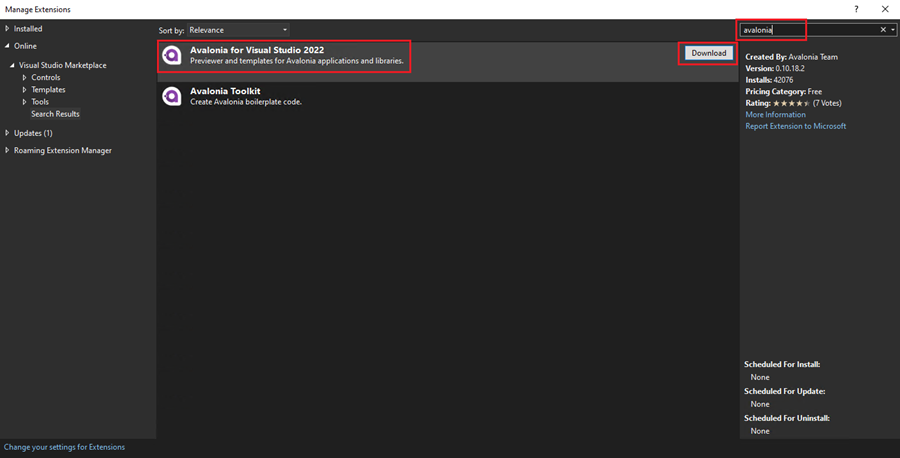
Click "Manage Extensions" and type "Avalonia" in the top-right search box.
Click "Download" on "Avalonia for Visual Studio":
Click "Download" on "Avalonia Toolkit":
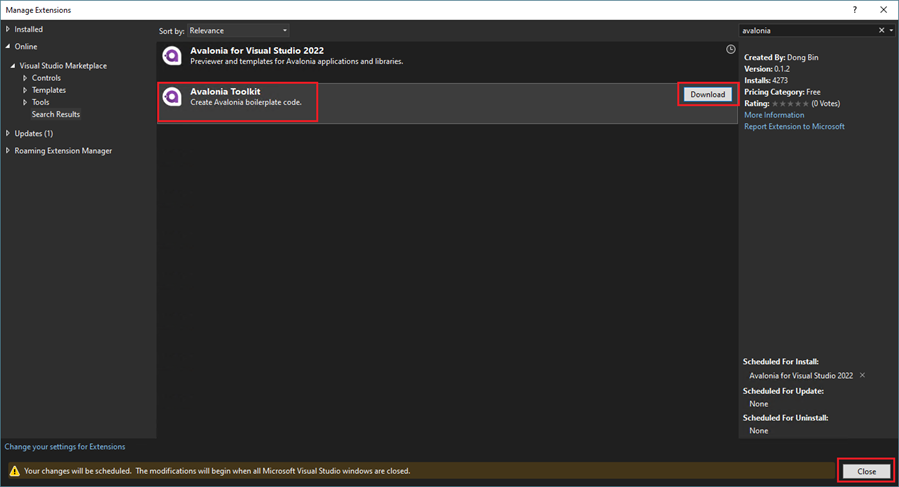
Then click "Close". Close all Visual Studio windows.
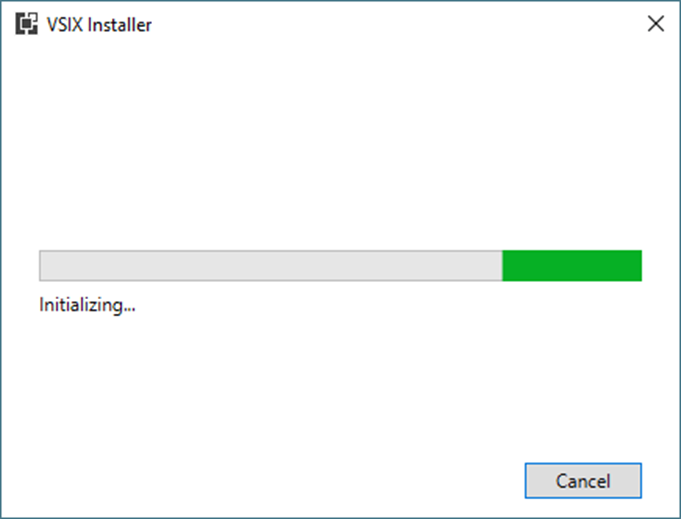
VSIX will then do some computing:
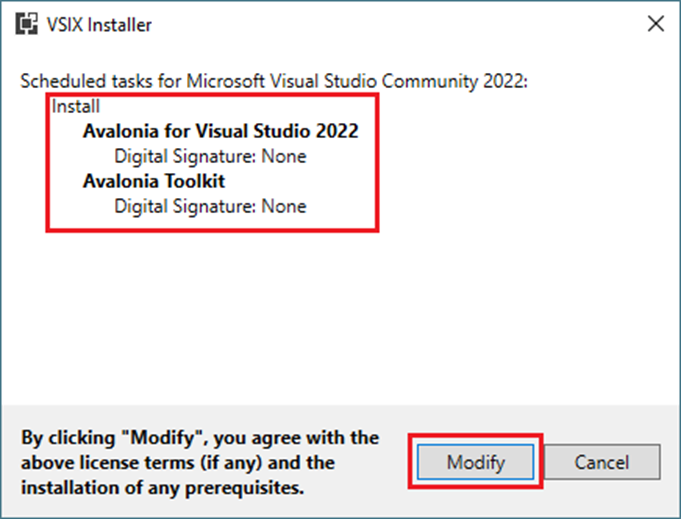
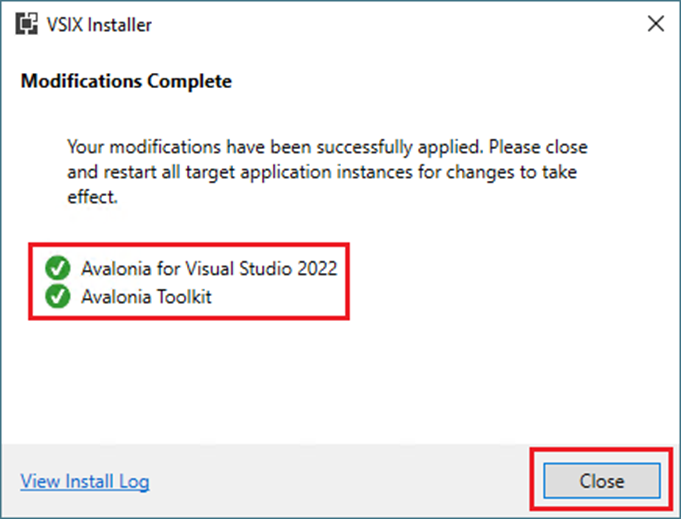
When VSIX Installer asks, allow the enabled modifications:
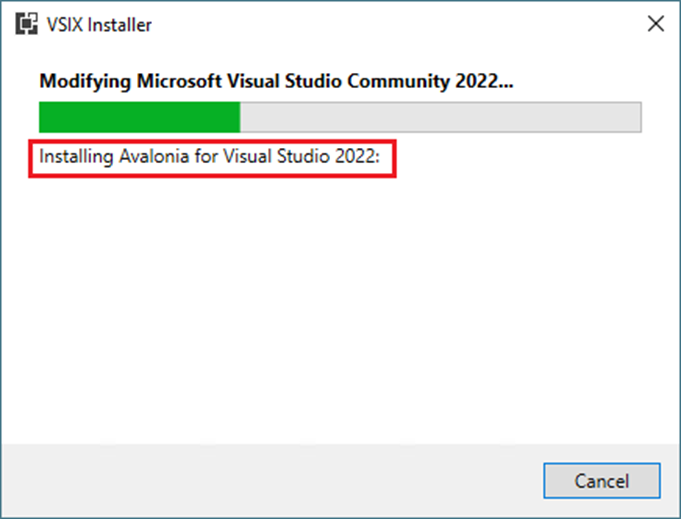
Visual Studio will do some magic:
Once everything is installed, click "Close":
Enable WSL Debug Support in Visual Studio
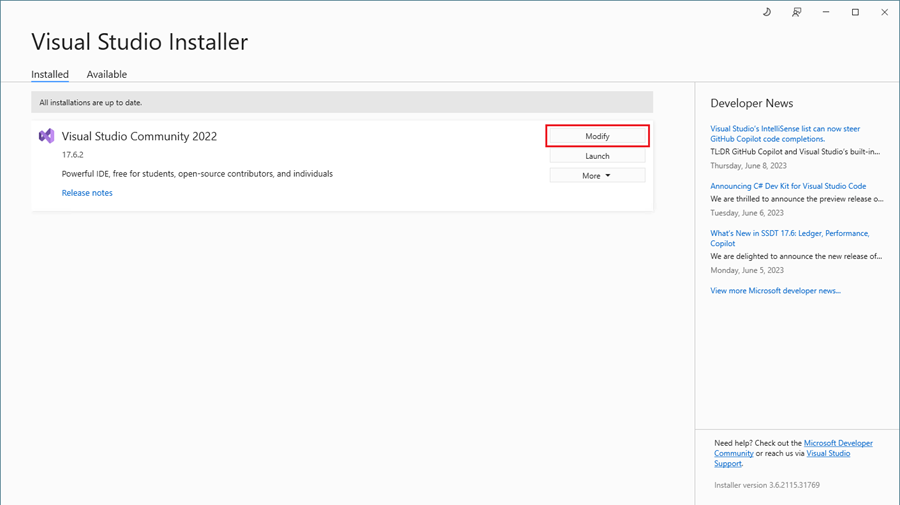
Open the Visual Studio Installer and click "Modify" next to Visual Studio 2022:
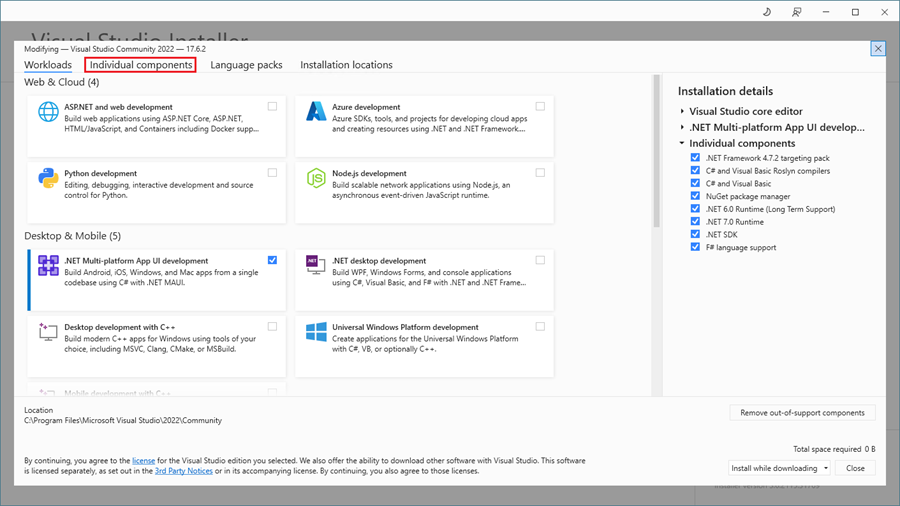
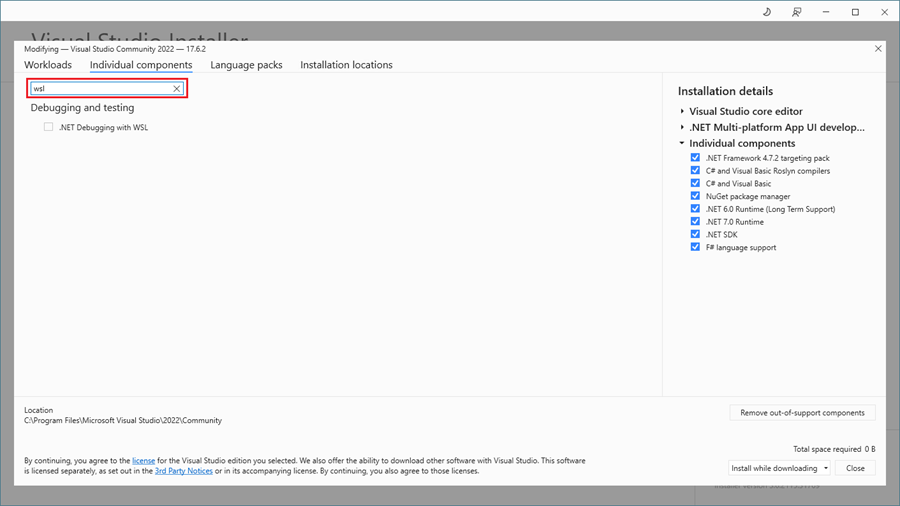
Click on "Individual Components":
In the search box:
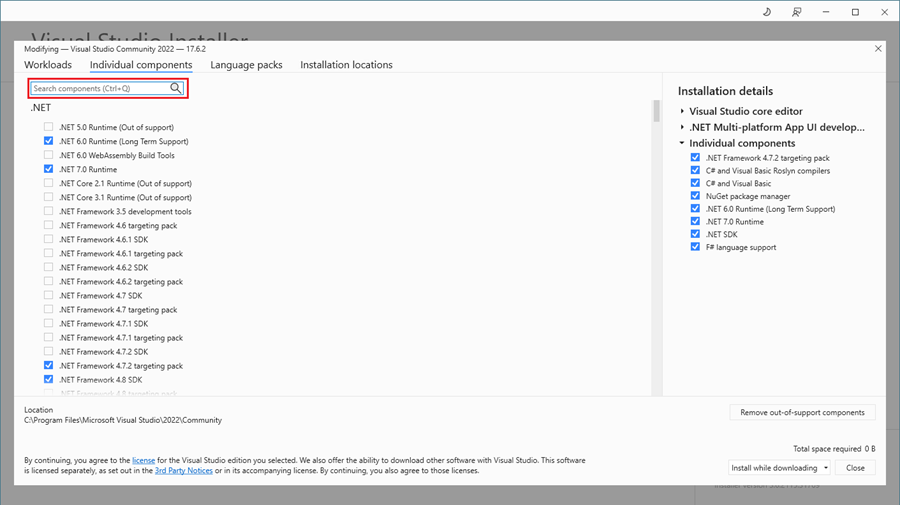
Type "WSL" and you will see ".NET Debugging with WSL":
Check ".NET Debugging with WSL" and click "Modify":
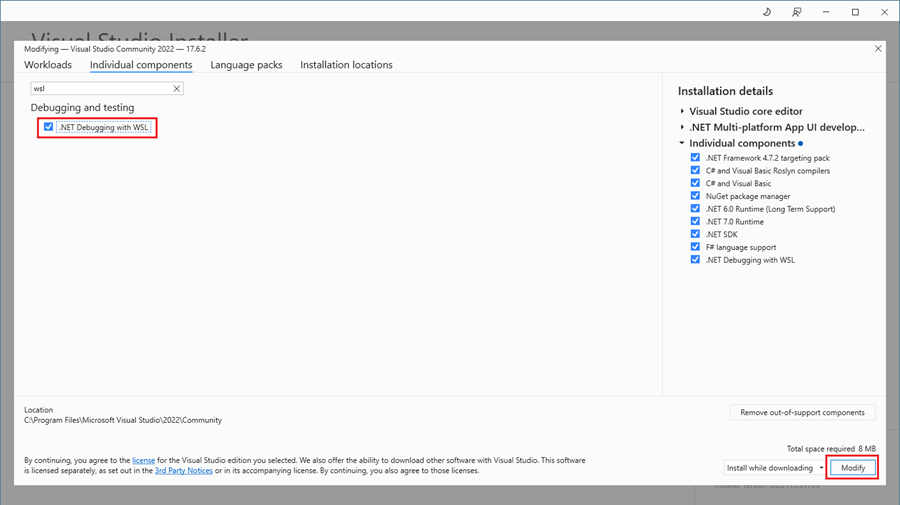
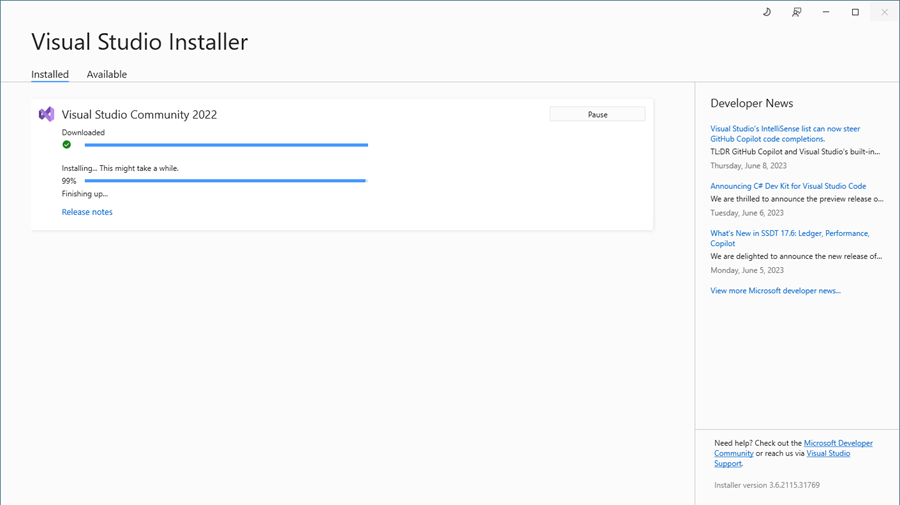
Visual Studio Installer will install .NET Debugging with WSL:
Build a Sample App
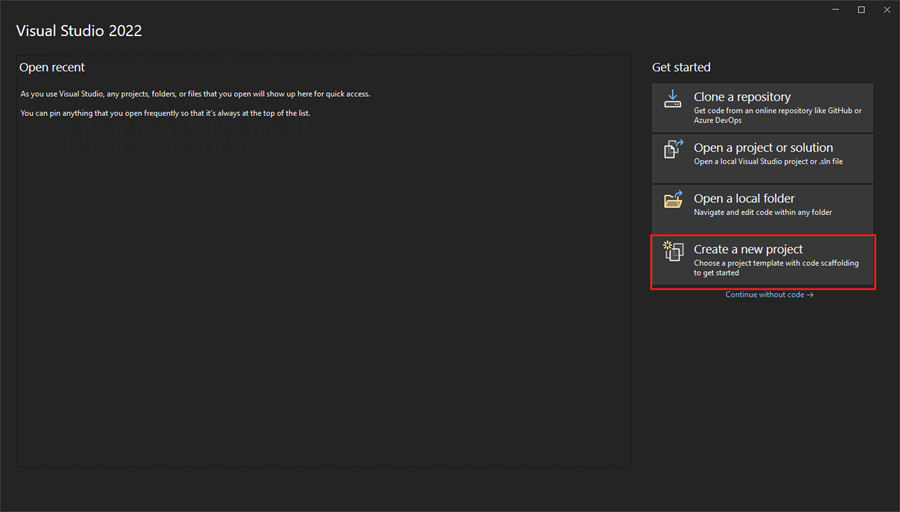
Open Visual Studio and click "Create New Project":
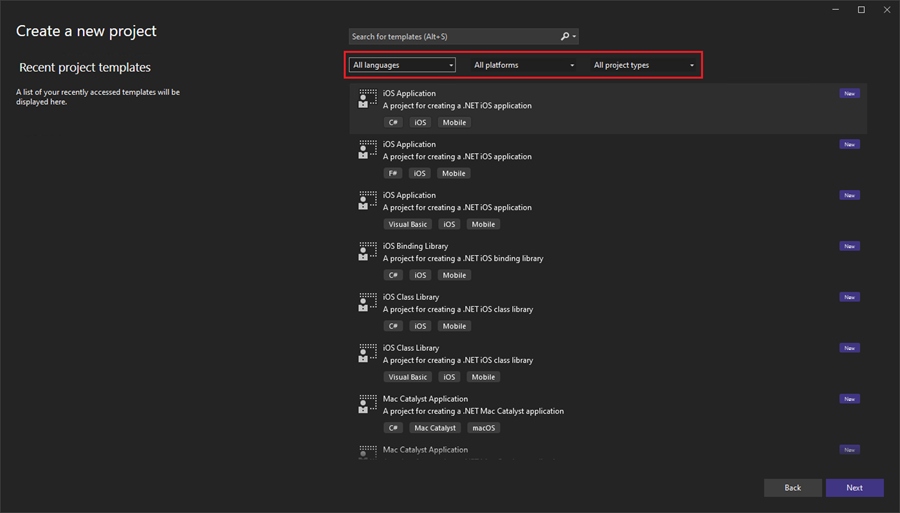
You will see all possible project templates:
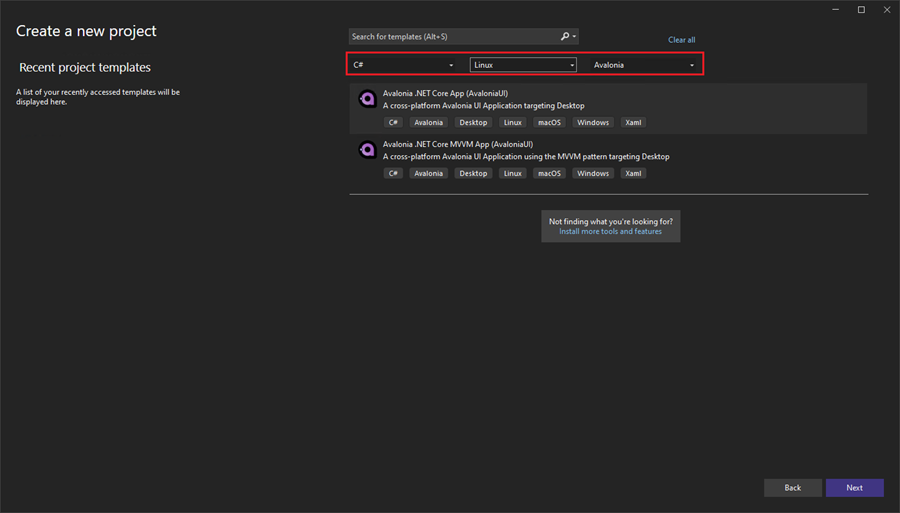
To narrow the choices, select C# under "Languages", Linux in "Platforms", and Avalonia in the "Project Types" drop-down menu:
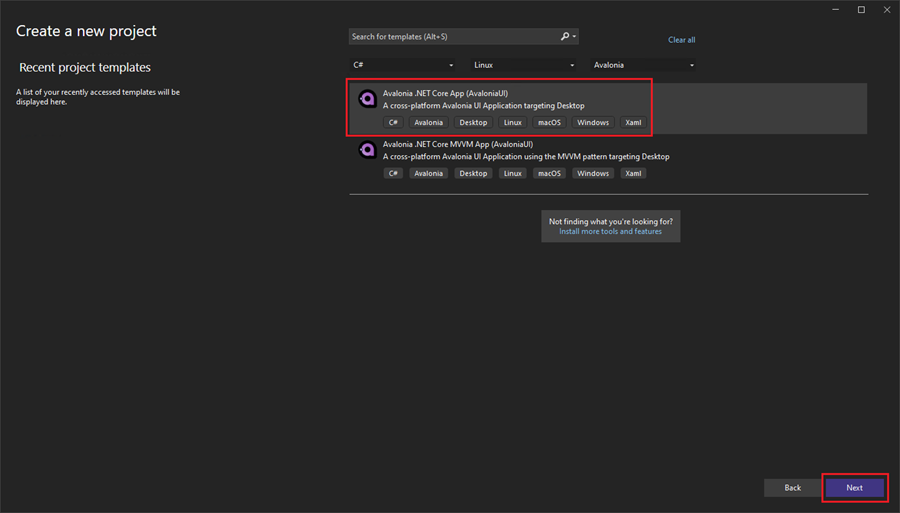
Select "Avalonia .NET Core App" and click "Next":
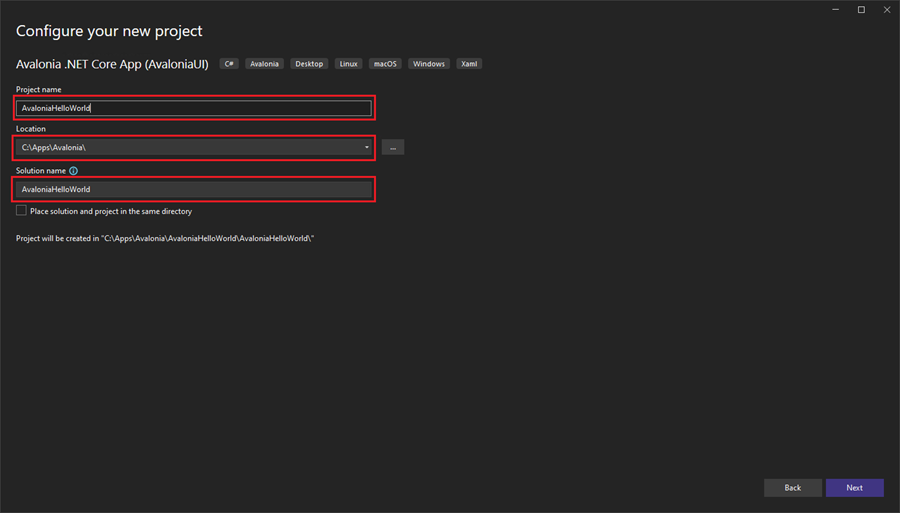
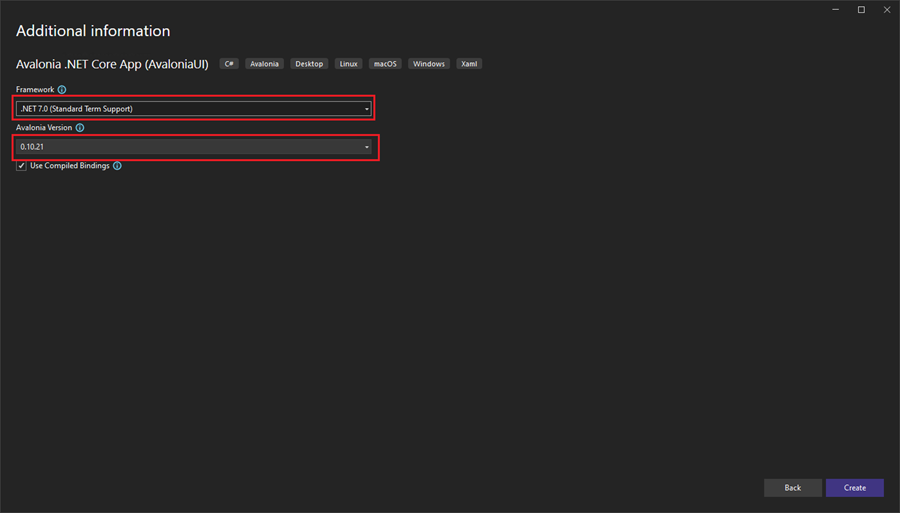
Choose a suitable destination folder and project name in the following screen:
Accept the defaults in the next page. As of writing, .NET 7 is still the current stable version of .NET, though .NET 8 is right around the corner. By the time you read this, .NET 8 may be the new default.
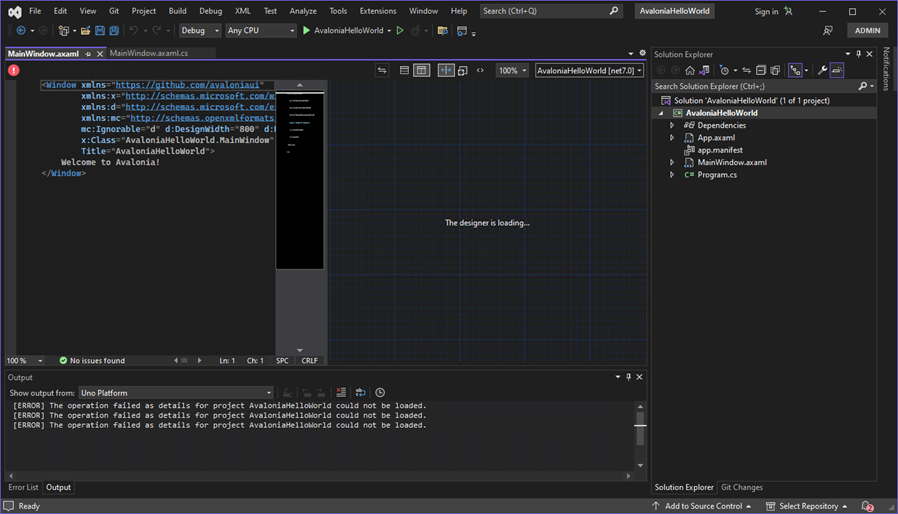
Visual Studio will load a blank project template:
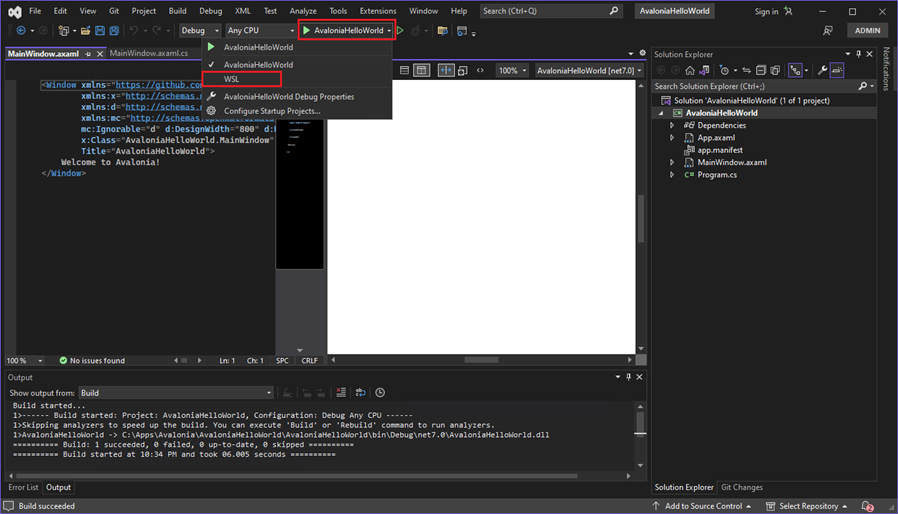
Select "WSL" in the target platform dropdown:
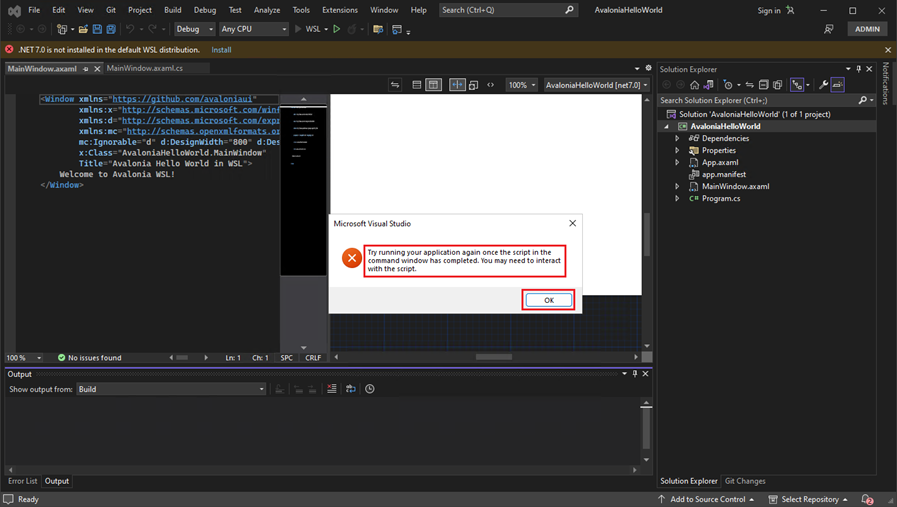
Attempt to build and run the blank template. However, when you run the app for the first time, you may see an error with this message:
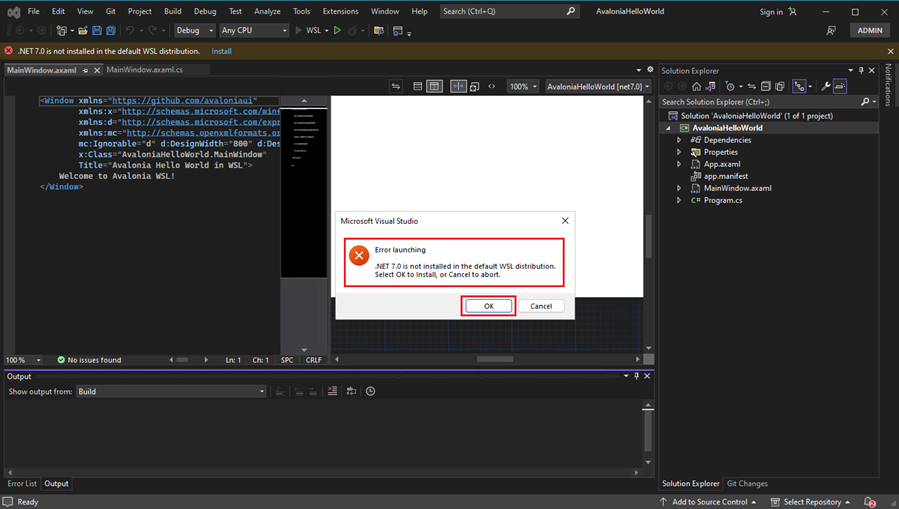
.NET is missing from our WSL distro. Thankfully, Visual Studio will handle the installation of .NET on WSL on most WSL distros.
In newer builds of Visual Studio you will get this message in Visual Studio before attempting to run on WSL:

Click "OK" and Visual Studio will launch .NET install on our default WSL distro:
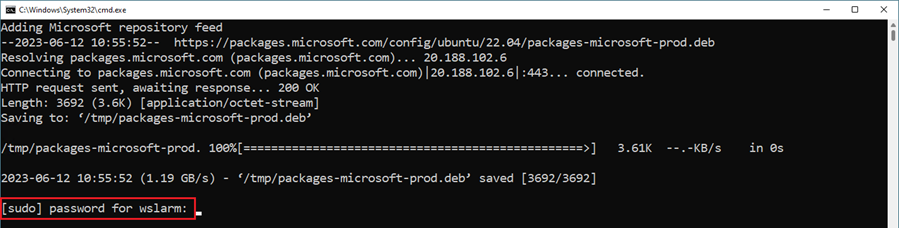
It might ask you for admin password before installation.
It will start downloading and installing the required .NET version for the default WSL distribution:
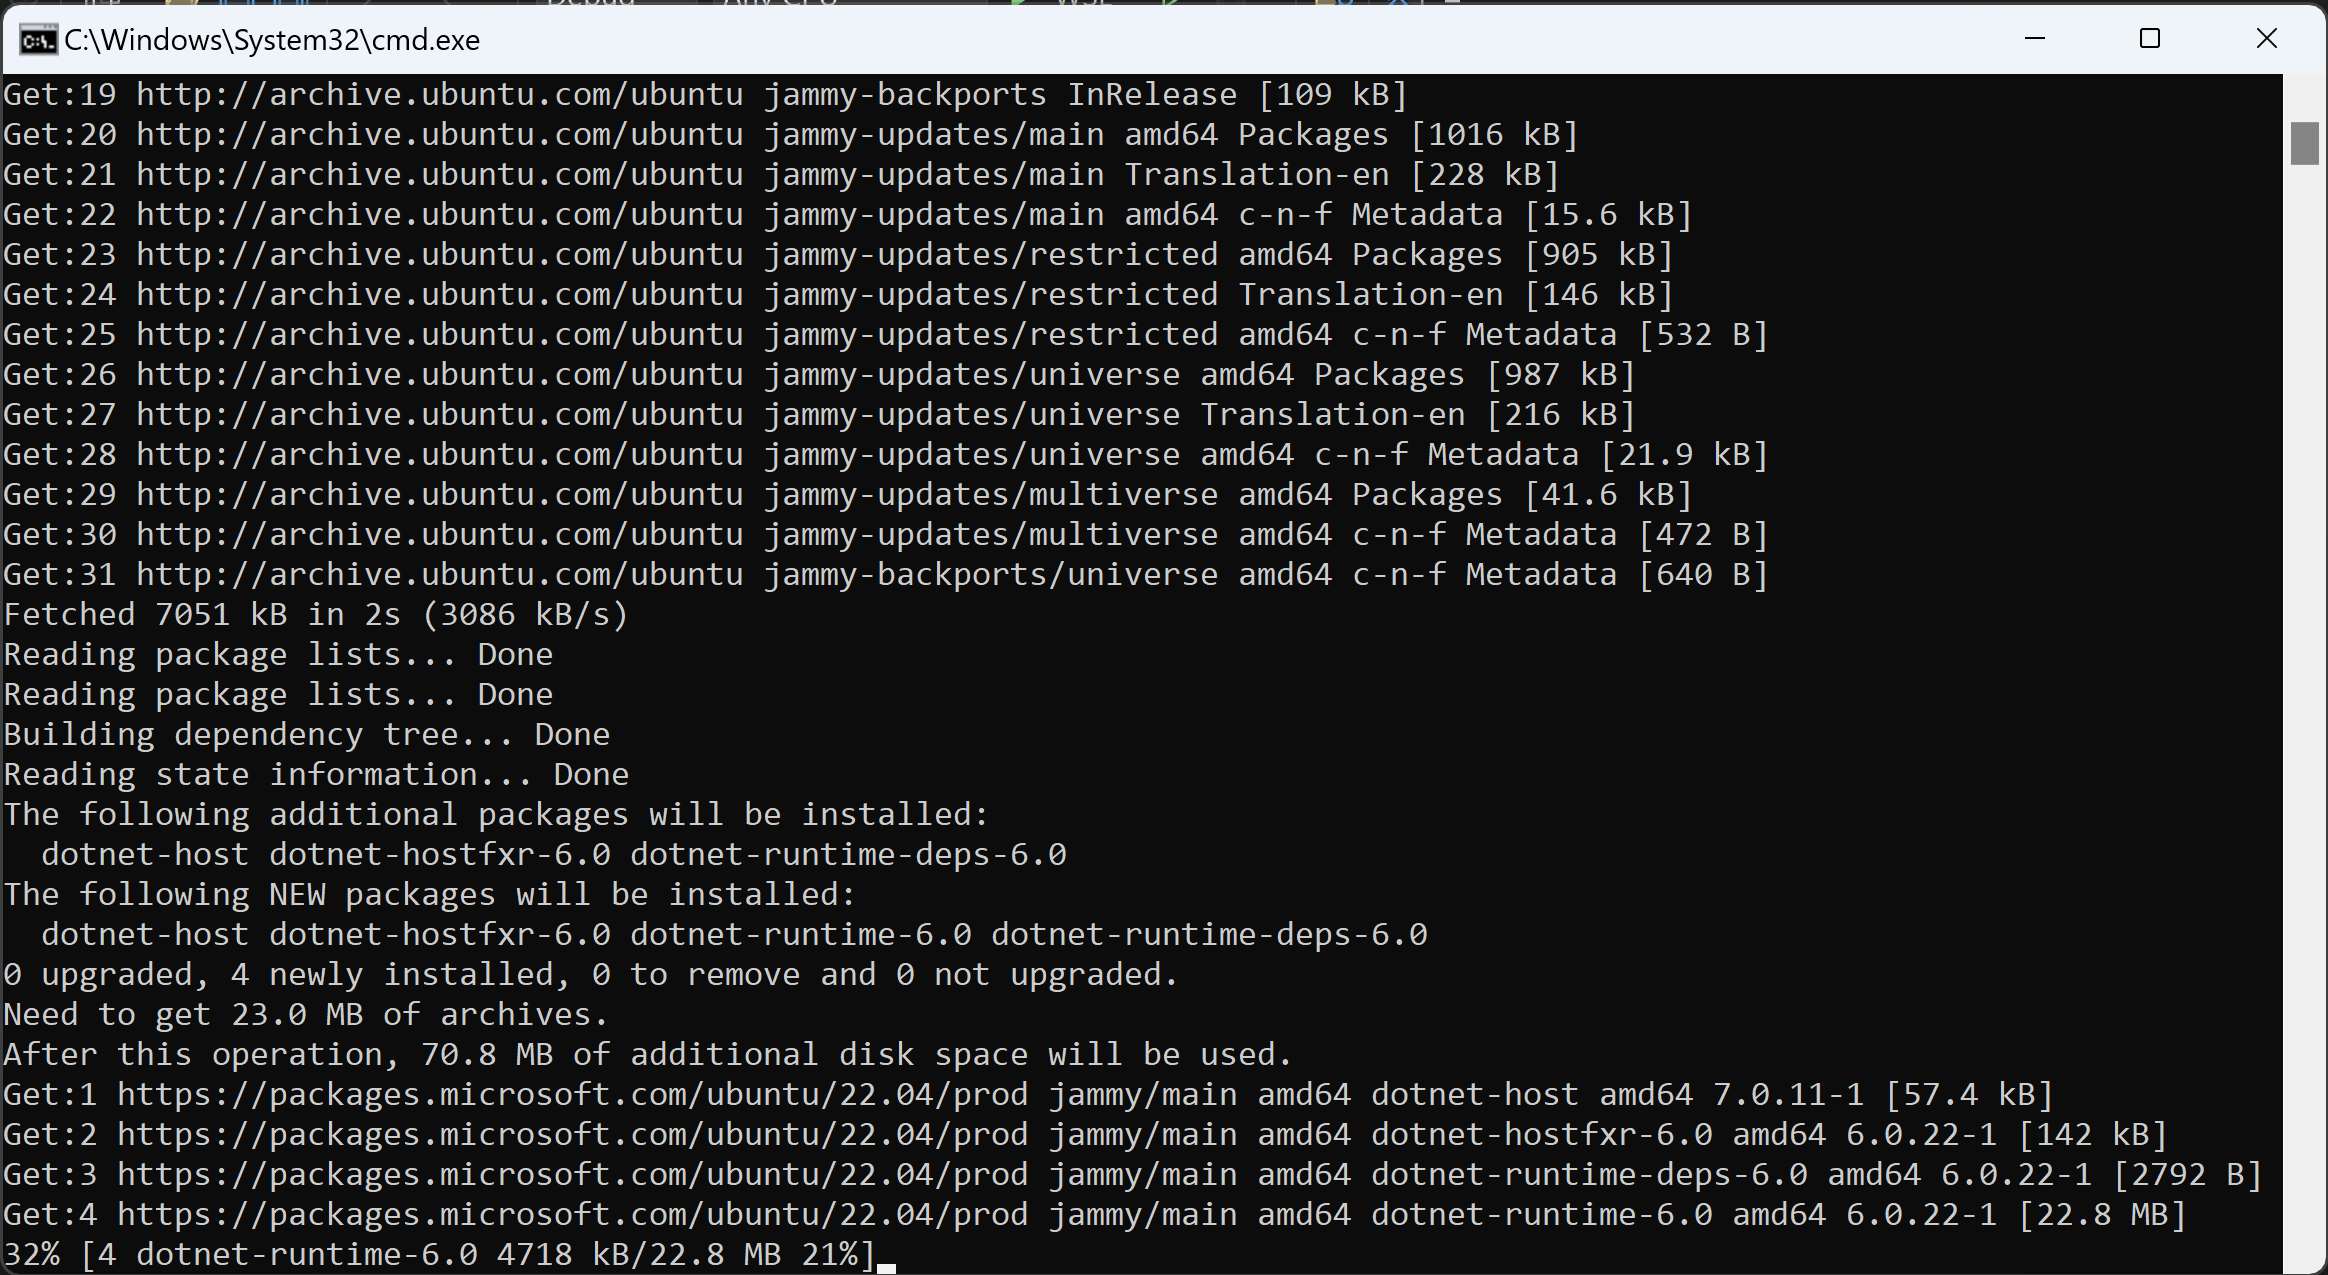
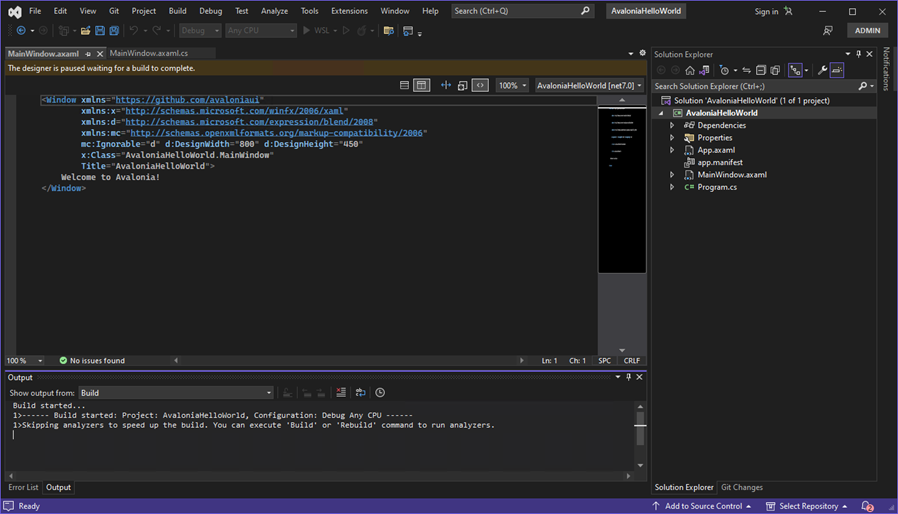
Once the installation finishes, the WSL window will close automatically, and you will see the following message in Visual Studio:
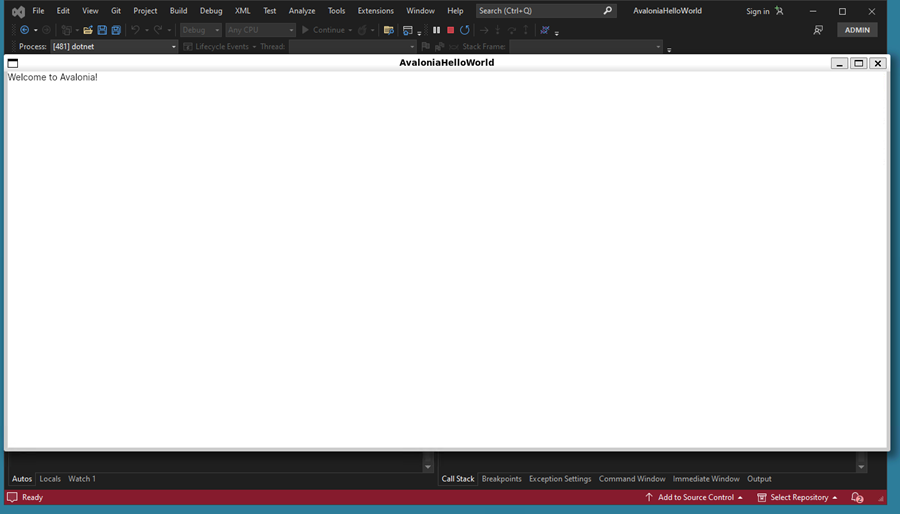
After running again, Windows will load WSL and run the application inside that. For the first start, it may take some time to load.
The application will launch using WSLg in WSL2:
Open Source .NET Avalonia Apps
To experiment with building additional Linux apps using .NET and Avalonia, check out the following projects:
 waliarubaldan0vanovik
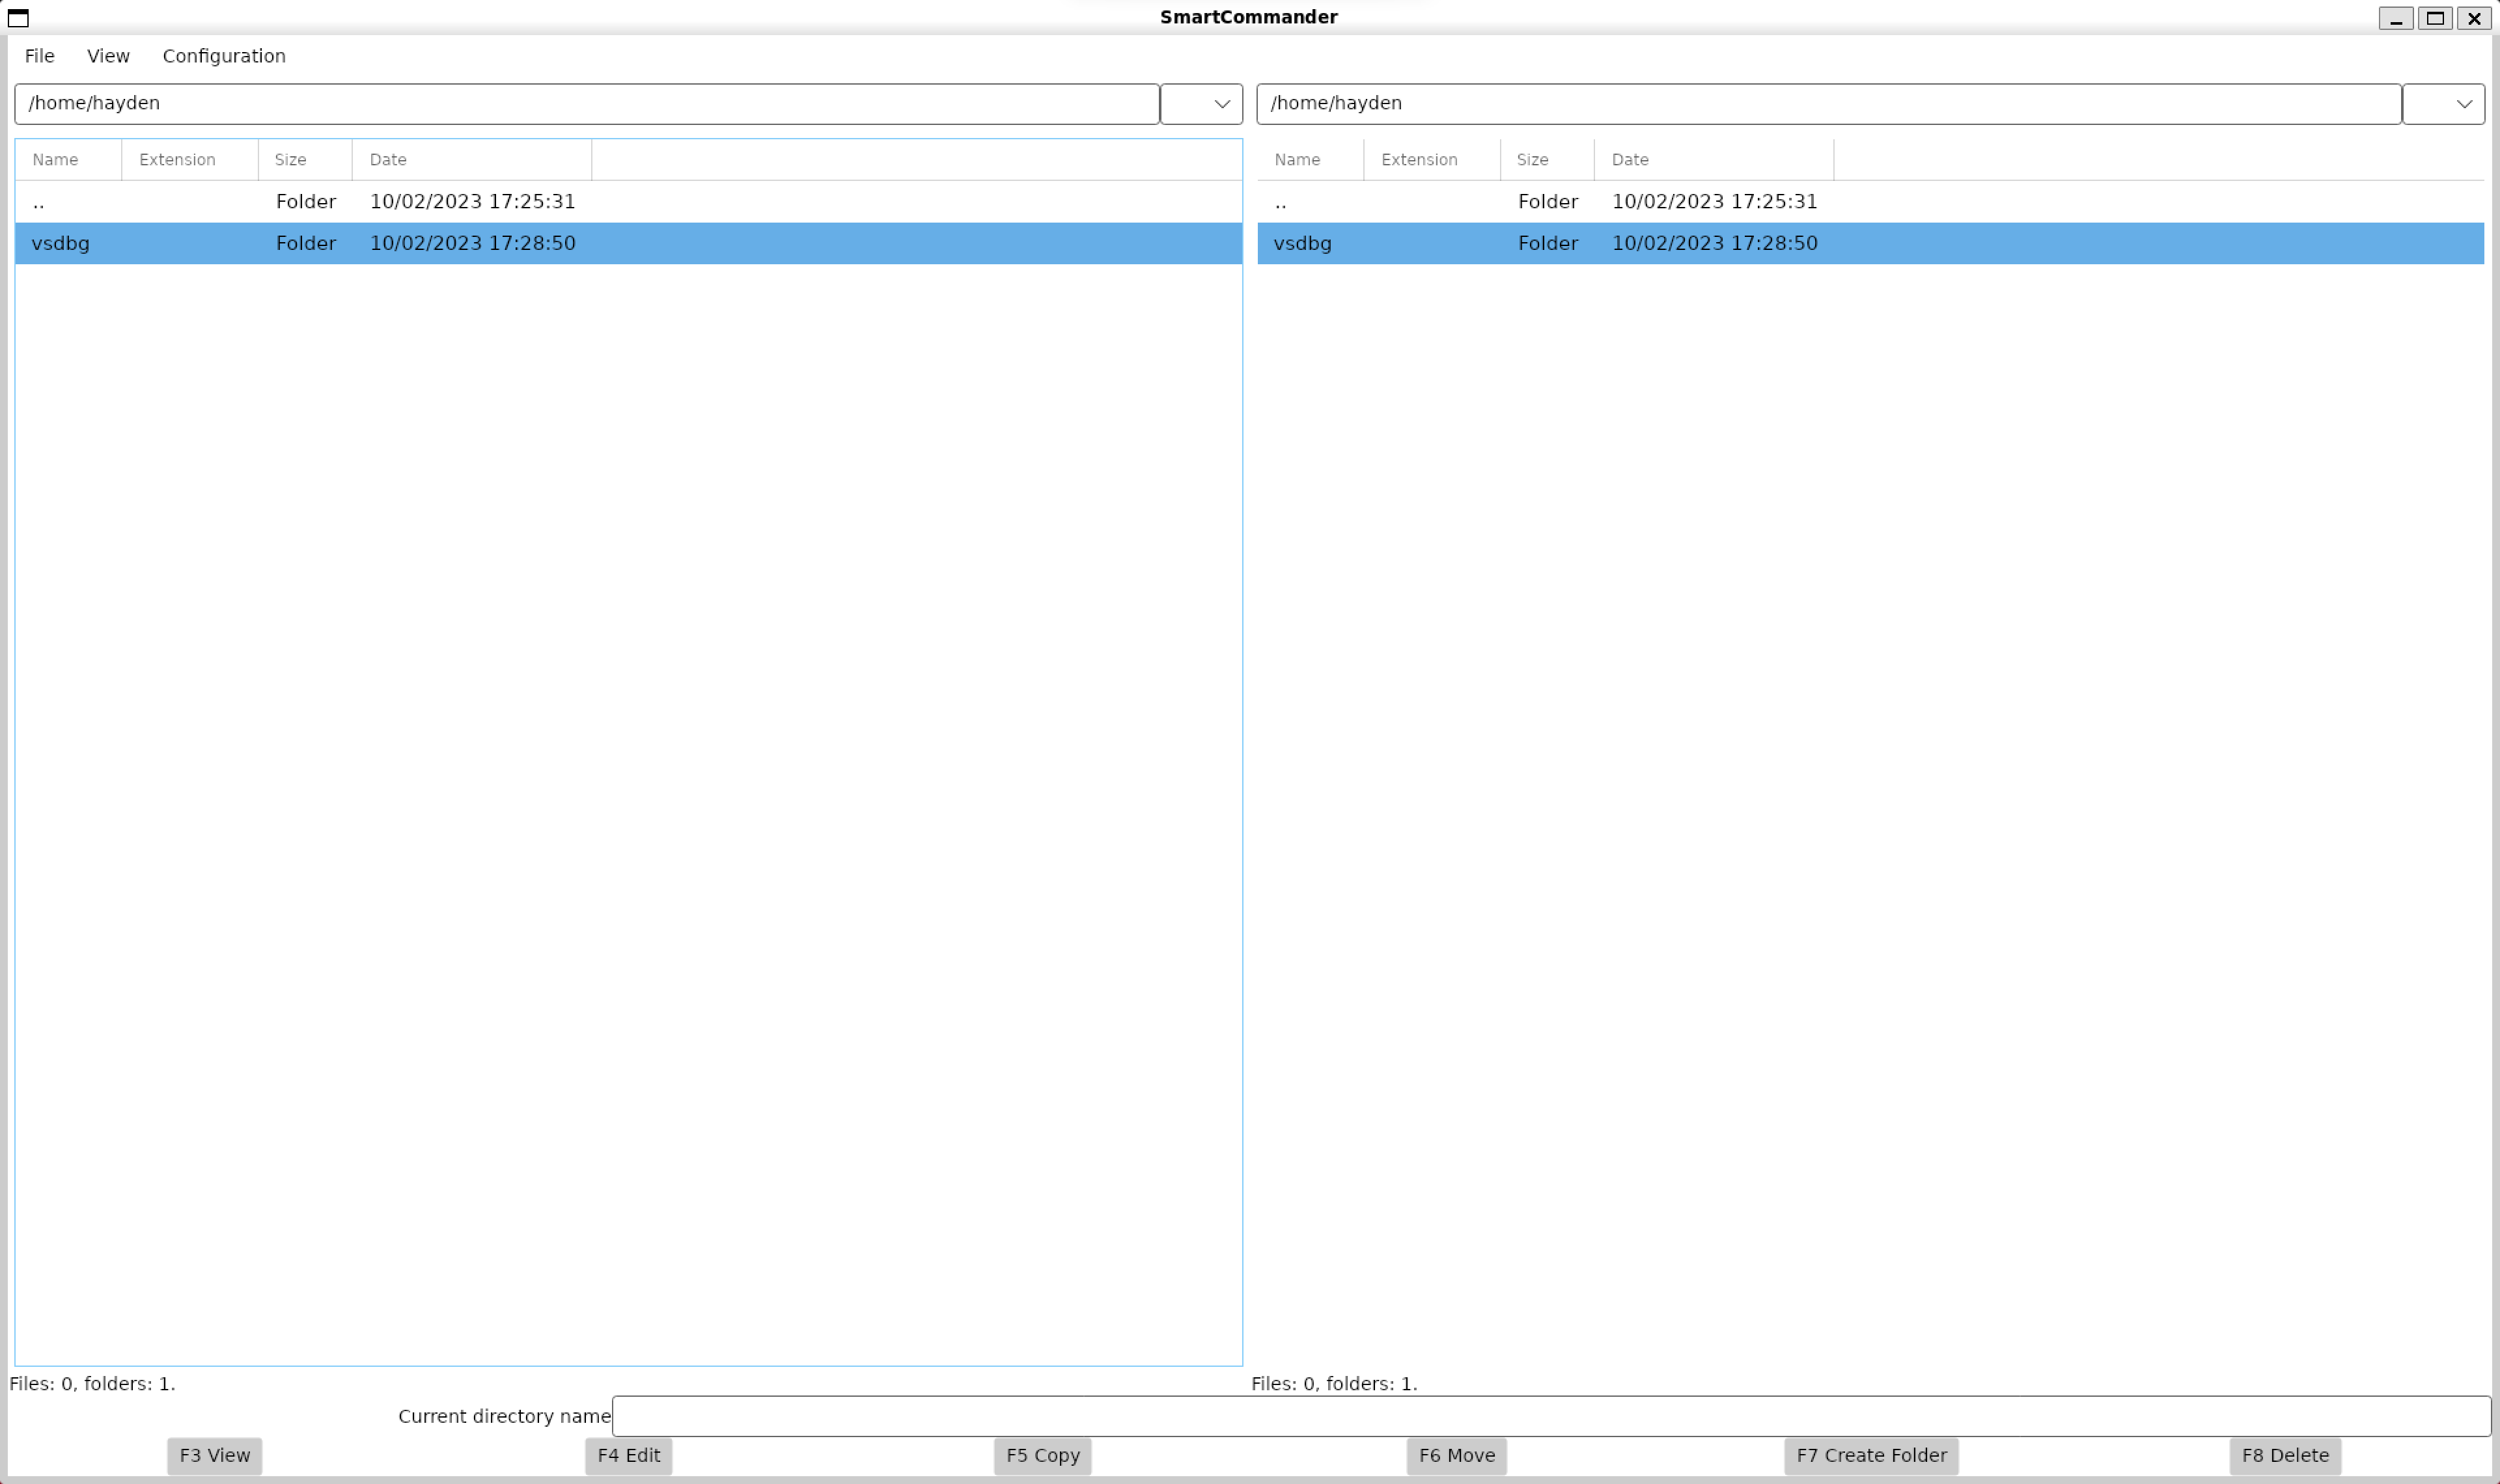
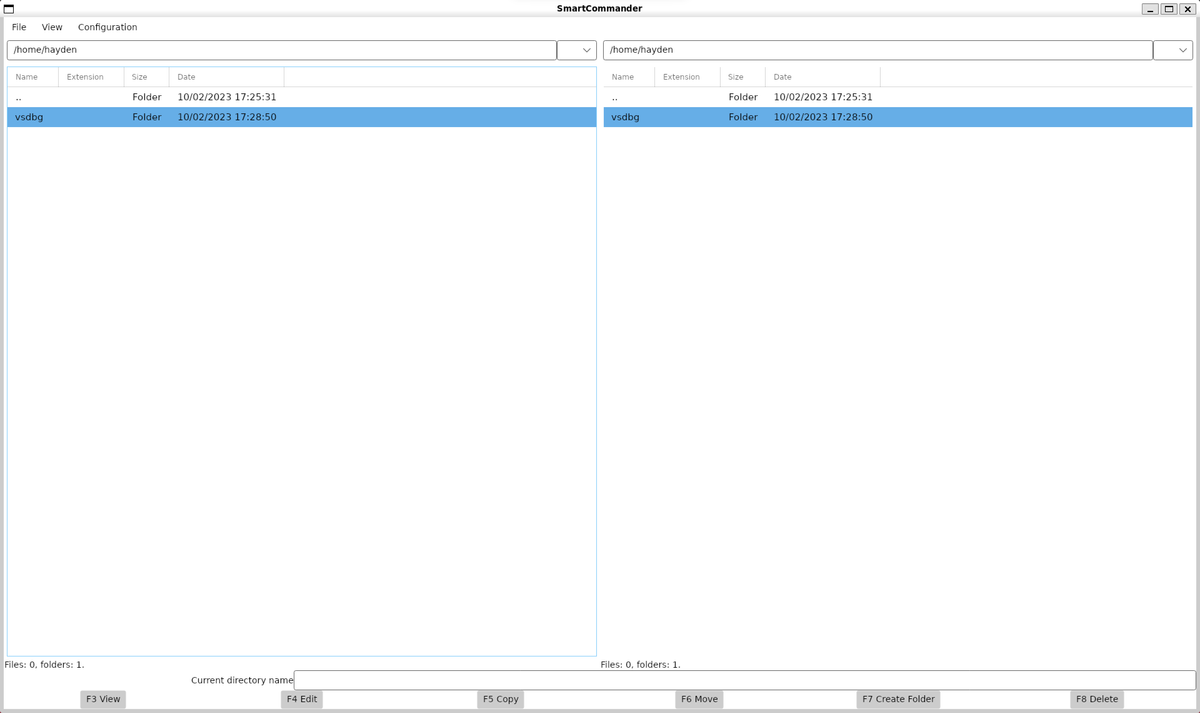
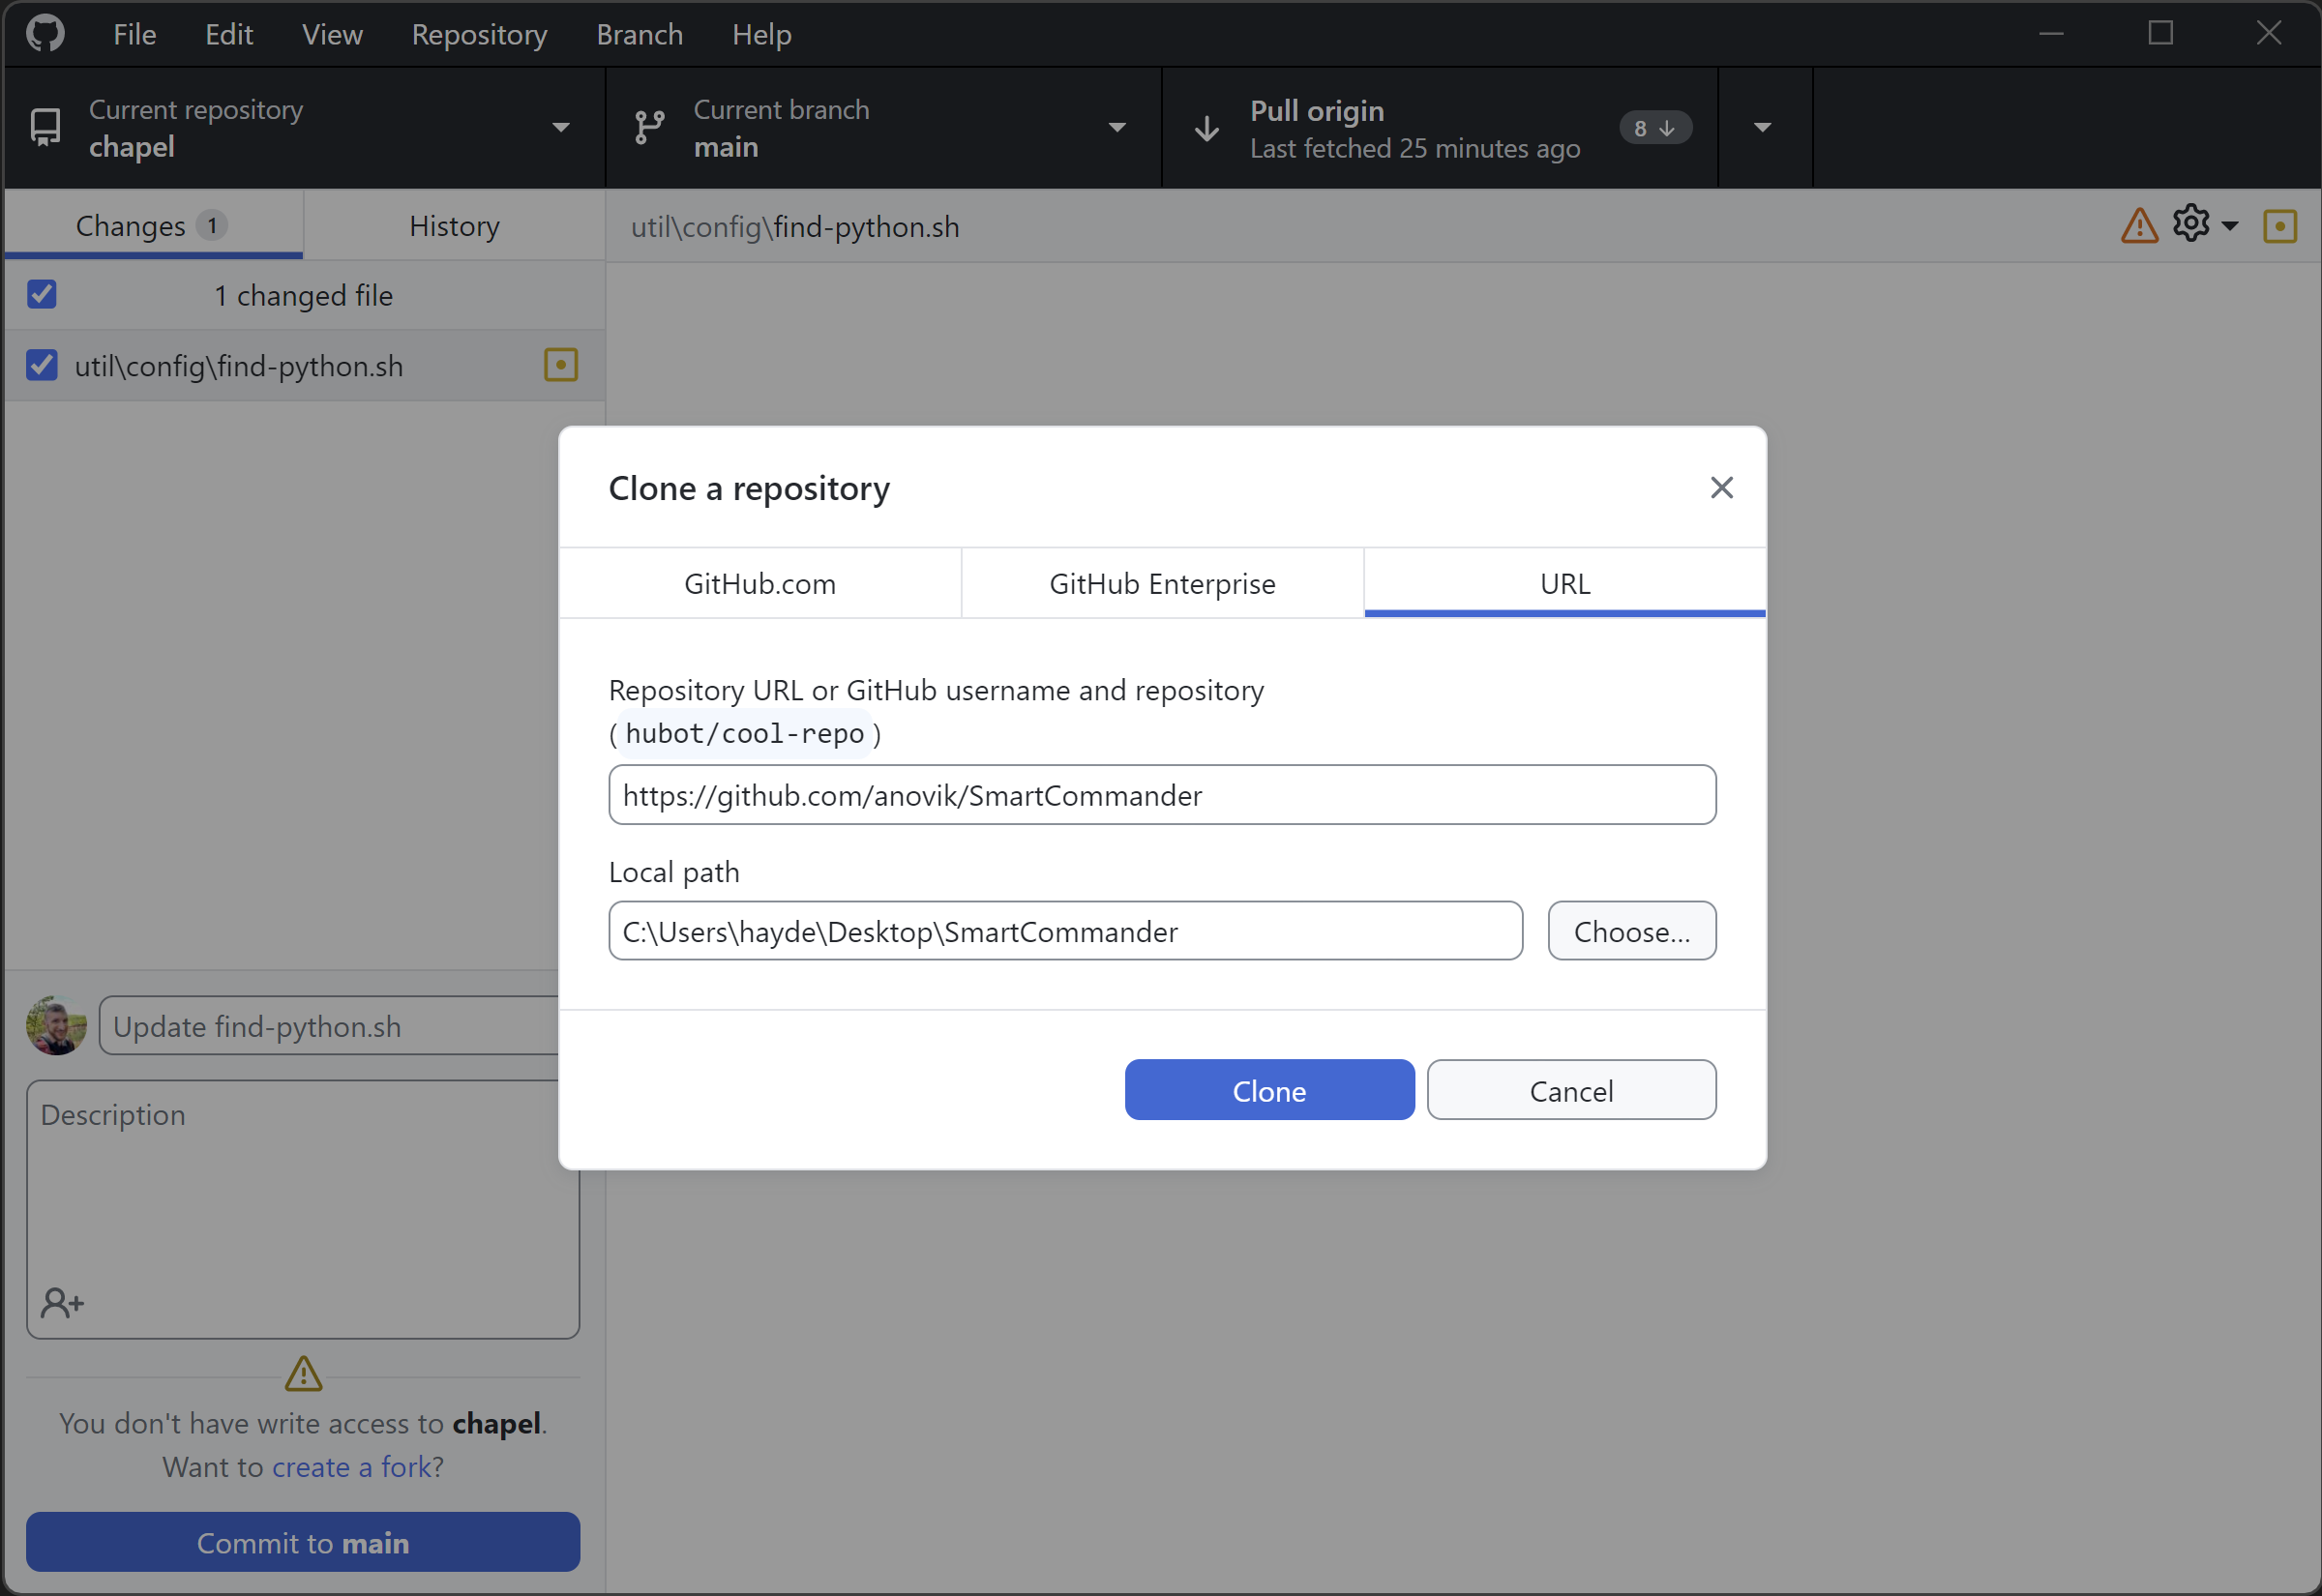
Building Smart Commander
Use your preferred git client, in my case I use GitHub Desktop to clone Smart Commander:
In your default WSL distro, install libice6 and libsm6:
sudo apt install libice6 libsm6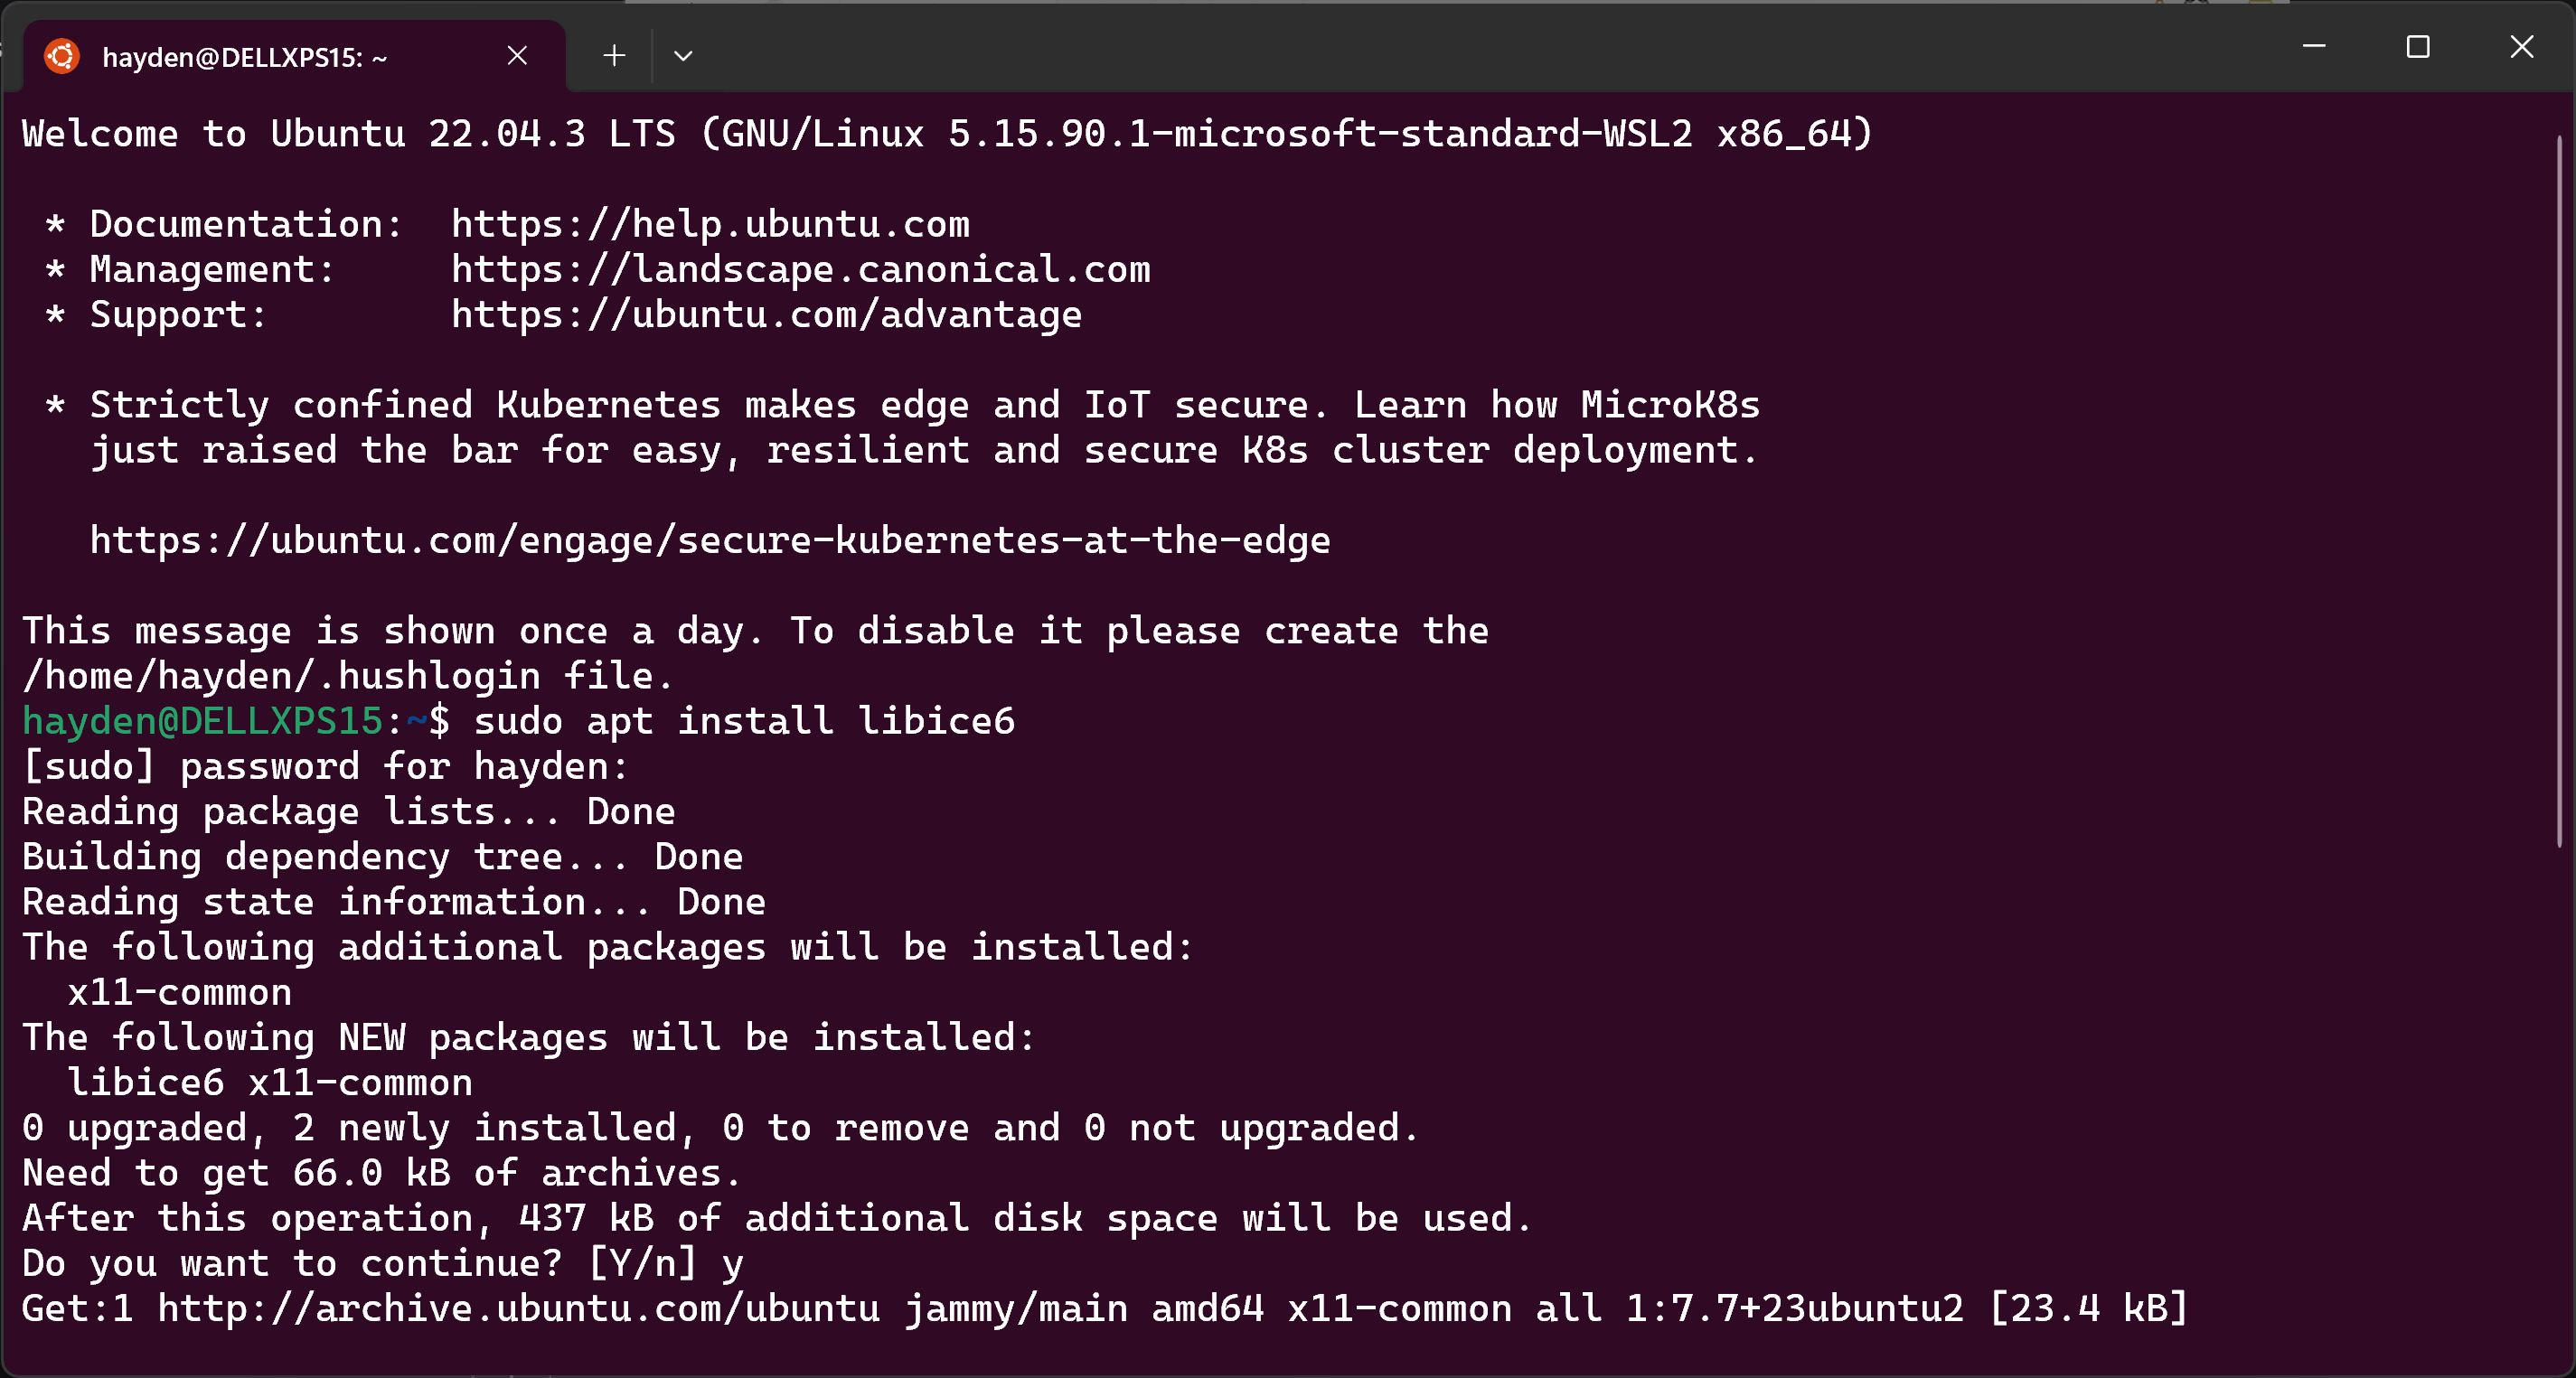
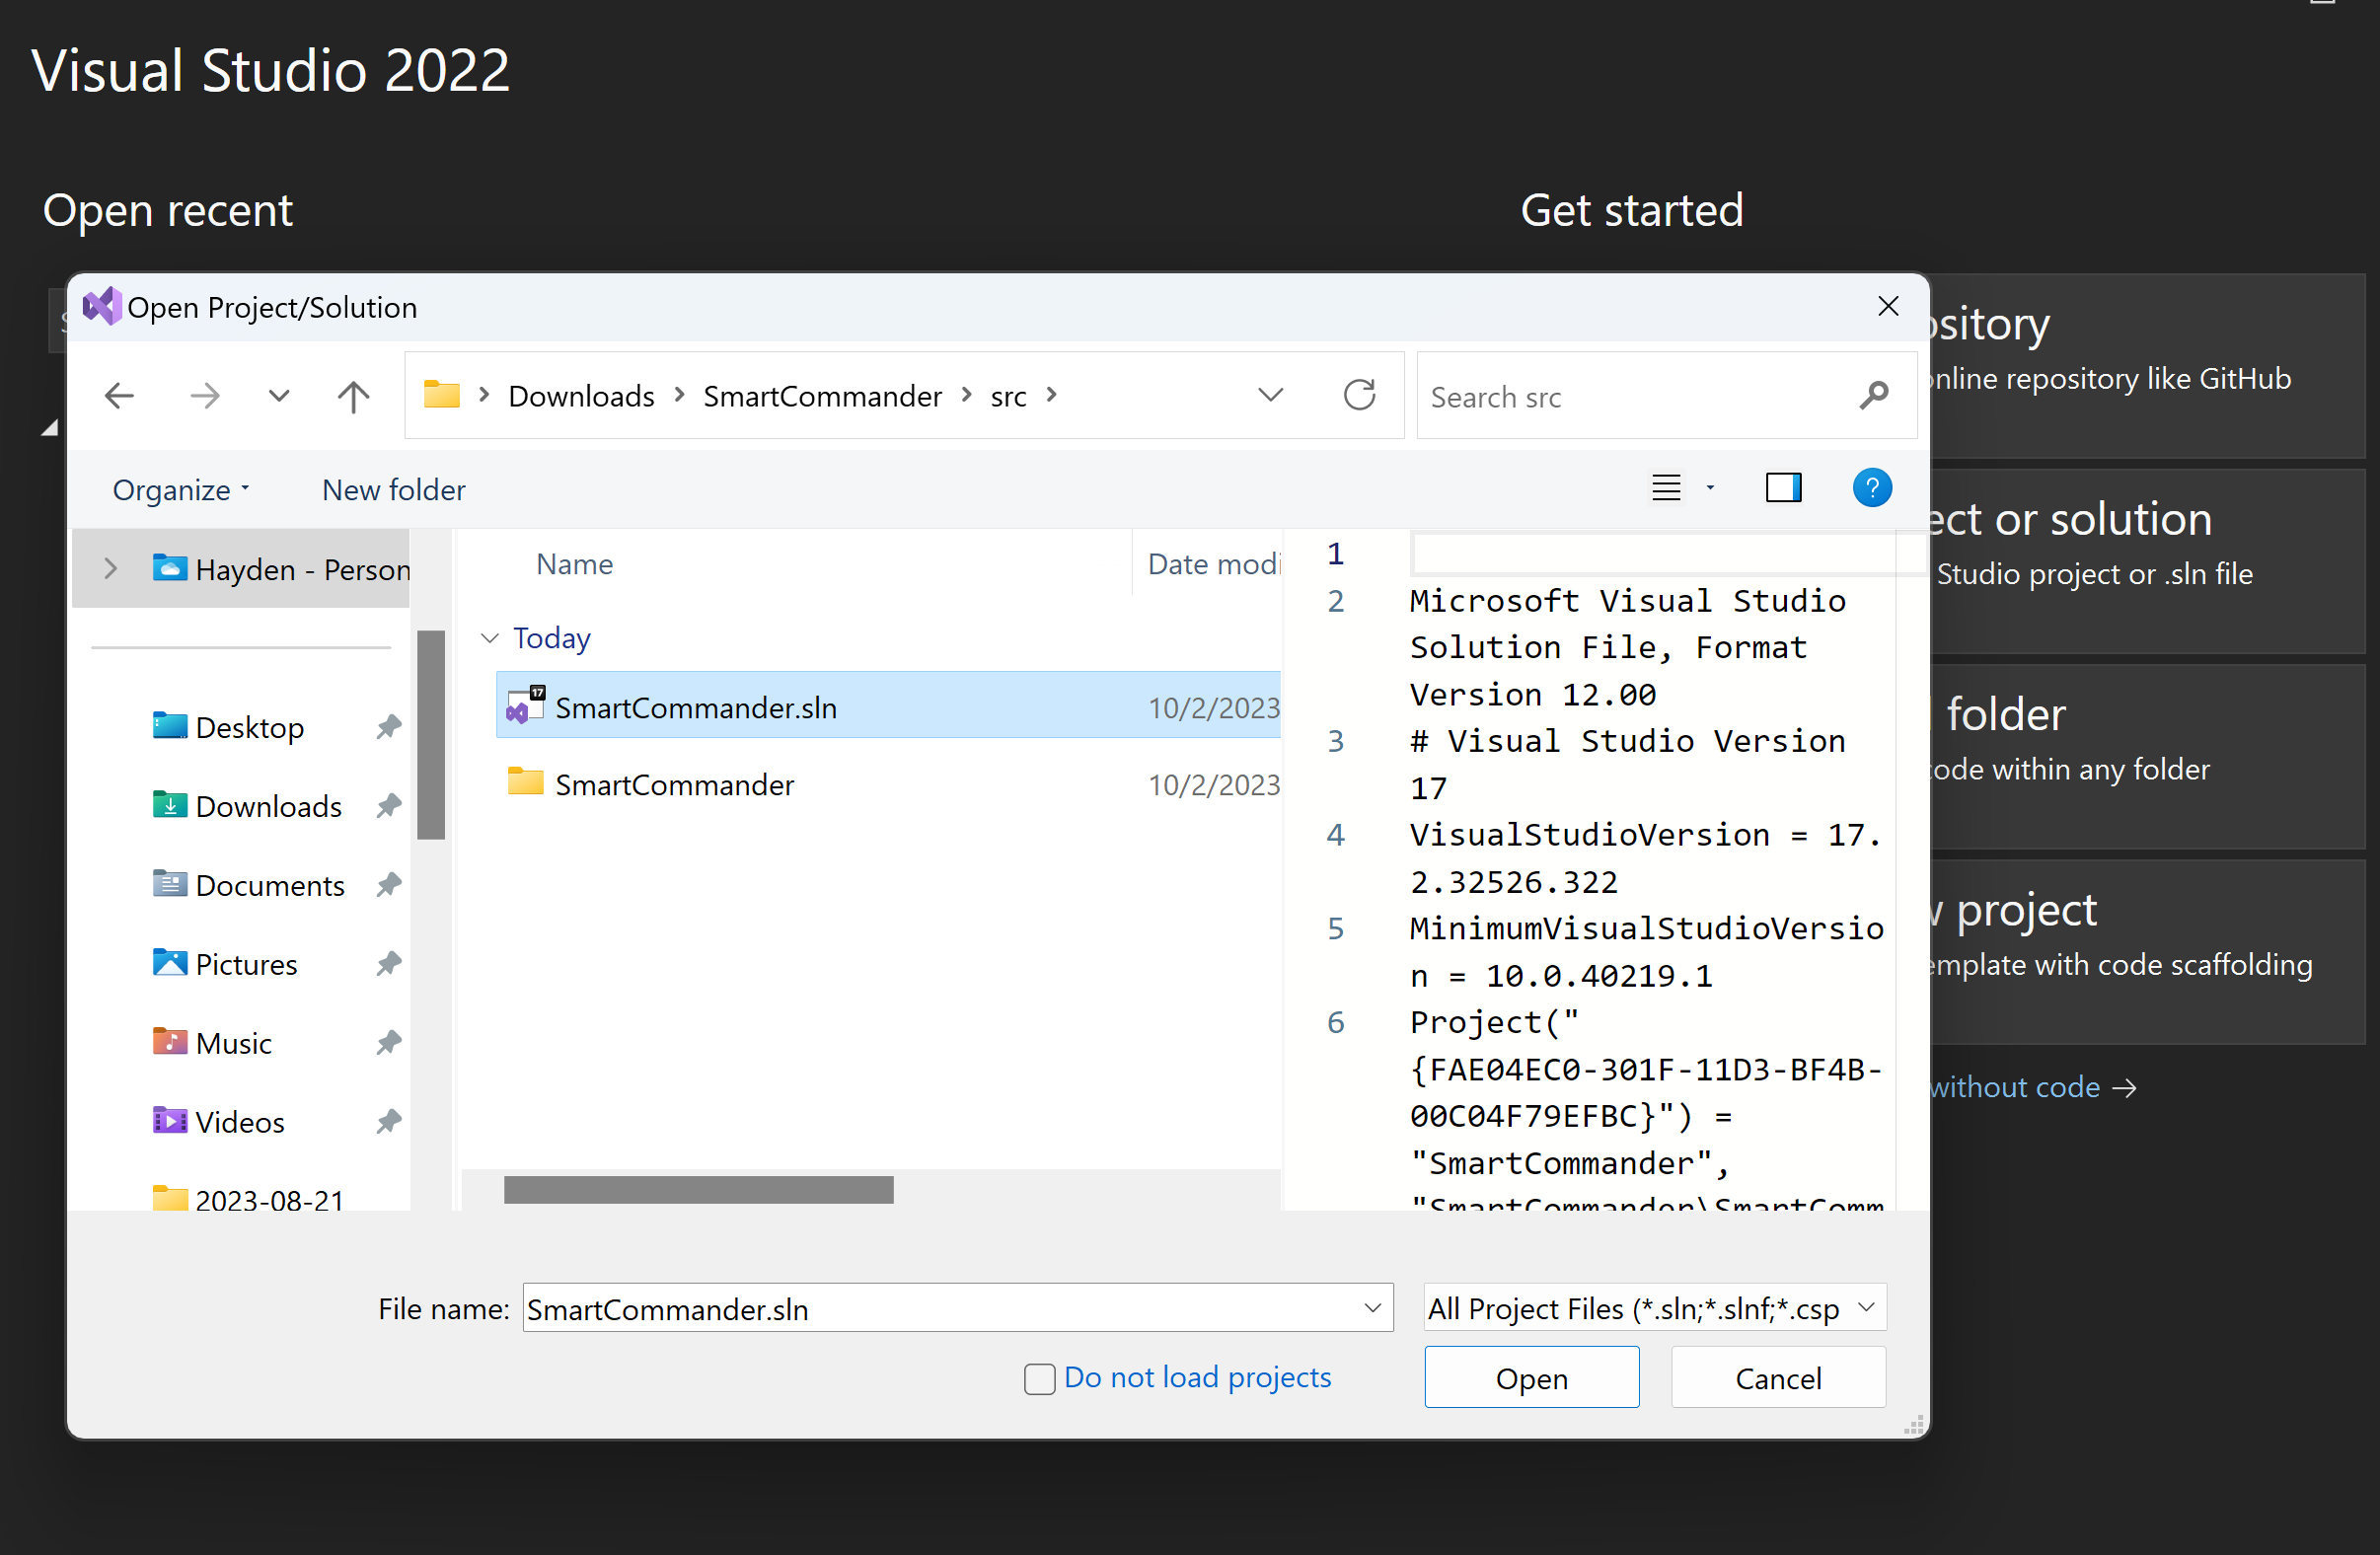
Open Visual Studio and locate the .sln file in the /src/ folder of the project:
Open the project. Make sure your target is set to WSL:
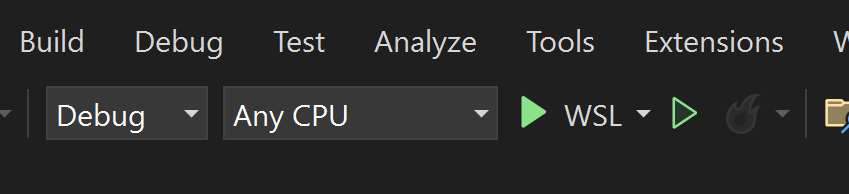
And click the run button next to "WSL".
Visual Studio will go into debug mode:
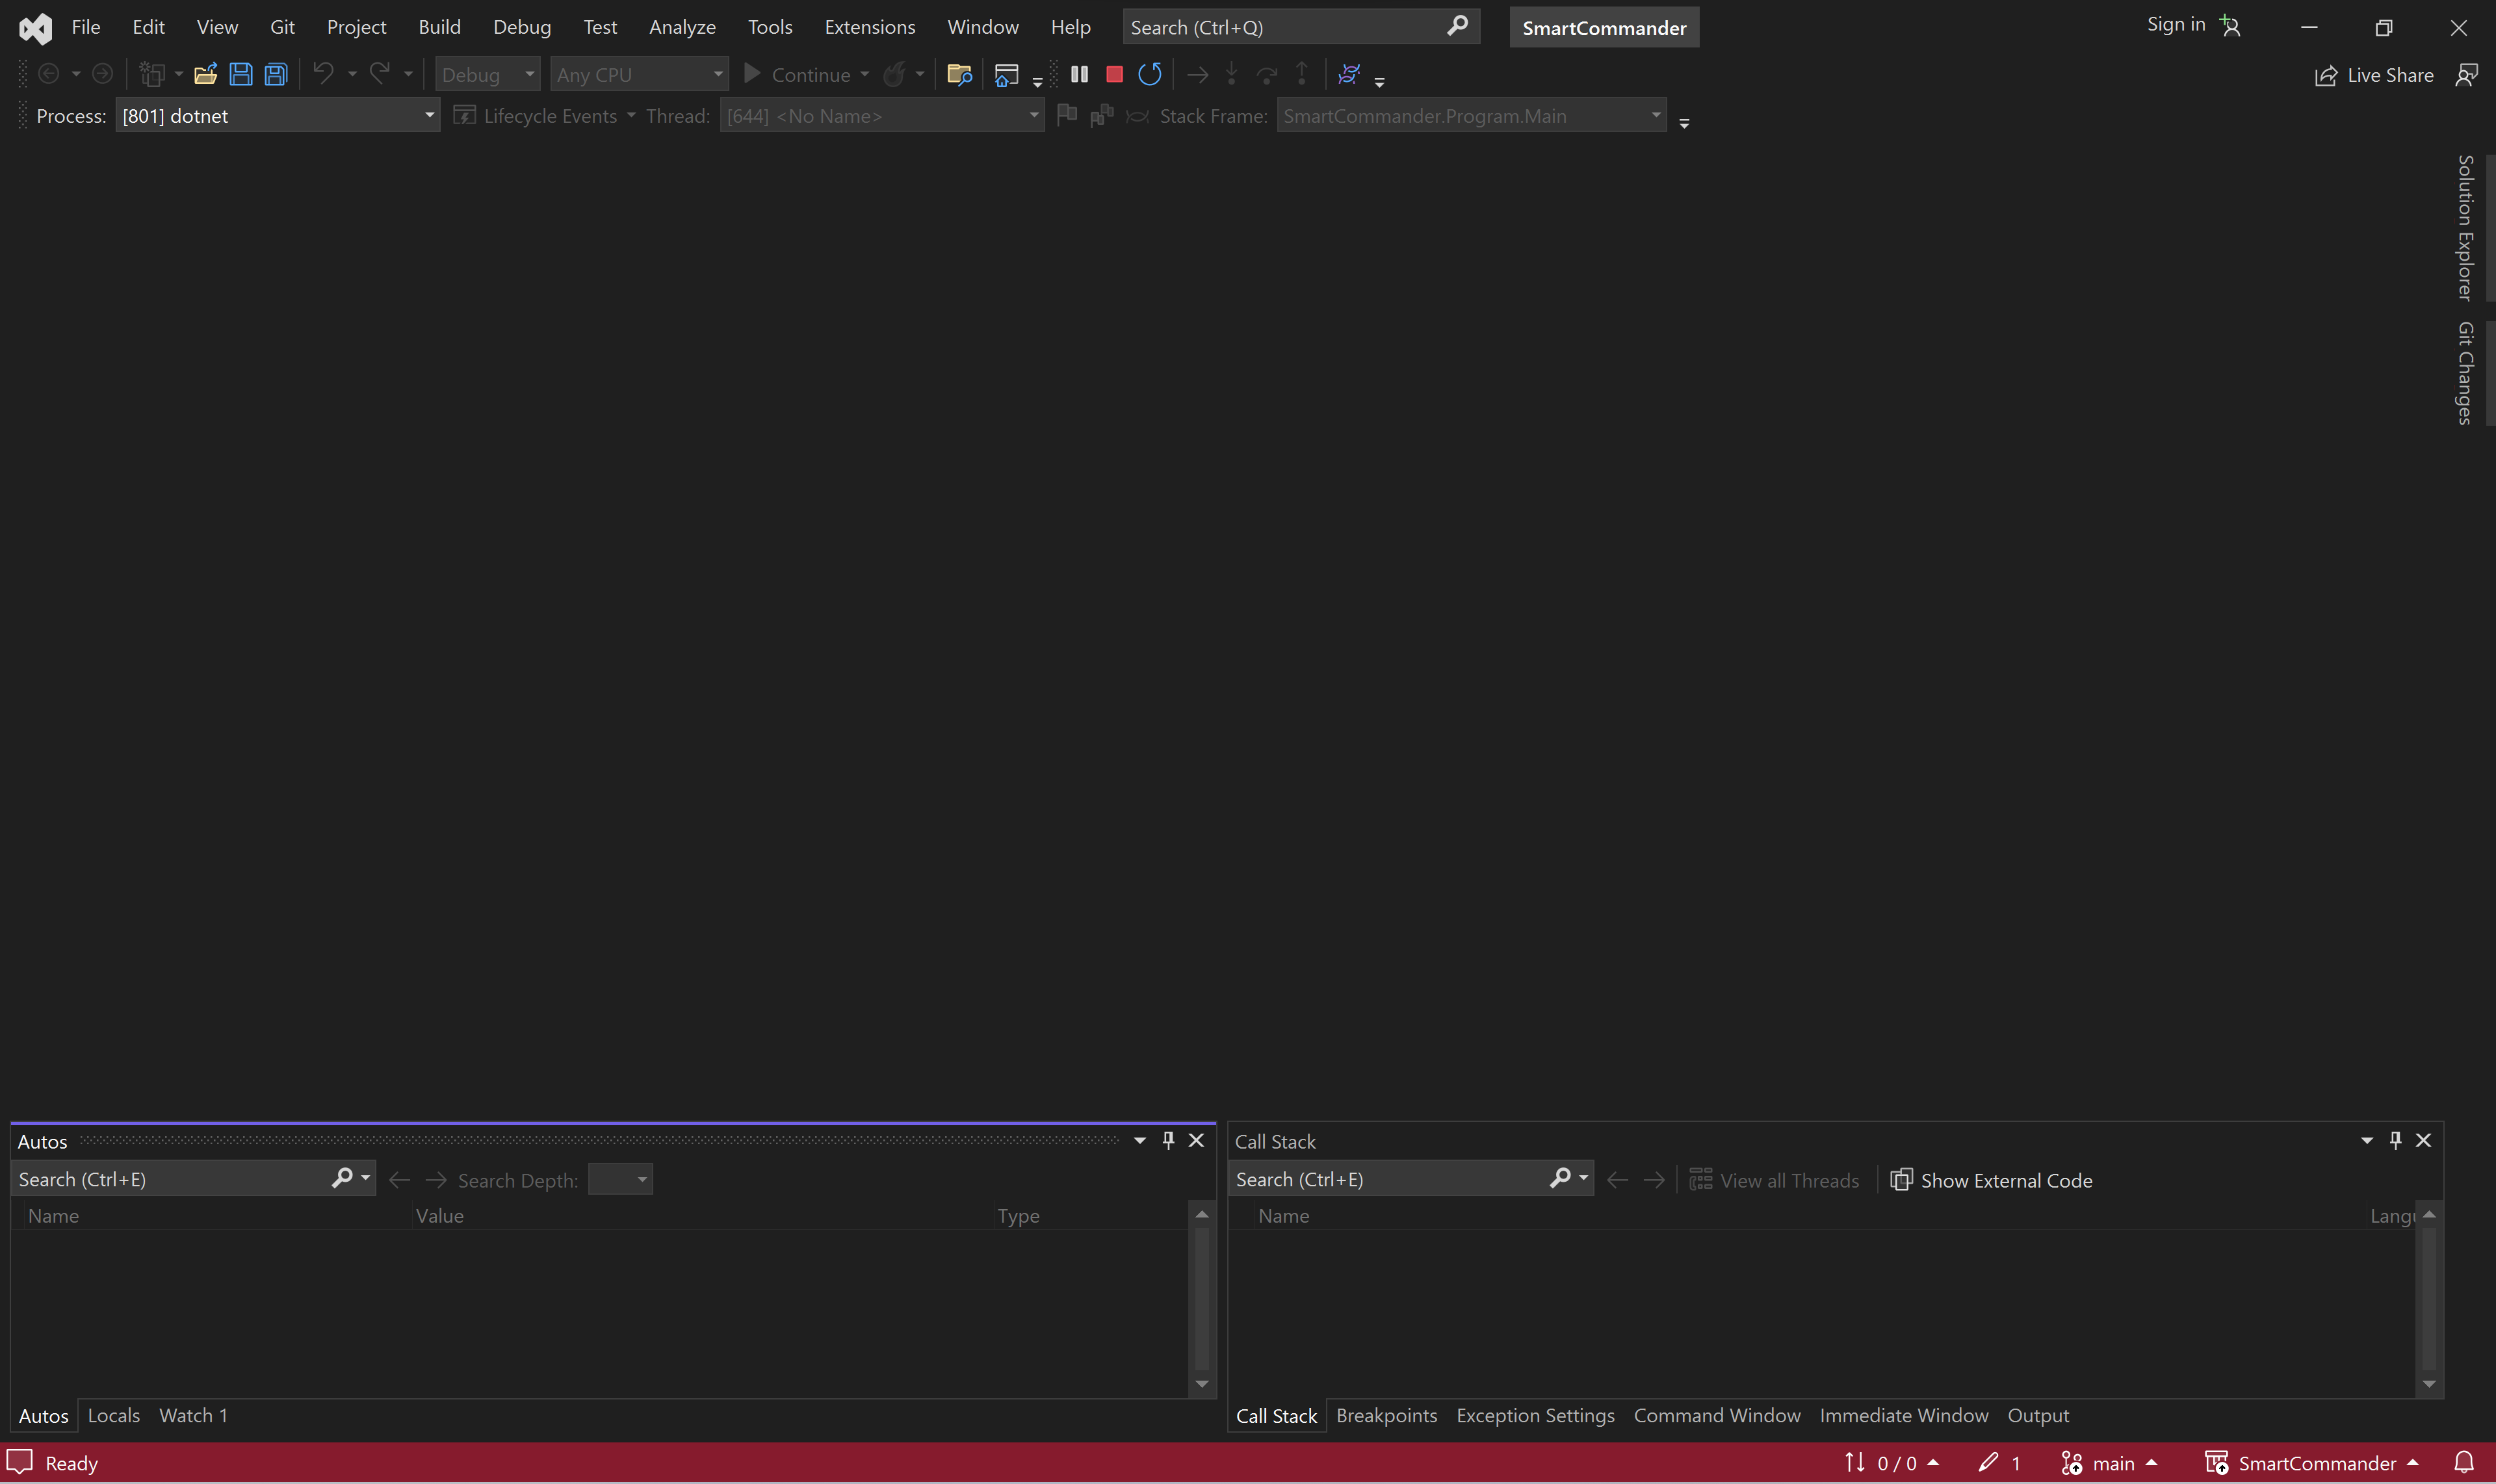
And your Linux app will launch: